Last Friday kicked off a banner holiday weekend around our casa—ending the school year (woohoo!) and finally giving the garage a massive, cathartic cleansing, post home-restoration-hoopla.
Saturday, we managed to re-assemble the laundry room and begin the kitchen work.
Sunday, we enjoyed a lovely brunch and solid family time, completed the kitchen work (WOOHOO!), and cooked our first meal on our new cooktop. Amen, Halleluiah.
Then, yesterday, on Memorial Day 2021, we finally unearthed the guest bedroom (I can’t even begin to describe how destroyed it was during the restoration), and...declared our family swim season OPEN!


My body is So. Darn. Tired.
And I have a claw instead of a hand.
But I’m so pleased with all we’ve accomplished, and if we can just power through the last bit of cleaning and restoring work for one more day, I think we can finally sit back and rest for a bit.
Since I shared a bunch of interior restoration pics the other day, I thought now would be a good time to share a comprehensive post about our pool restoration.
So...let’s dive right in (pun intended).
First: a quick background refresher.
When we purchased this house two years ago, we knew the pool plaster wasn’t in excellent shape, but it was in pretty age-appropriate condition, and we hoped to get a few more years out of it before such a massive undertaking.
Little did we know we’d live through the worst winter storm in this region in decades (and decades), and that...
Our pool pump would break in the middle of said storm...
Draining a third of the pool water before a hasty fix to halt more water loss...
All on the eve of losing access to running water altogether for several days...
Leaving the pool plaster exposed in the freezing weather...
Without the ability to re-fill it...
Resulting in full-on cracking of the plaster...
Not covered by insurance...
Thereby forcing a massively expensive undertaking...
At a time when our entire house was destroyed on the interior due to the burst pipe, and on the verge of being ripped apart to be put back together.
The end.
Can I get an OYE.
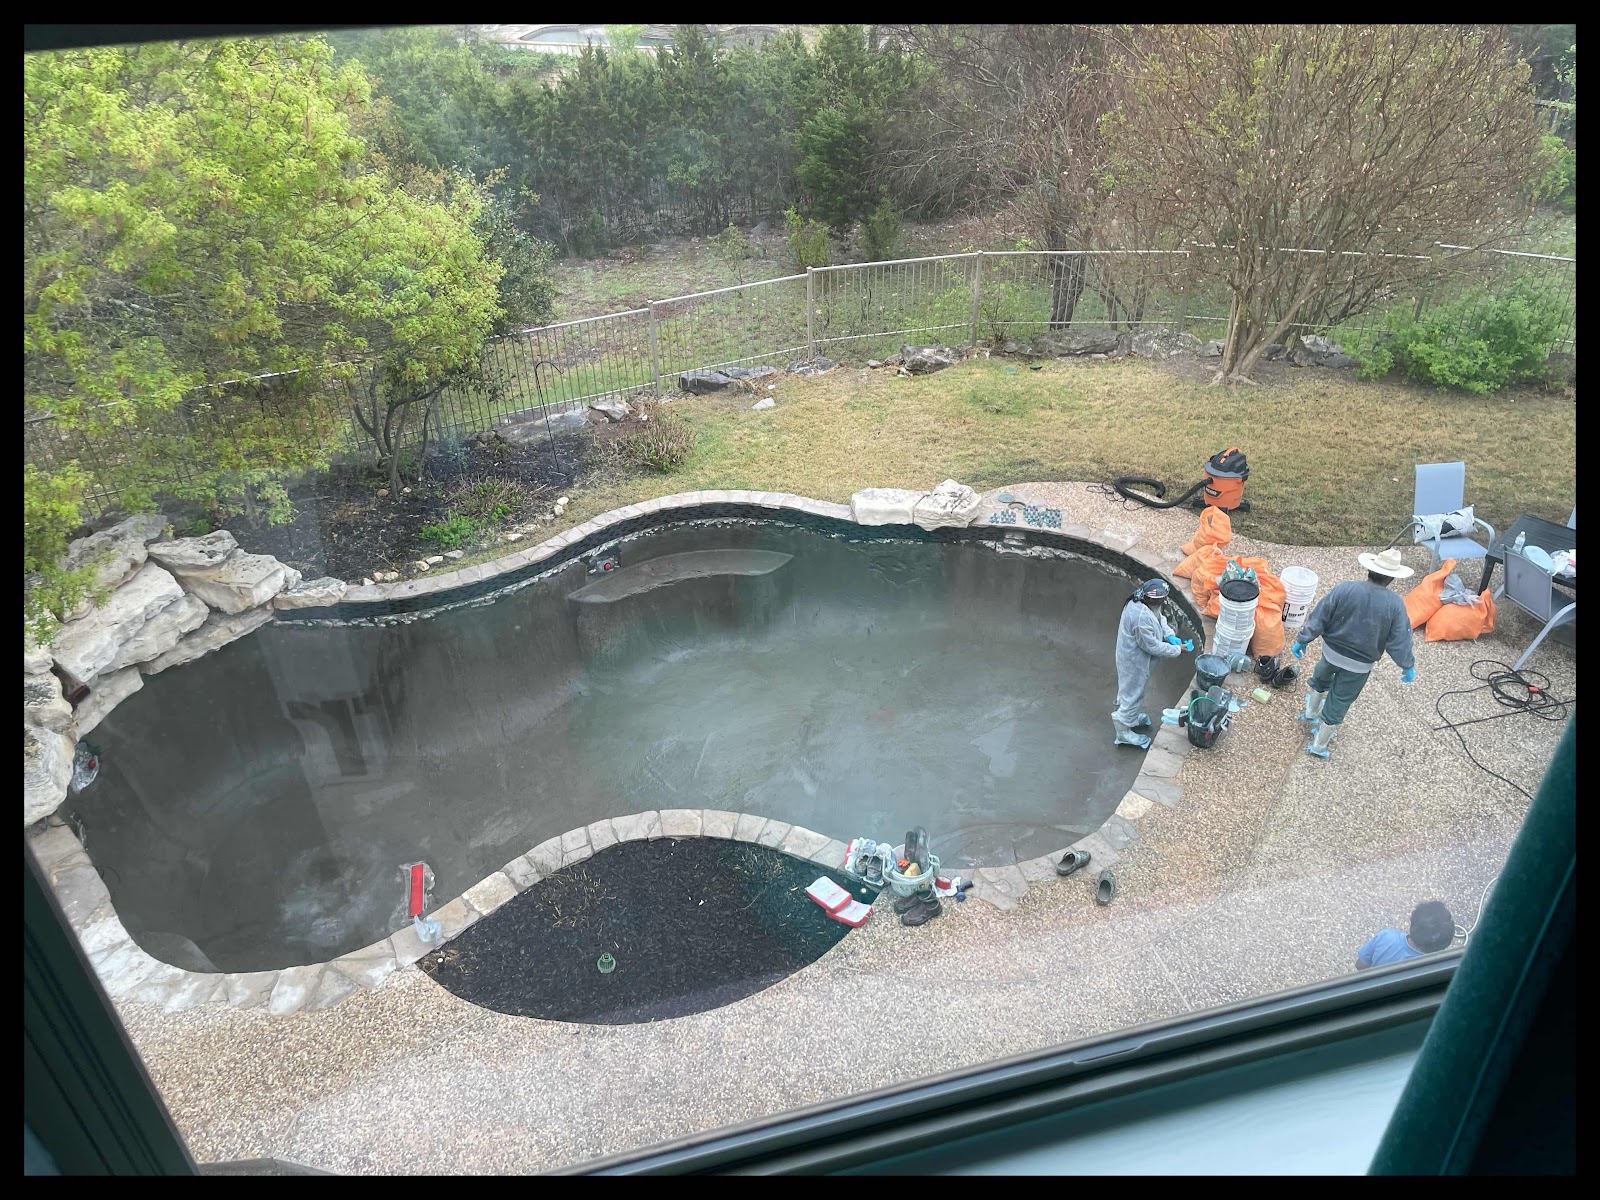
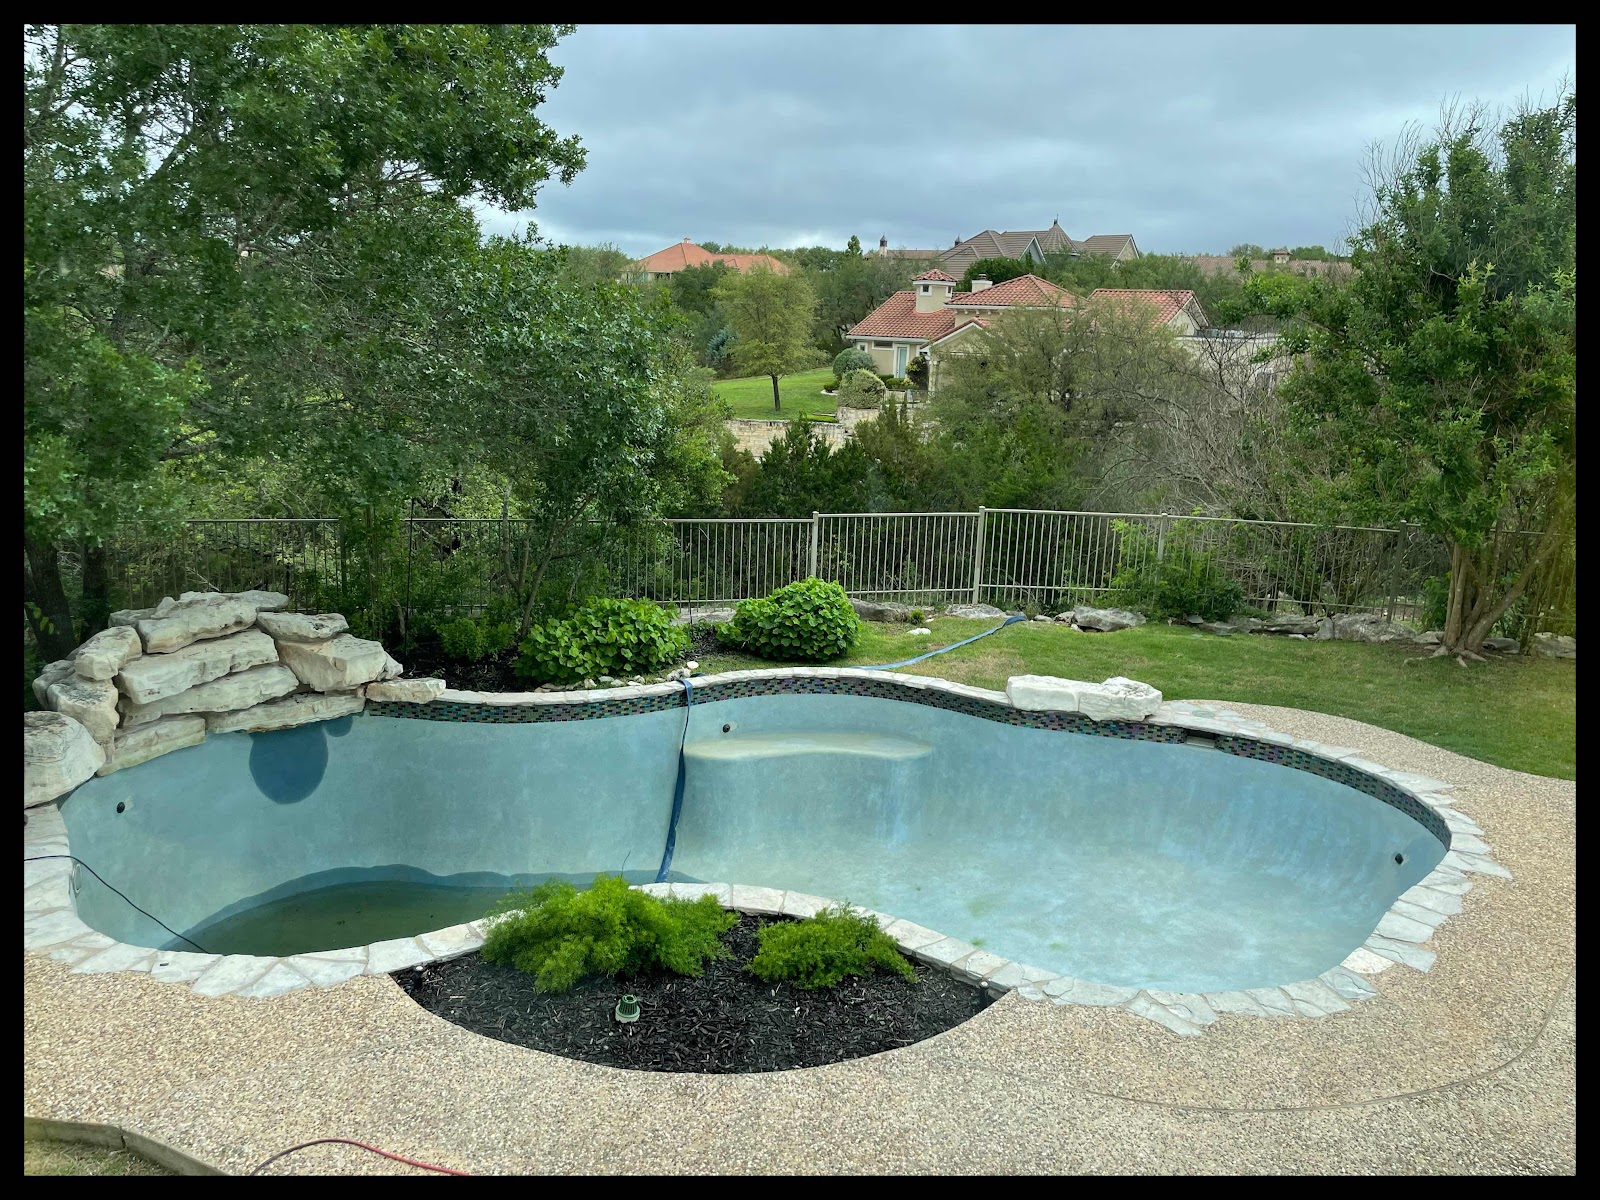
I think this pic says enough about what we were facing and why we couldn’t just throw some water on top of it and call it a day (as much as we really really wanted to!).

Following this whole debacle, we took several weeks meeting with multiple vendors to discuss our options and a path forward.
Hilariously, our original plaster color was named Mountain Stream Green and no longer exists (SHOCKER, I know), rendering any sort of patch work impossible.
Not that we qualified for patching anyway, given the substantial surface area already crumbling.
(And not that anyone would want to patch up a green, algae-looking pool plaster color, amiright?? I can’t even count the number of times people would visit our home or be on our property and ask us what was wrong with our pool.)
So...we secured several bids and chose our preferred vendor, and were fortunate enough to begin the restoration process about 10 days after that—which was pretty amazing, because sometimes, you can end up on a months-long waiting list for this kind of pool work. Especially as the Summer or holiday months approach.

First step: draining the pool water.
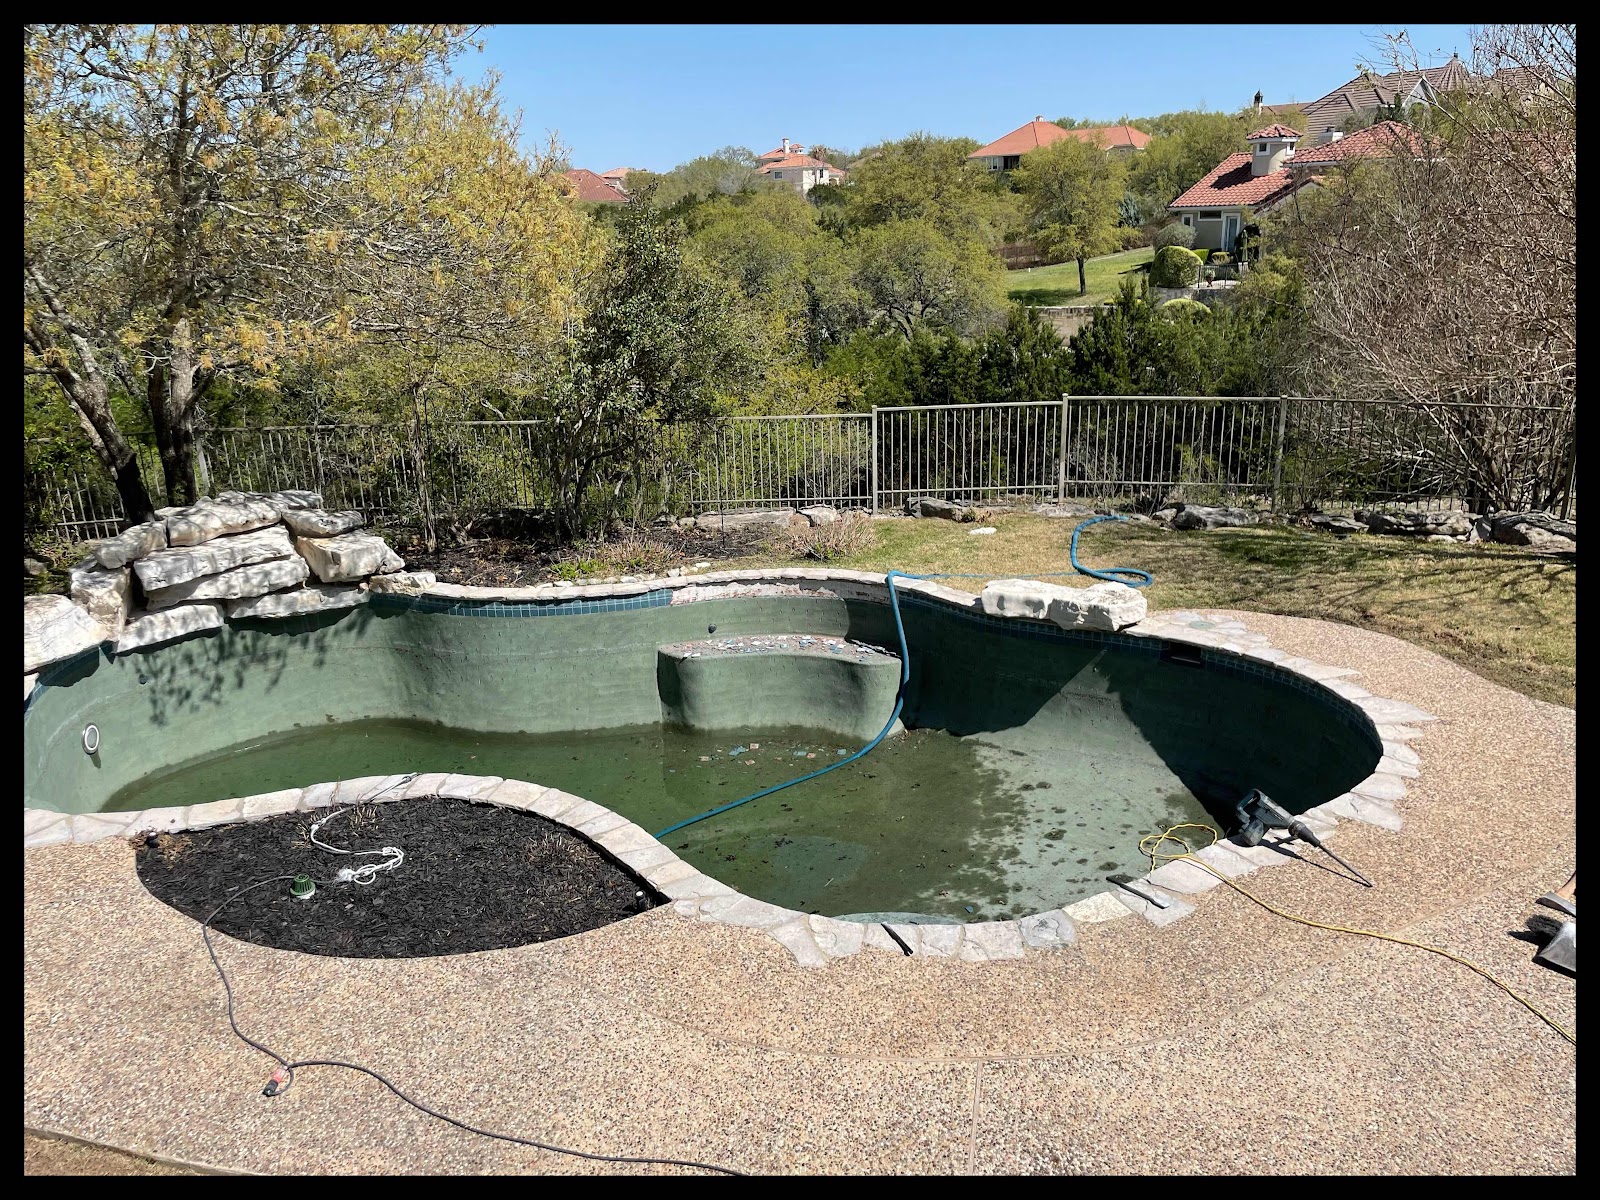
Don’t ask me where in the world an entire pool’s worth of drained water would go if you didn’t live on a strange property like ours that backs up to a nature preserve. I would imagine in some cases, on some properties, that would be a very tricky draining, indeed.
But our draining was pretty straightforward, and the crew wasted no time in beginning the work to chip off the old tile (because if you’re going to pay to re-plaster an entire pool, it’s generally a good idea to freshen up your border tile, as that’s a small incremental amount on top of a major project total).


It took about 24 hours to complete the draining and drilling out of the tile and the areas around the jets.
And less than two hours—no joke!—to install the new tile. We were so shocked to look outside around dinner time and see the crew slapping it up there at the end of their day! We weren’t prepared for that fun development yet, so it was extra-exciting.
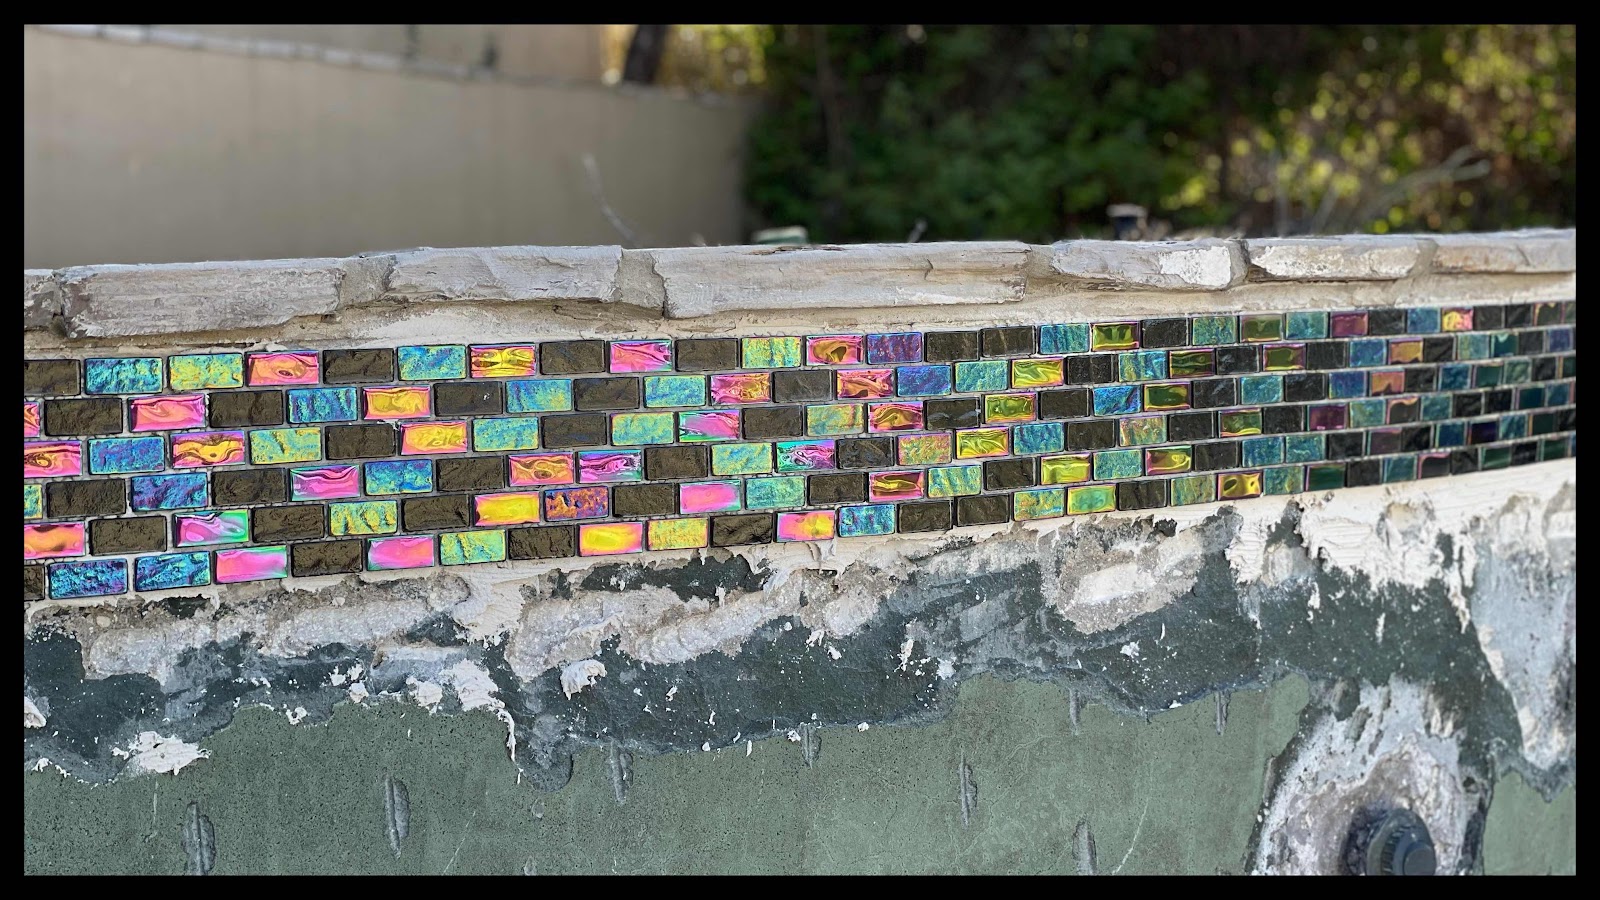
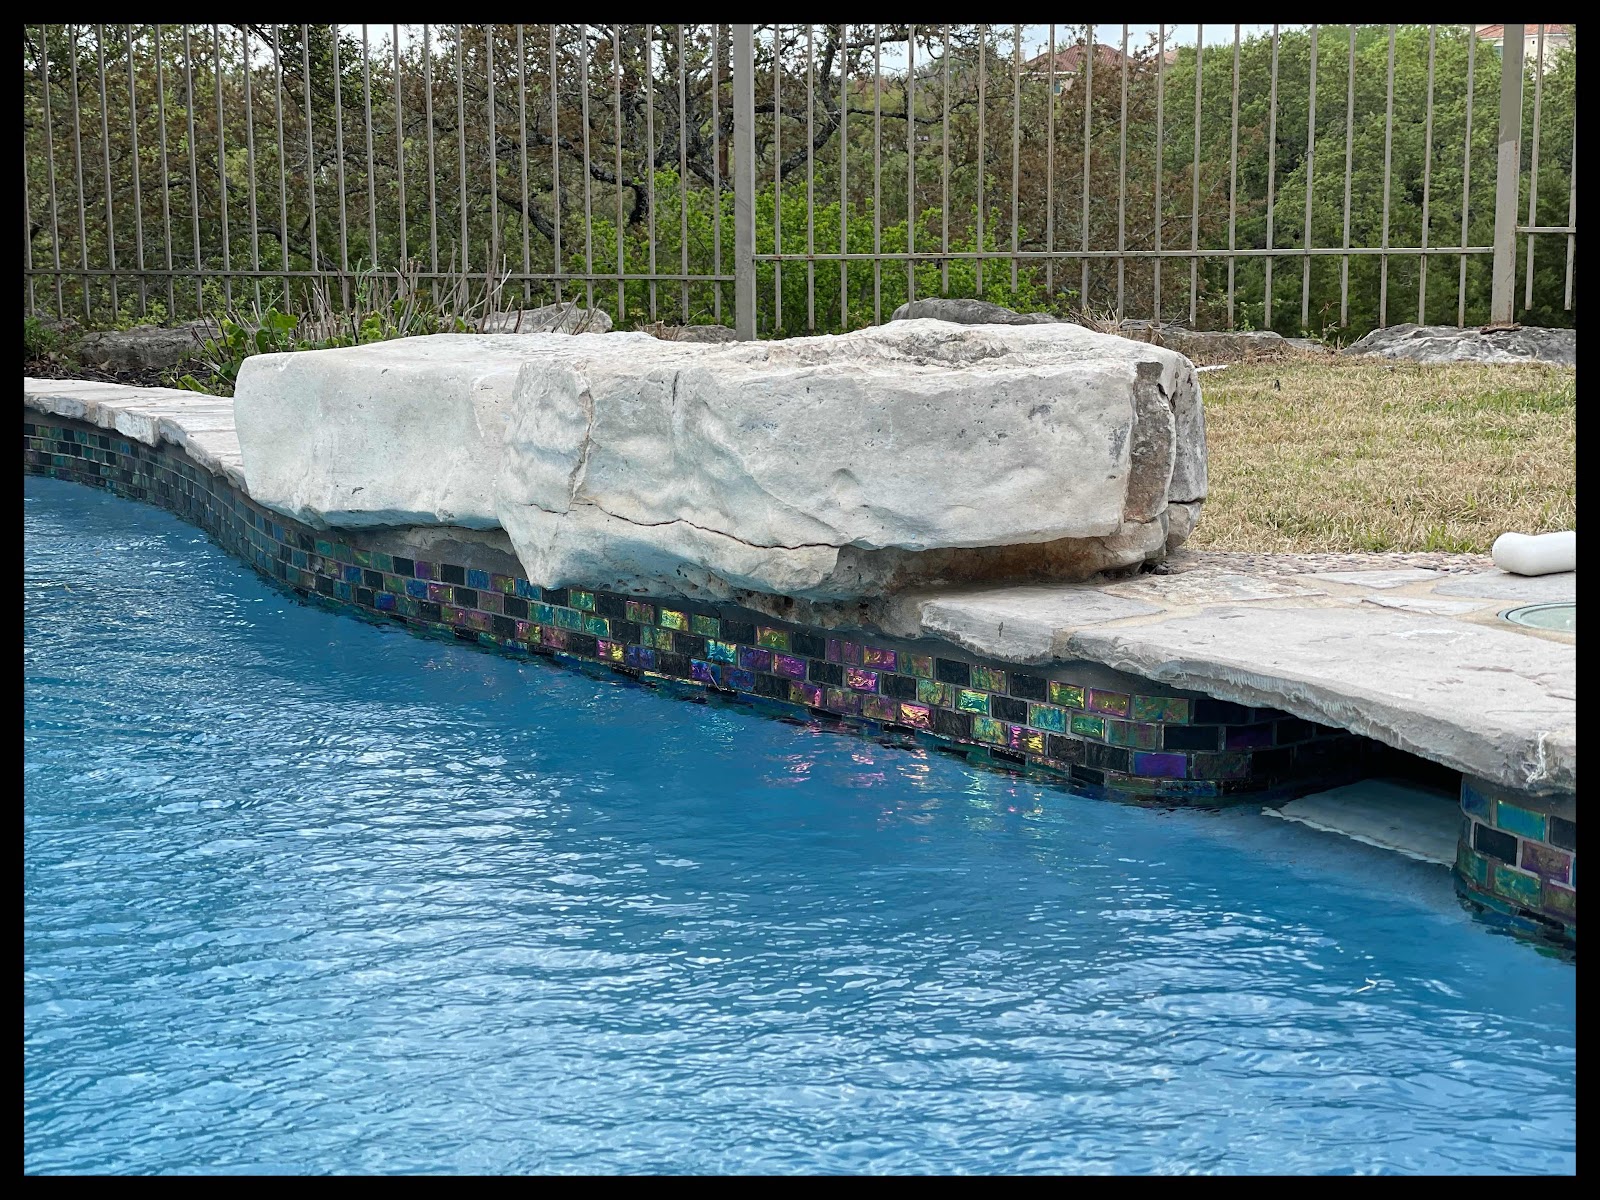
Since we back up to the aforementioned nature preserve, we really wanted to roll with an earthy sort of color scheme rather than something traditionally blue or aqua, and this tile reminded us of a sunset. It turned out so gorgeous. When the light hits it at certain angles, it really is so lovely without being an in-your-face kind of bold.

And lemme tell ya just how much the kiddos and I loved being able to spy through the playroom windows as the tile process continued, tehe.

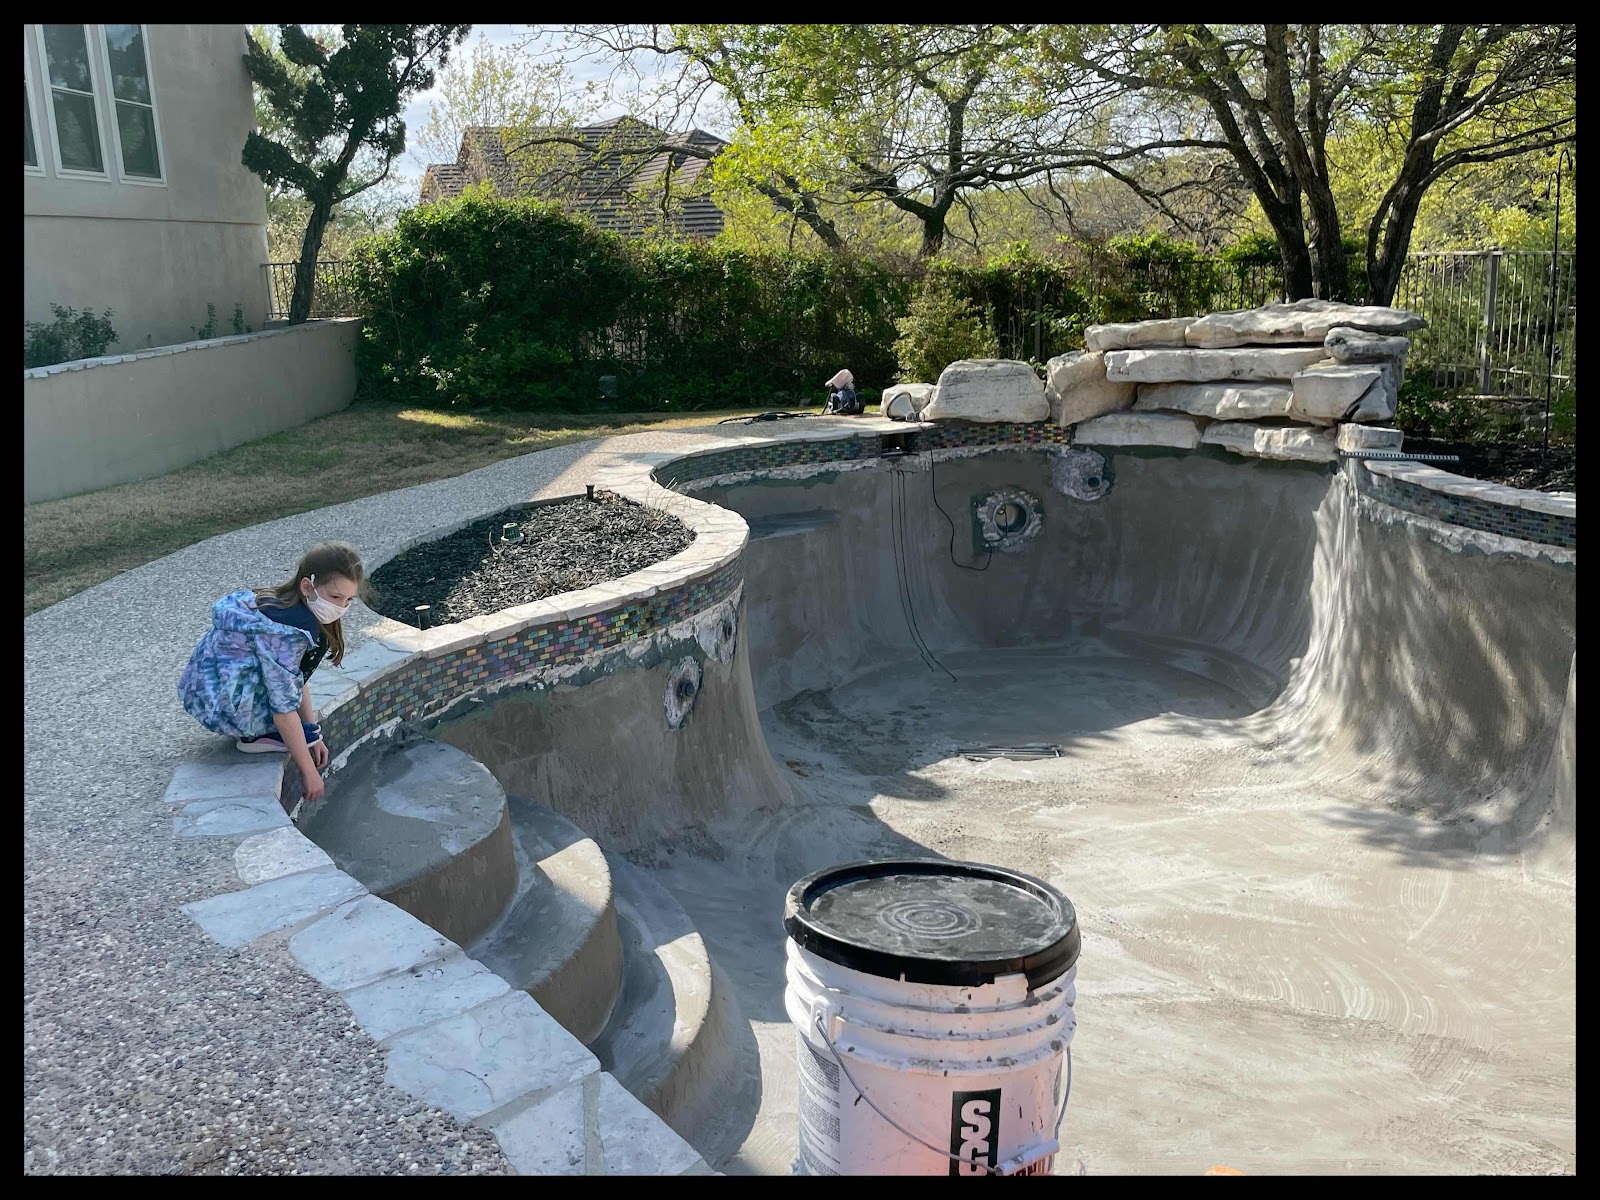
The following day, it was time for both the grout work on the tile, along with a prep layer before the official plastering could begin.

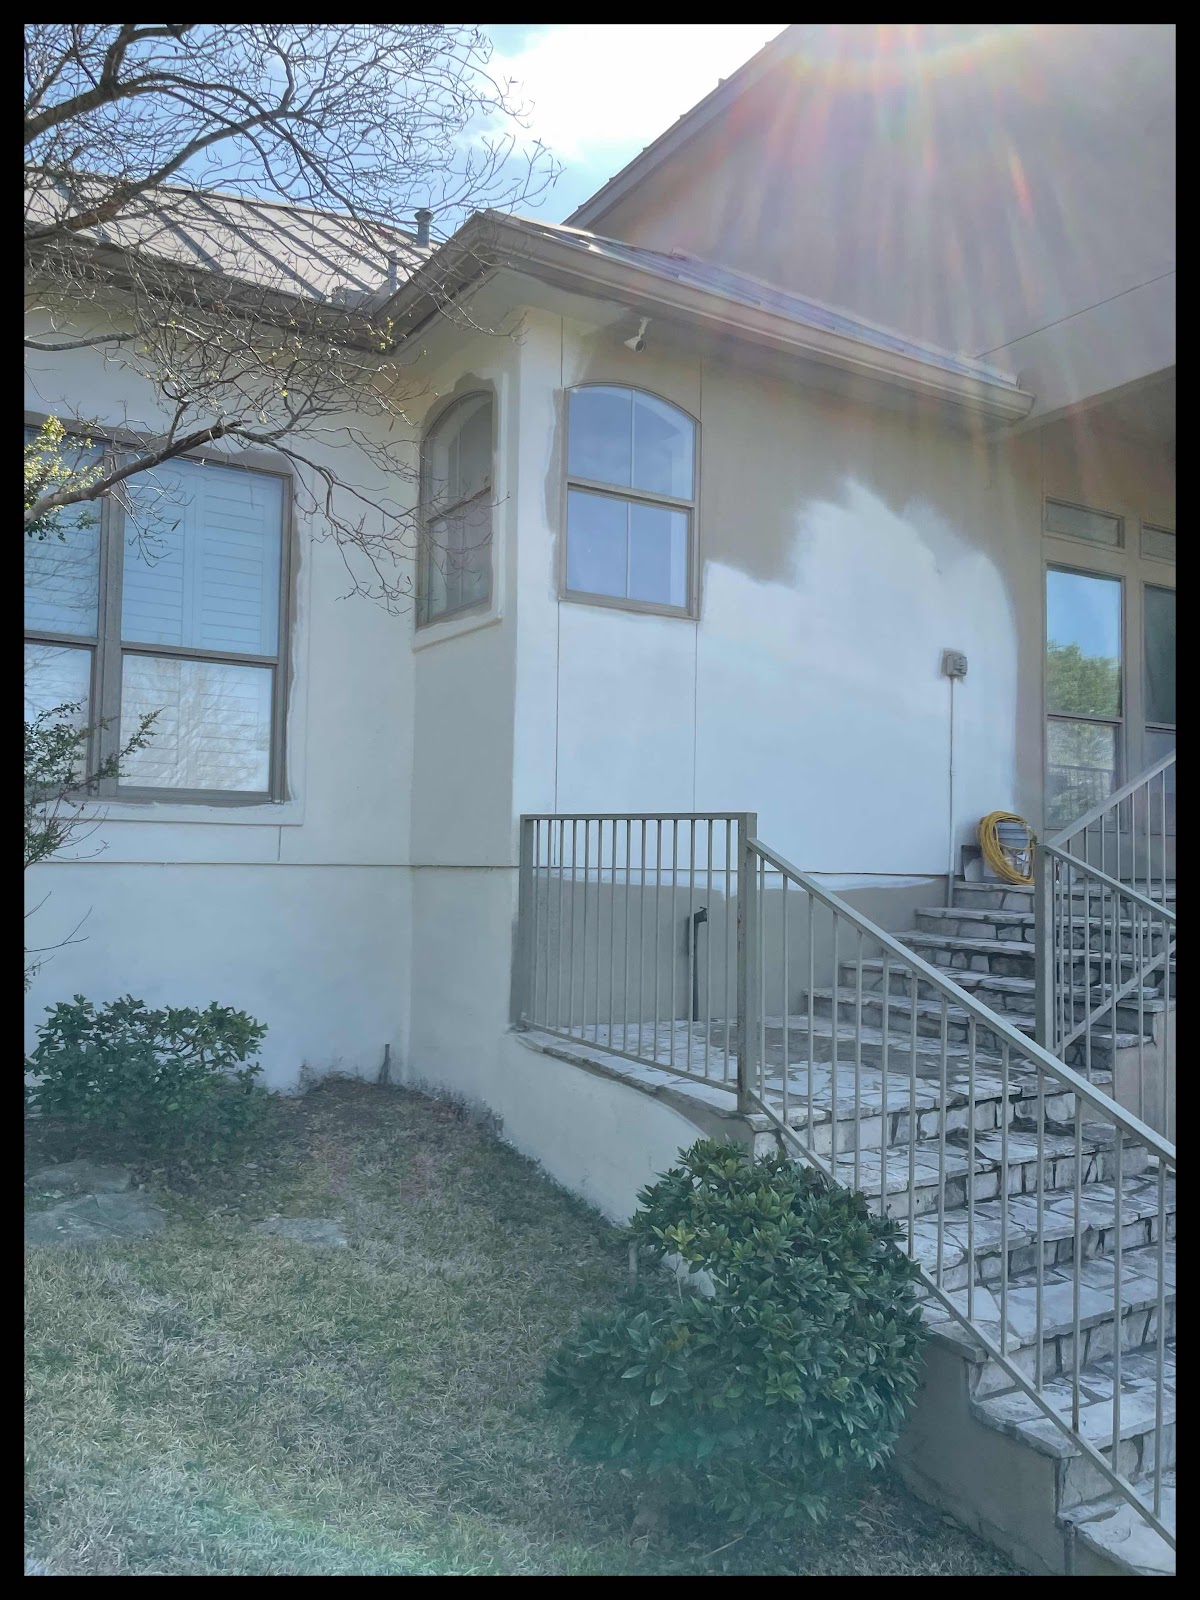
It’s definitely worth noting that all of this backyard pool craziness was happening in conjunction with the exterior painting of the house. The number of crew members on our property that week was insane-in-the-membrane.
It took about 24 hours to complete the draining and drilling out of the tile and the areas around the jets.
And less than two hours—no joke!—to install the new tile. We were so shocked to look outside around dinner time and see the crew slapping it up there at the end of their day! We weren’t prepared for that fun development yet, so it was extra-exciting.
Since we back up to the aforementioned nature preserve, we really wanted to roll with an earthy sort of color scheme rather than something traditionally blue or aqua, and this tile reminded us of a sunset. It turned out so gorgeous. When the light hits it at certain angles, it really is so lovely without being an in-your-face kind of bold.
And lemme tell ya just how much the kiddos and I loved being able to spy through the playroom windows as the tile process continued, tehe.
The following day, it was time for both the grout work on the tile, along with a prep layer before the official plastering could begin.
It’s definitely worth noting that all of this backyard pool craziness was happening in conjunction with the exterior painting of the house. The number of crew members on our property that week was insane-in-the-membrane.
It truly was one of the toughest weeks of the entire four months of work on our property. I definitely felt like a visitor in my own home. It was the crew’s casa and I was just livin’ in it (and paying the mortgage, ha).
Here’s the khaki stucco exterior in the process of turning Classic Light Bluff...
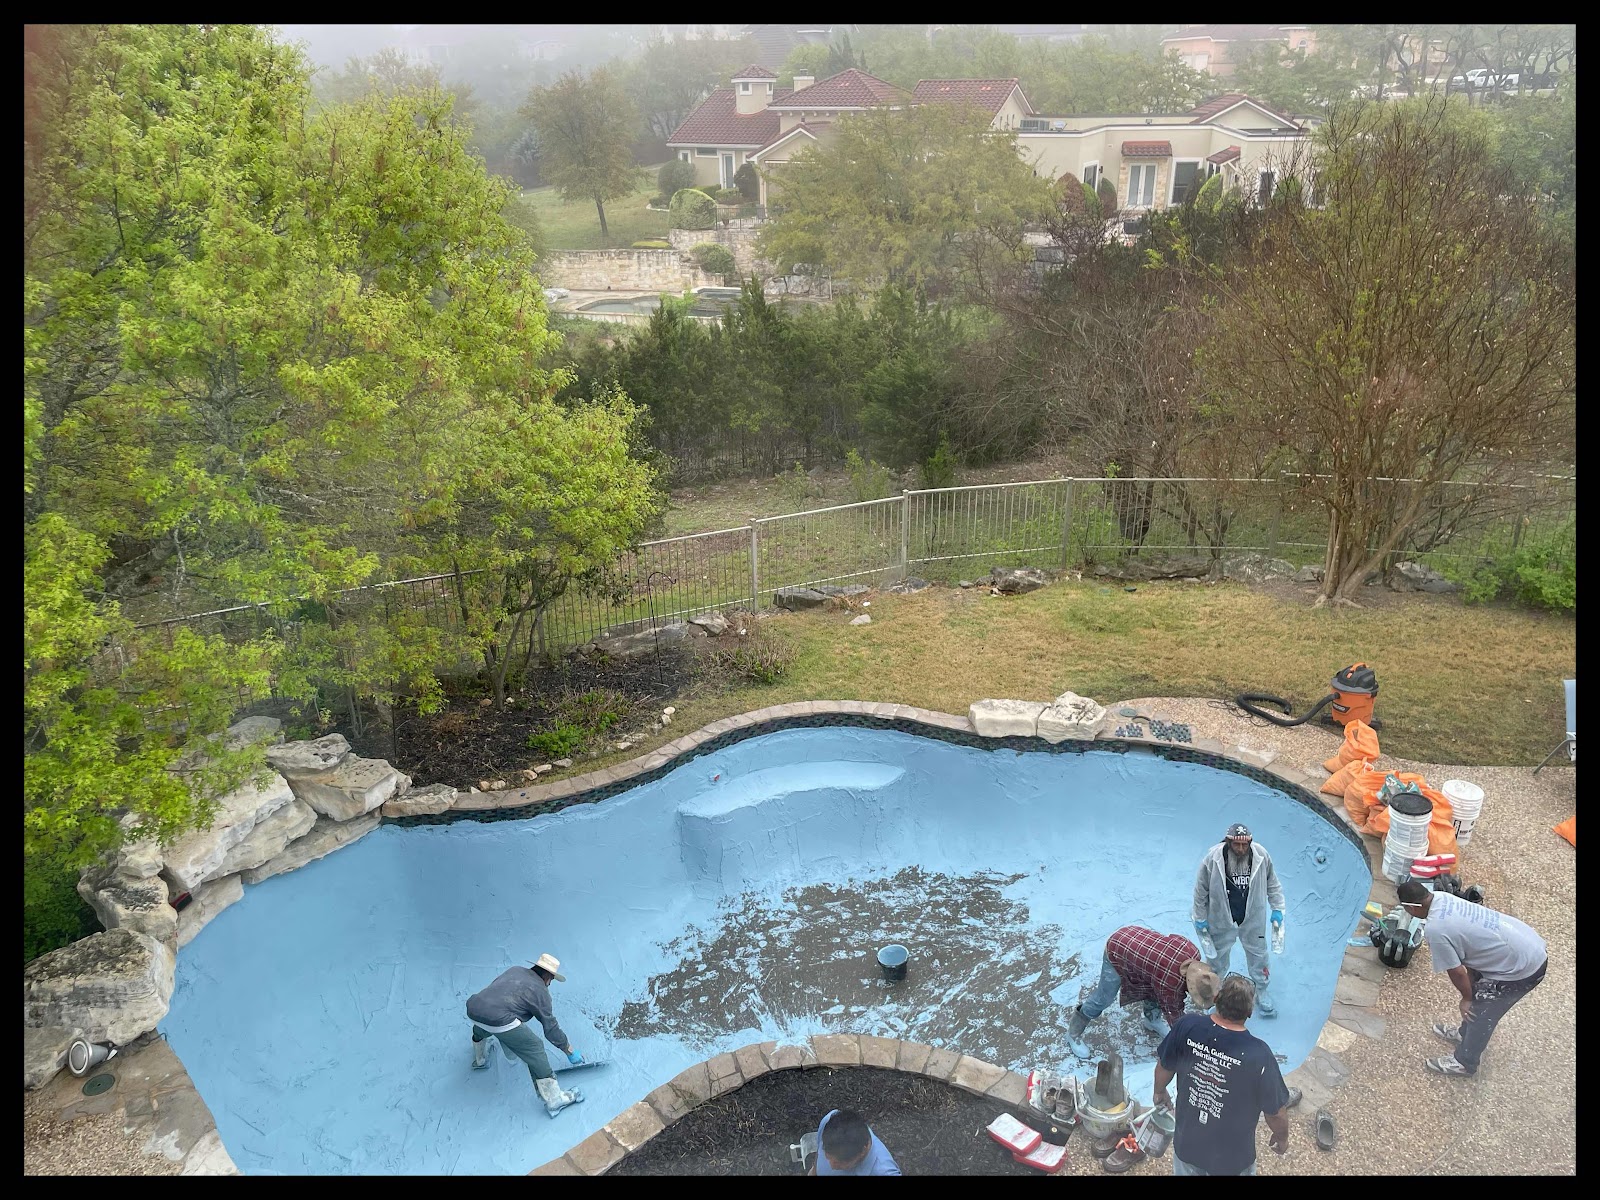
The absolute peak of the insanity that week—and really, one of the very worst days, chaos-wise, of the whole interior/exterior restoration—was the following day, when official plastering happened.
The absolute peak of the insanity that week—and really, one of the very worst days, chaos-wise, of the whole interior/exterior restoration—was the following day, when official plastering happened.
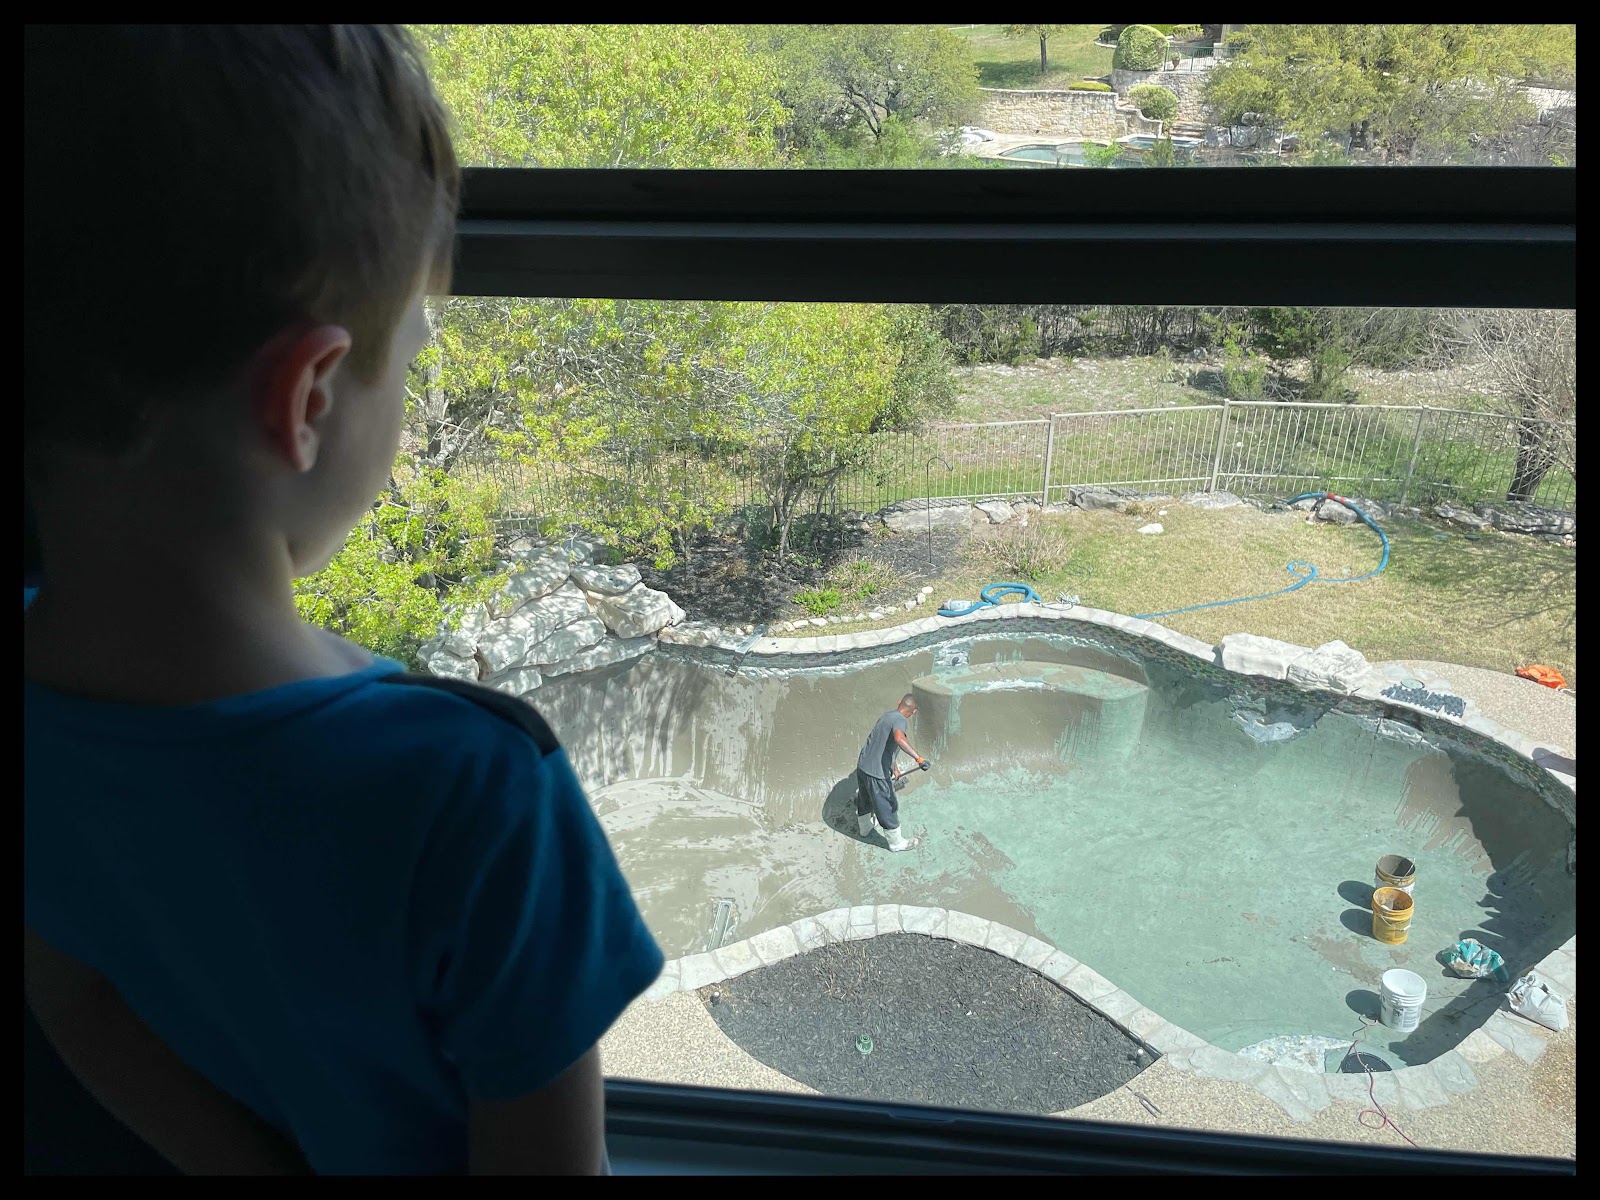
The massive crew of gentleman rolled up loud and chaotic bright and early. With blaring music, an insane amount of equipment, and a hilariously blasé way of dumping those bucketfuls of plaster into the pool.
It was shocking to watch. Truly.

Just absolute mess and mayhem as they dumped the wheelbarrows of plaster over and over, while simultaneously using these giant squeegees (technical term—not) to begin distributing it throughout the pool. All while singing at the top of their lungs, on occasion.
It was shocking to watch. Truly.
Just absolute mess and mayhem as they dumped the wheelbarrows of plaster over and over, while simultaneously using these giant squeegees (technical term—not) to begin distributing it throughout the pool. All while singing at the top of their lungs, on occasion.
I watched one gentleman dump an entire bucketful of plaster in his boot and just shake it out. And I watched another gentleman repeatedly fill up paint buckets of plaster and just slop them up the sides of the pool for coverage.
And all I could think was: man, my kiddos would be excellent assistants for this hot mess express.
The neighbors—who had no idea exactly what was happening that day—thought something was being demolished in the backyard, based on the noise, ha.
The neighbors—who had no idea exactly what was happening that day—thought something was being demolished in the backyard, based on the noise, ha.
And at one time, I counted 11 vehicles parked at the house...

It was a lot.
It was a lot.
And the only thing that really kept me together was the fact that we were literally escaping the following day.
I drove the kiddos up to Tulsa for the Easter holiday weekend and our little niece’s baptism while the hubby flew up later after these house projects were in a more stable place.
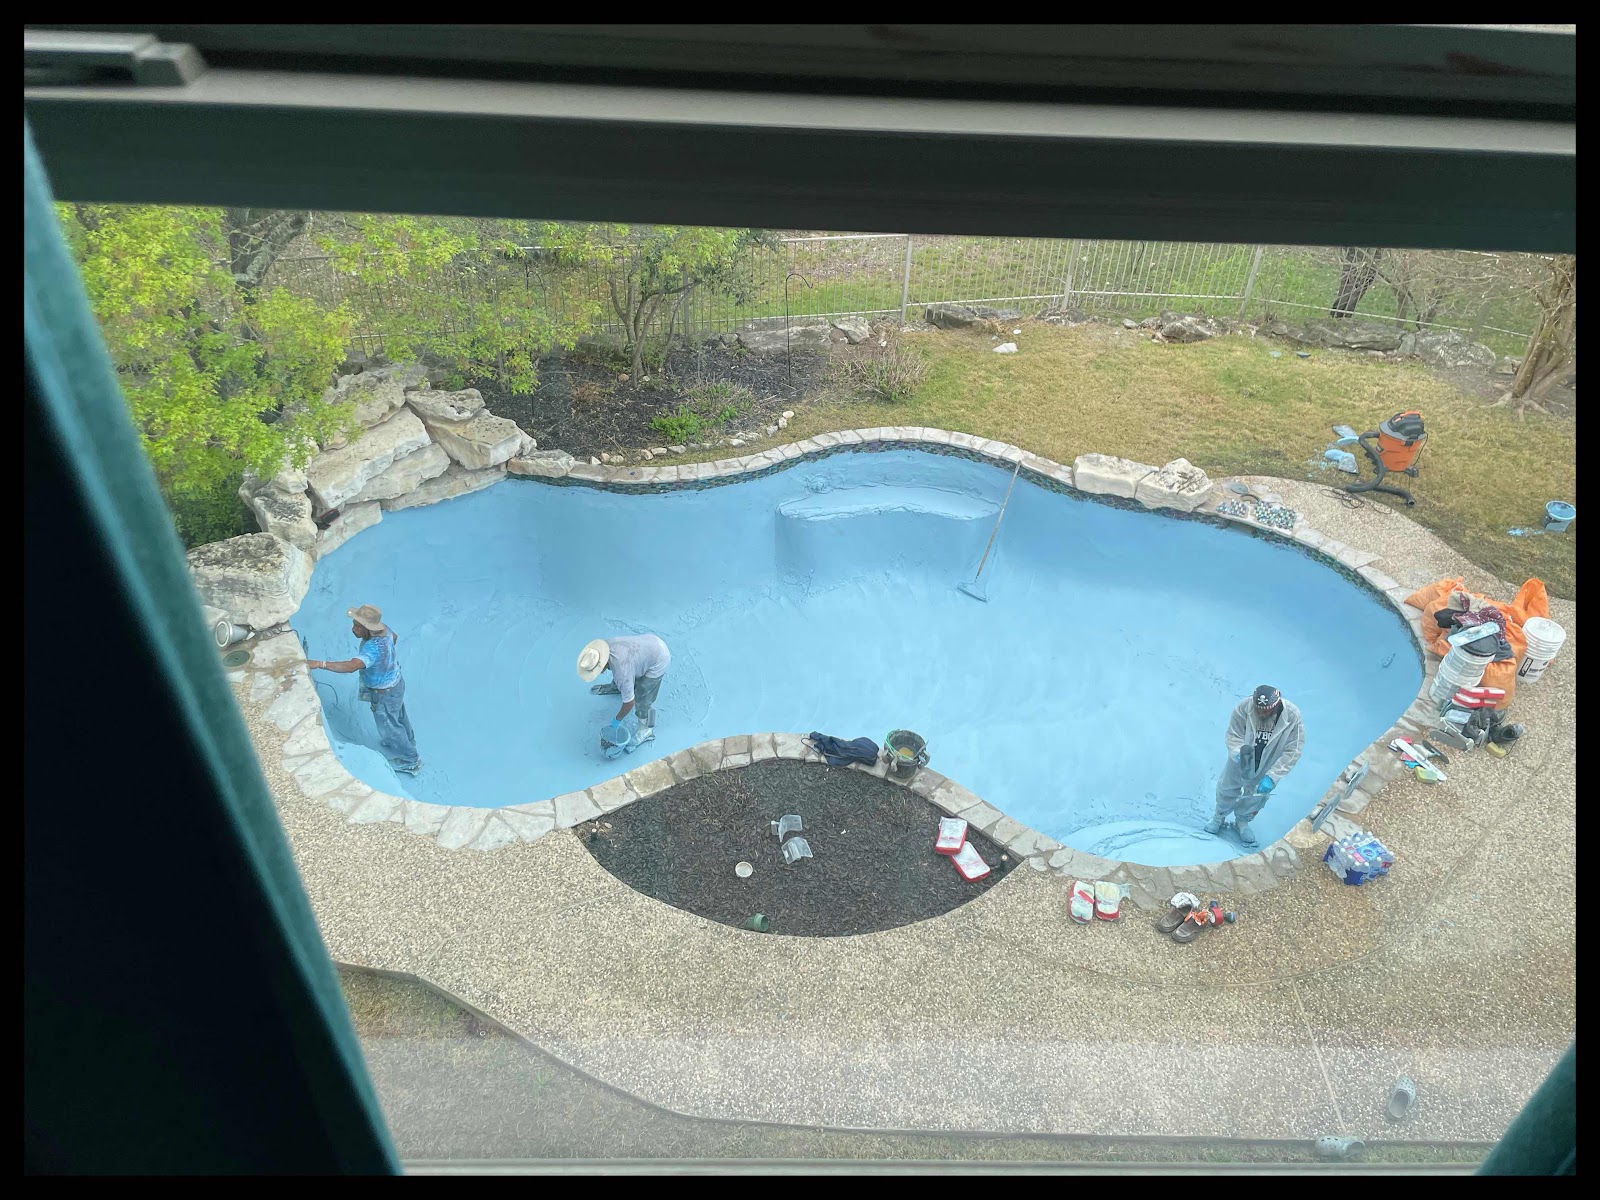
And I tried not to worry as I was departing about the insane toothpaste color this was looking like...
Here’s what the plaster looks like close-up. It’s a quartz/pebble material in this Lakeside color that’s pretty standard. And we were assured by our vendor that most home owner’s were a little concerned about the color around this stage, but that it would end up just as it should be.


So...here we were, on the road, leaving our cares behind:

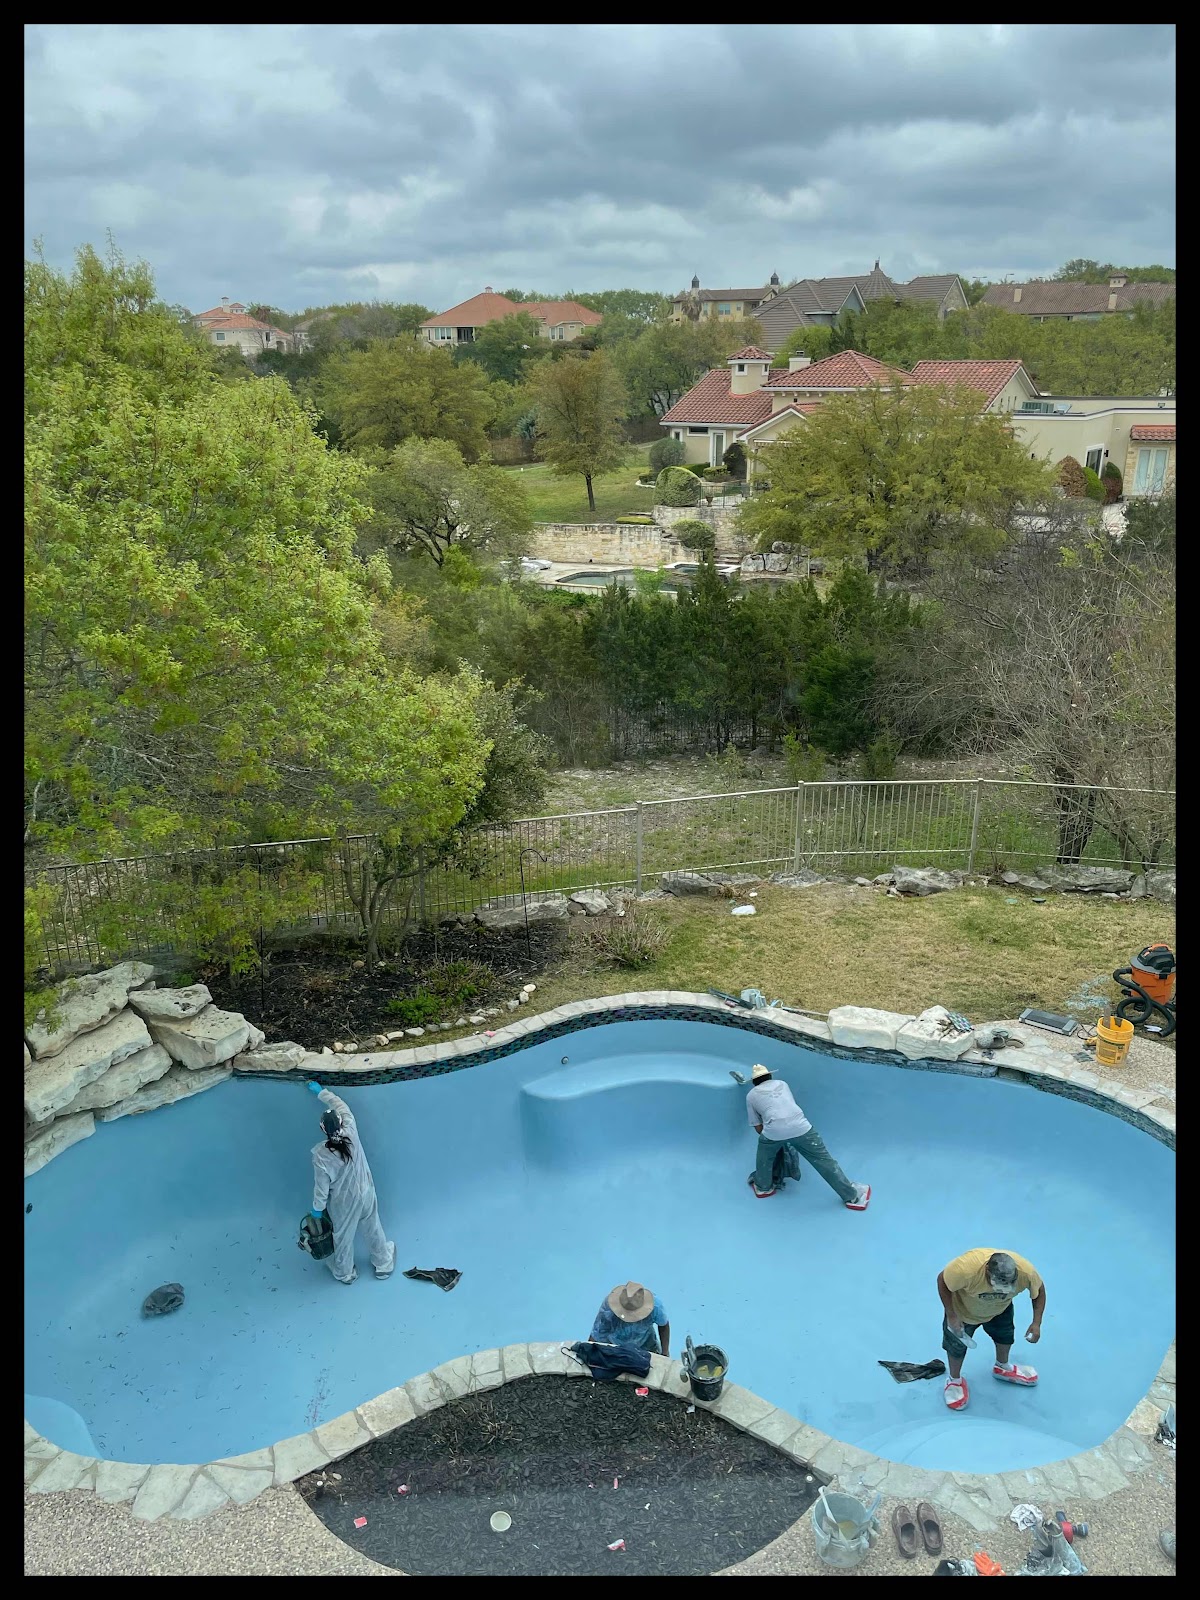
And here it was when we returned! Completed, a gorgeous shade of blue, and full of water!!

It was a major victory. Or so we thought (foreshadowing, here).
And throughout the following really tough week or two, I would just look out at the pool when I needed to be reminded of progress truly happening.
But.
Here’s what the plaster looks like close-up. It’s a quartz/pebble material in this Lakeside color that’s pretty standard. And we were assured by our vendor that most home owner’s were a little concerned about the color around this stage, but that it would end up just as it should be.
So...here we were, on the road, leaving our cares behind:
And here it was when we returned! Completed, a gorgeous shade of blue, and full of water!!
It was a major victory. Or so we thought (foreshadowing, here).
And throughout the following really tough week or two, I would just look out at the pool when I needed to be reminded of progress truly happening.
But.
As with most things in this Money Pit of ours, the story didn’t end there.
And it got way more frustrating over the next 6-8 weeks. OYE.
Basically, we ran into three unexpected problems.
First: don’t ever re-plaster a pool during the very specific week or two time period when Springtime POLLEN is falling from a tree that’s right next to the pool.
Though our vendor assured us it would be no problem, there is a really delicate 10 days of time, post re-plastering, when you have to brush the entire pool with a long tool to keep any debris from sitting there too long and causing staining.
And our vendor didn’t give us the brush for a full three days after the re-plastering, so we ended up with yellow pollen stains at the bottom of the pool.
ARGH.
Second problem: we ended up with some white streaking in the plaster that had to be evened out with a post-plastering acid wash.
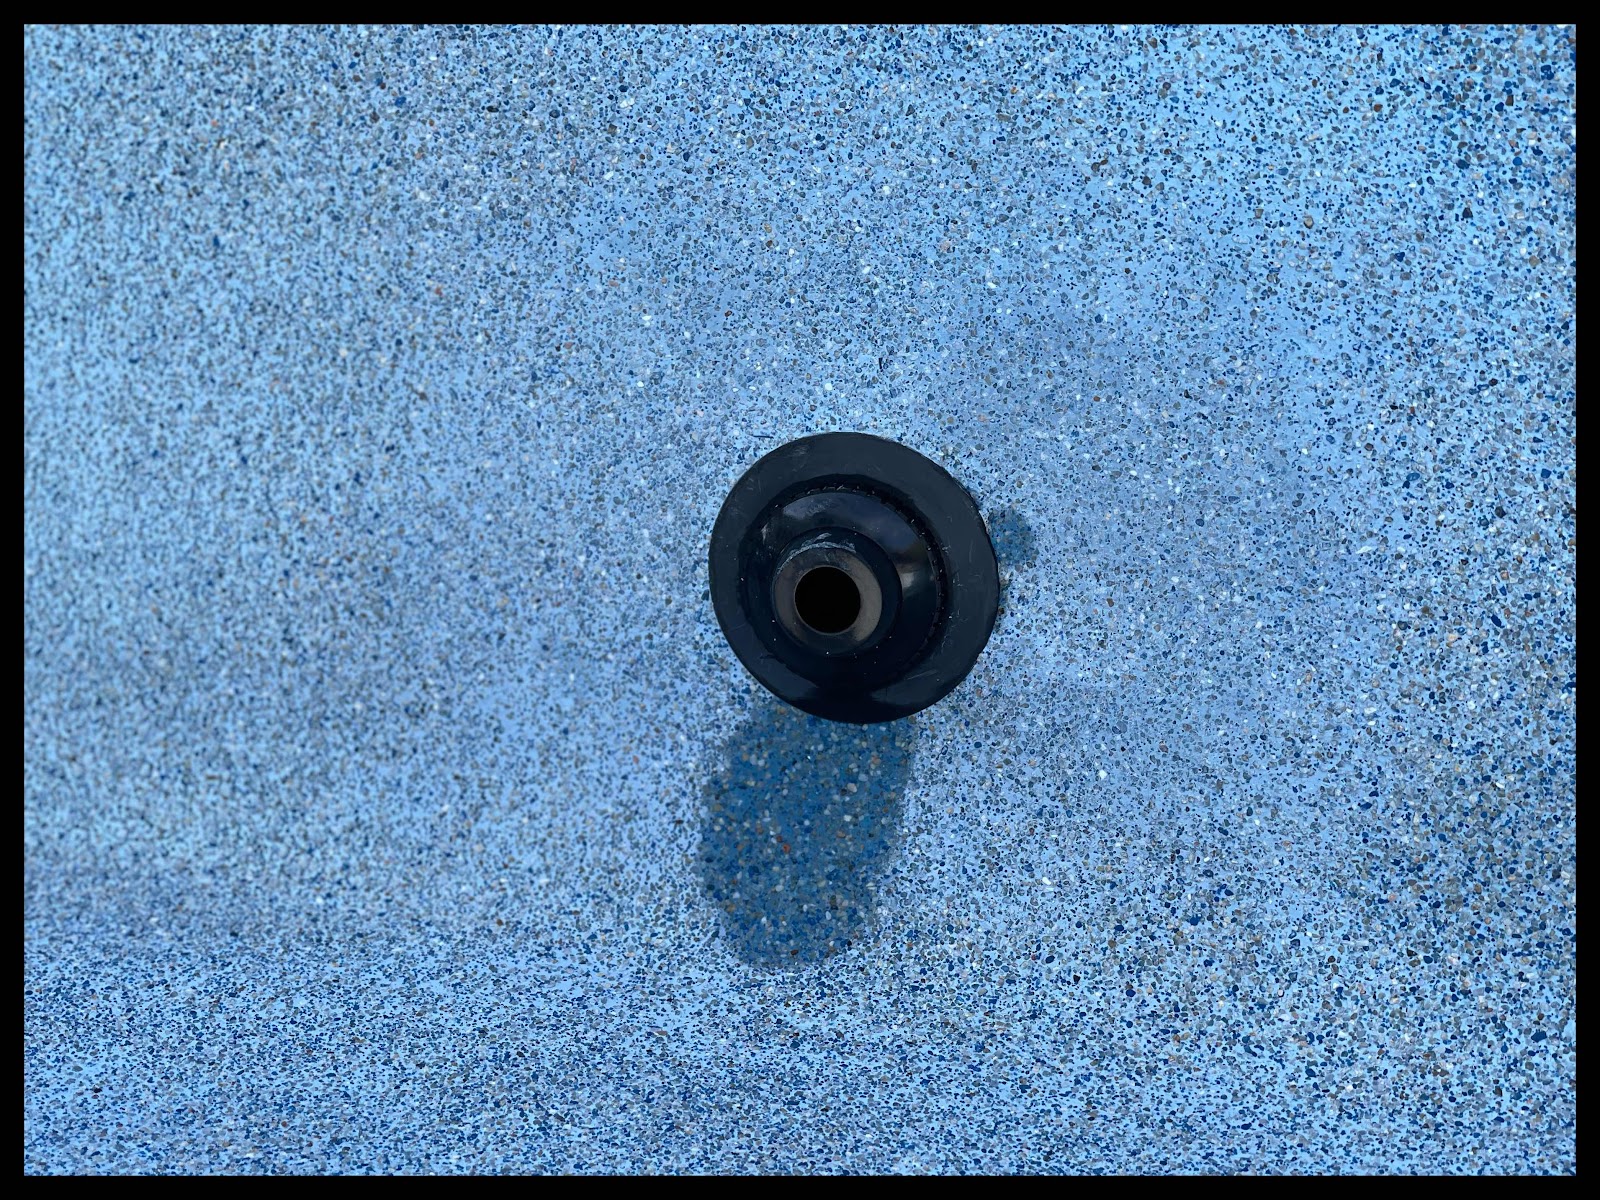
And third problem: we ended up with something the vendor had never seen before (comforting), which was white discoloration around our pool jets because of something technical related to the force of the water propelling out of the jets as the plaster was in that delicate post-period, combined with some pH level technicalities.
Can I get an OYE, OYE, OYE.
Due to these three complications and the fact that chemical and acid treatments would need to be done to correct these problems, we were told (erroneously) to hold off on our regular, weekly chemical balances of the pool.
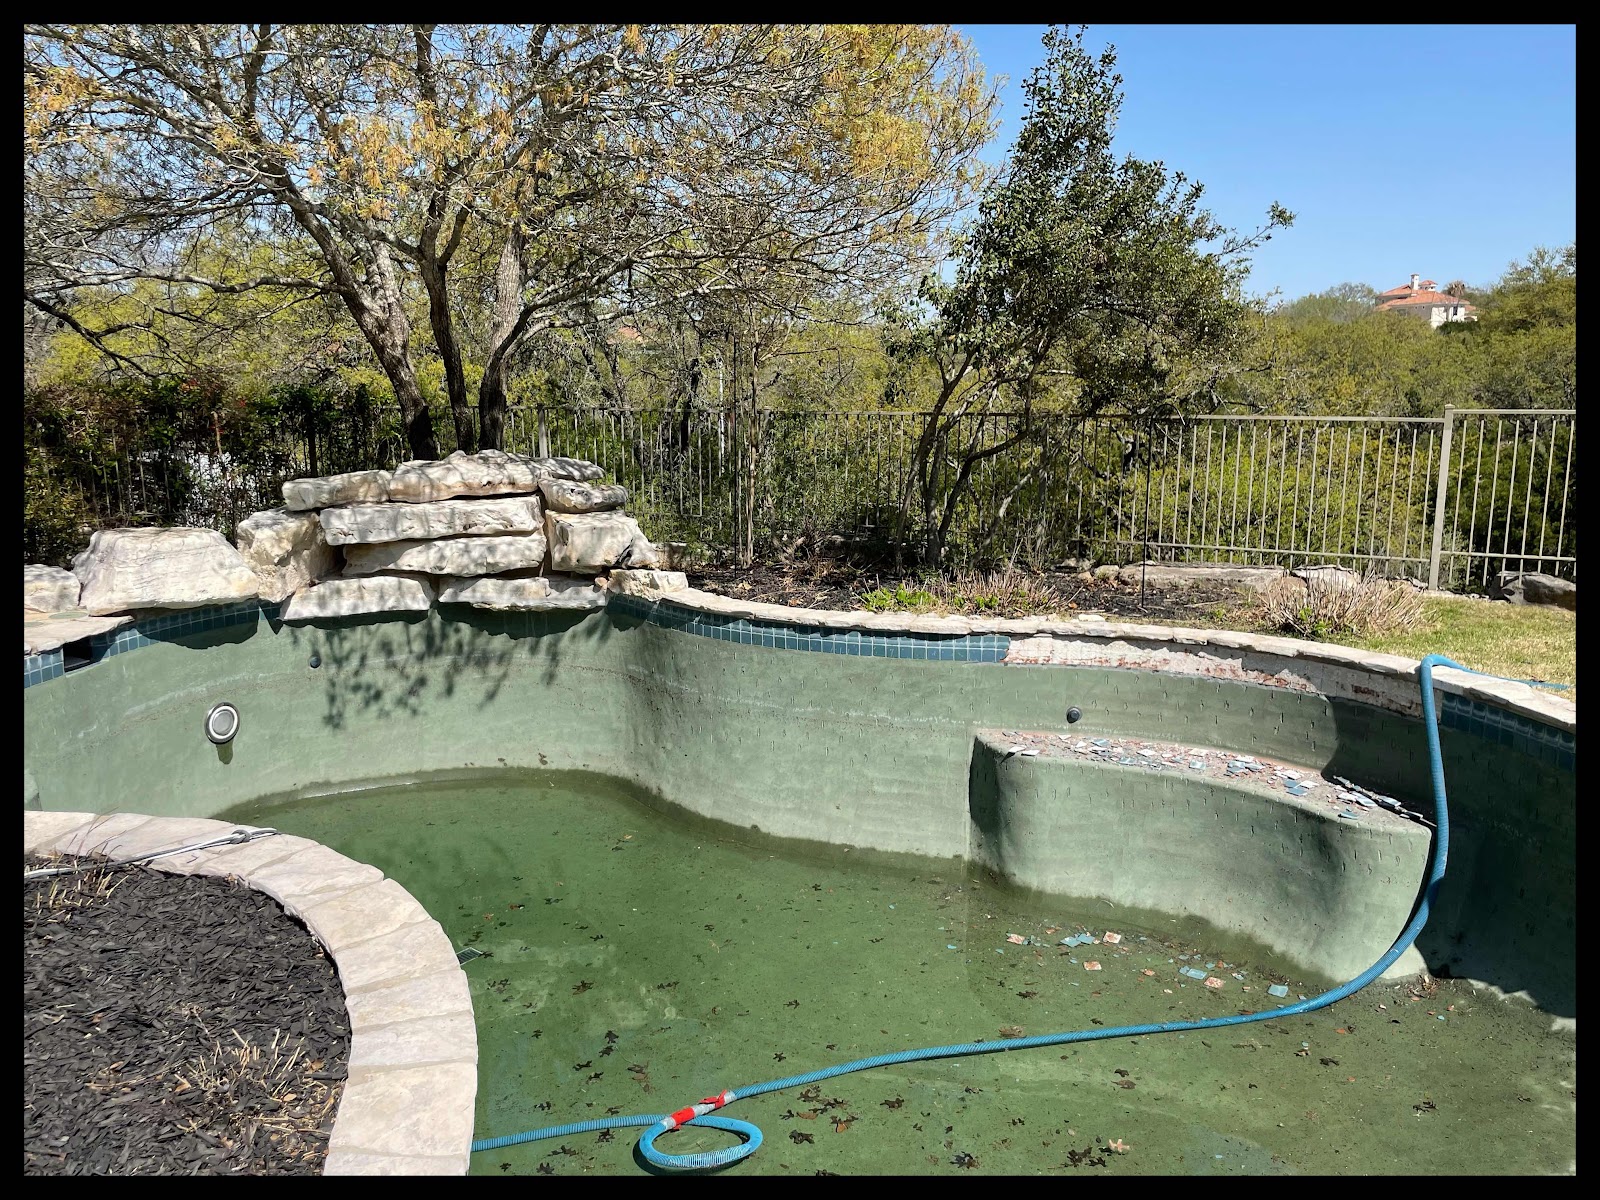
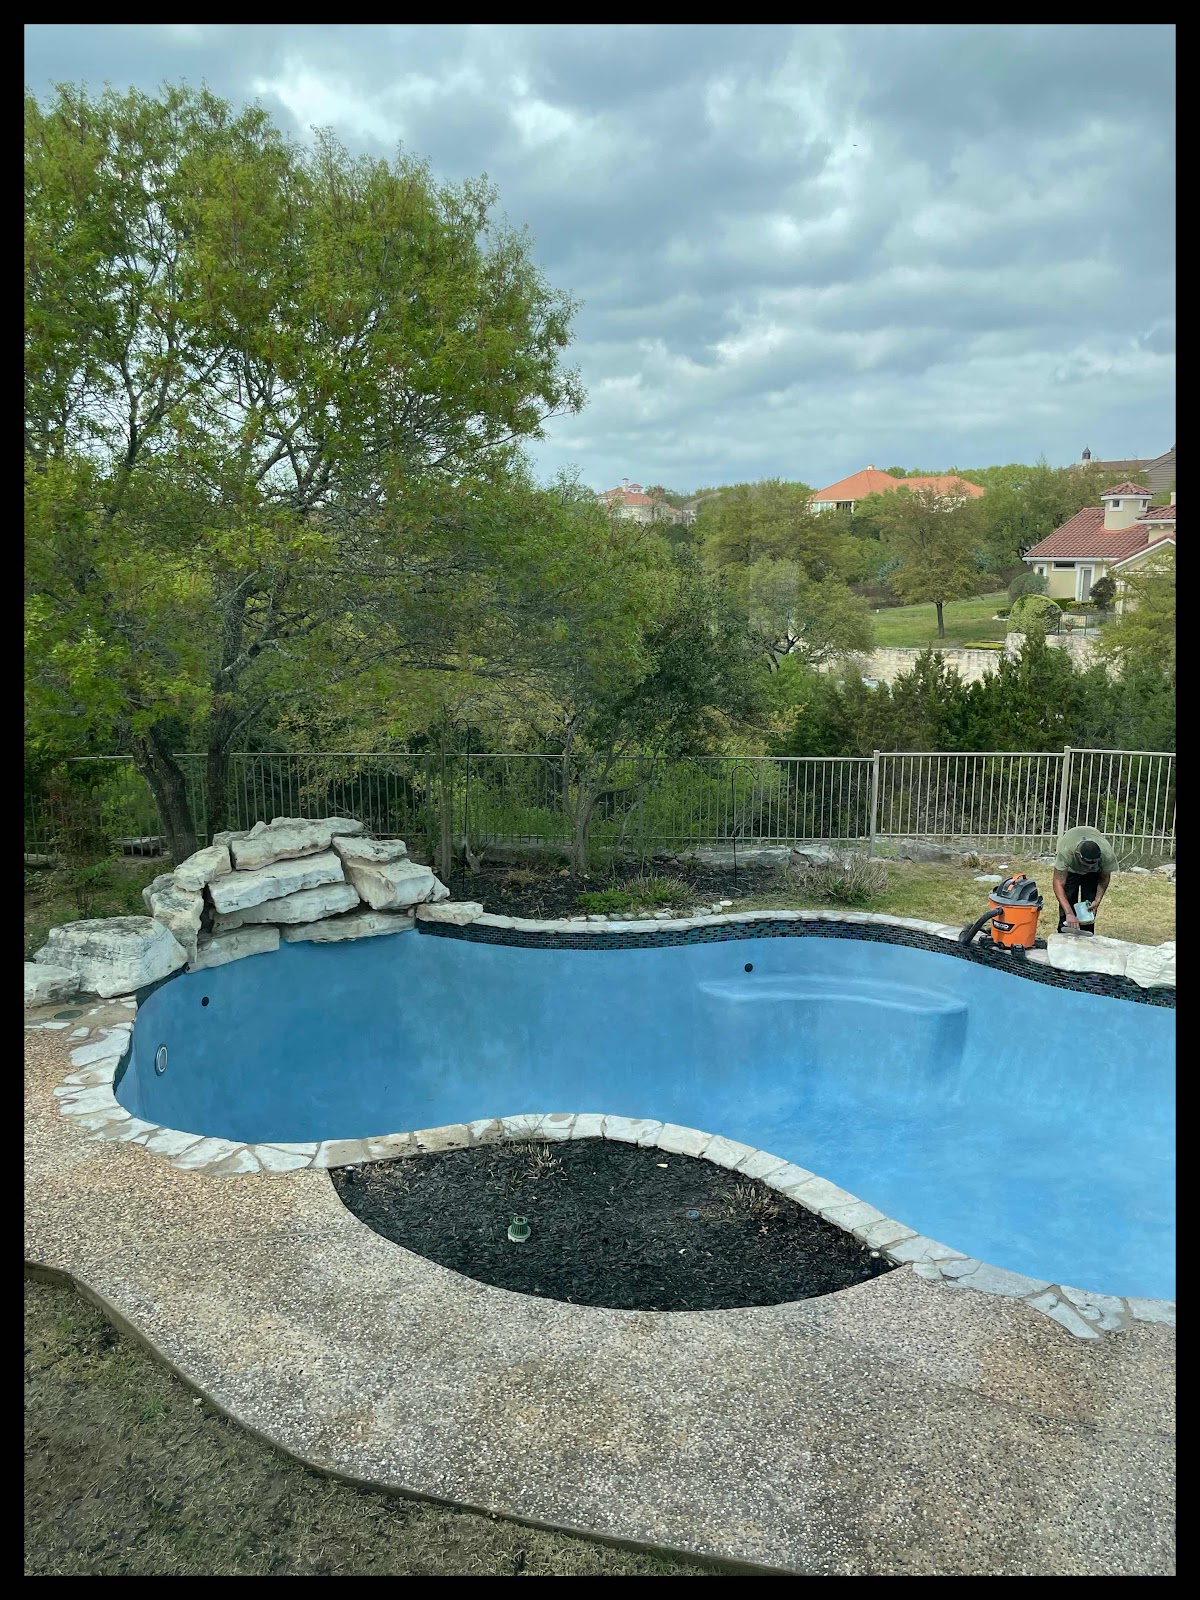
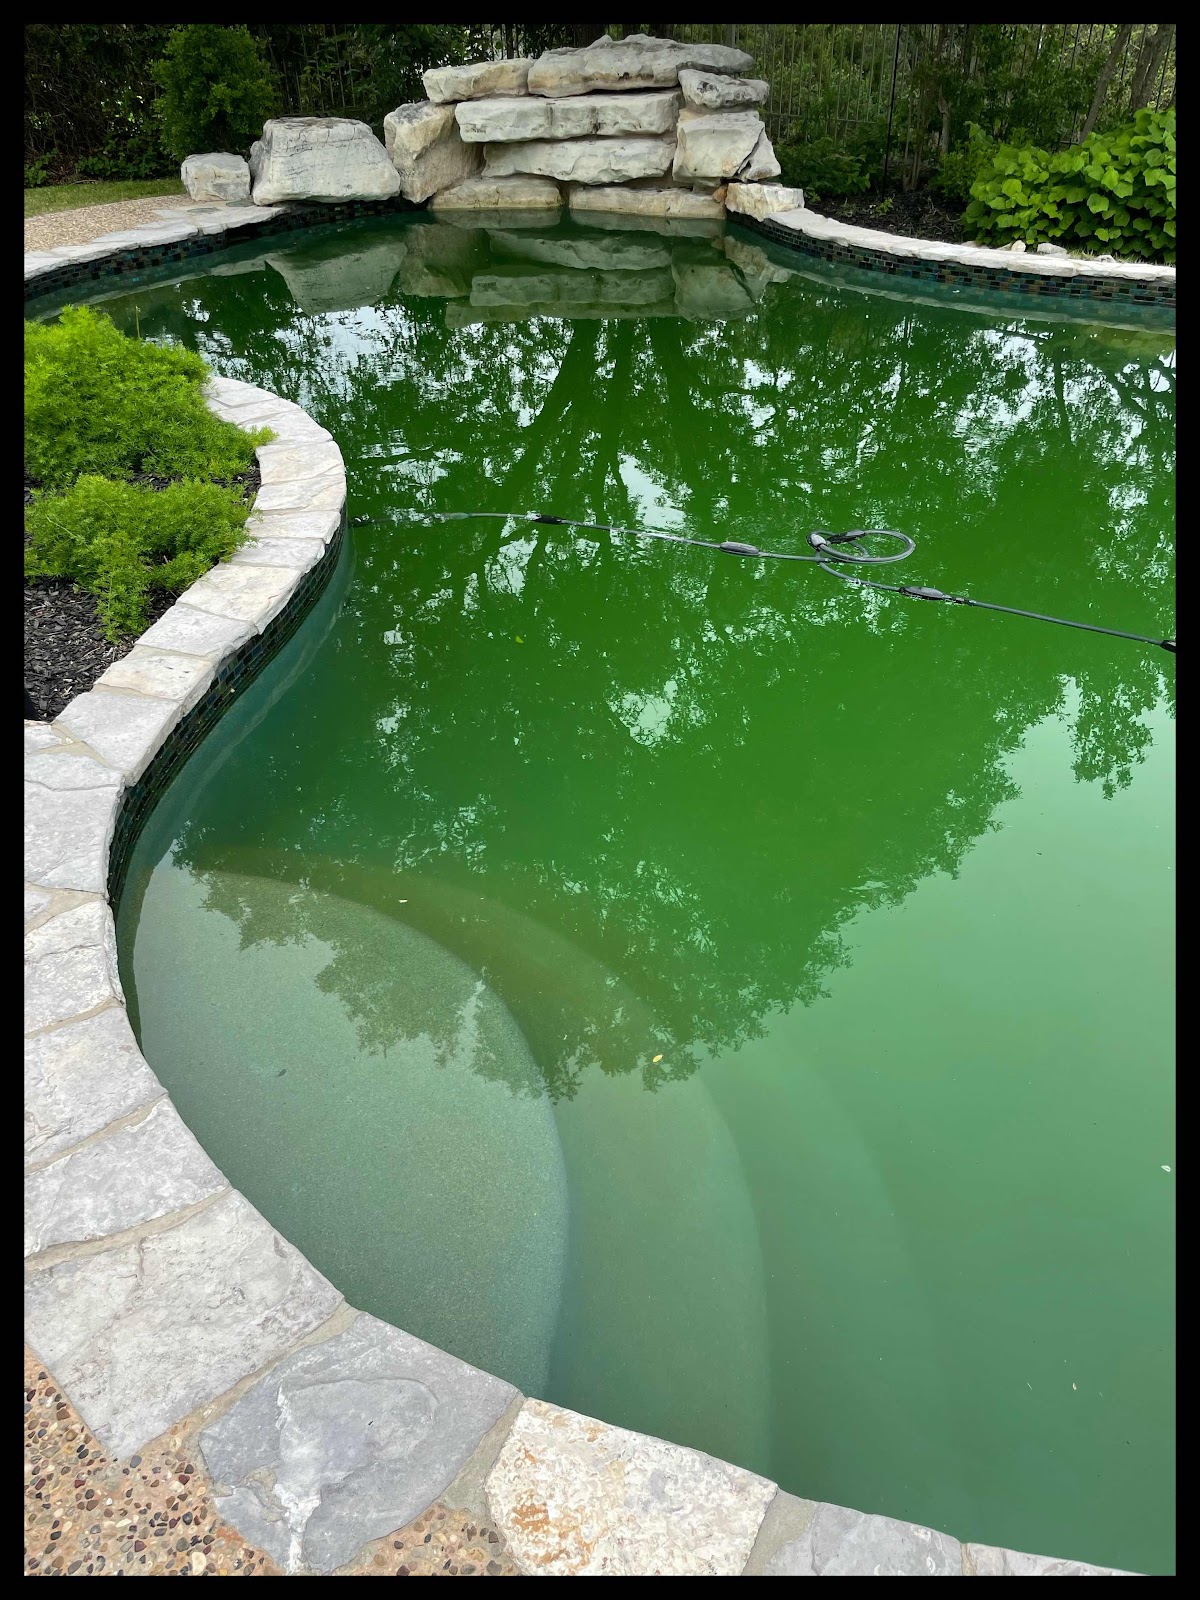
And following many weeks of waiting with no real progress towards fixing these three problems, our pool eventually looked like THIS, and I was pulling my hair out:
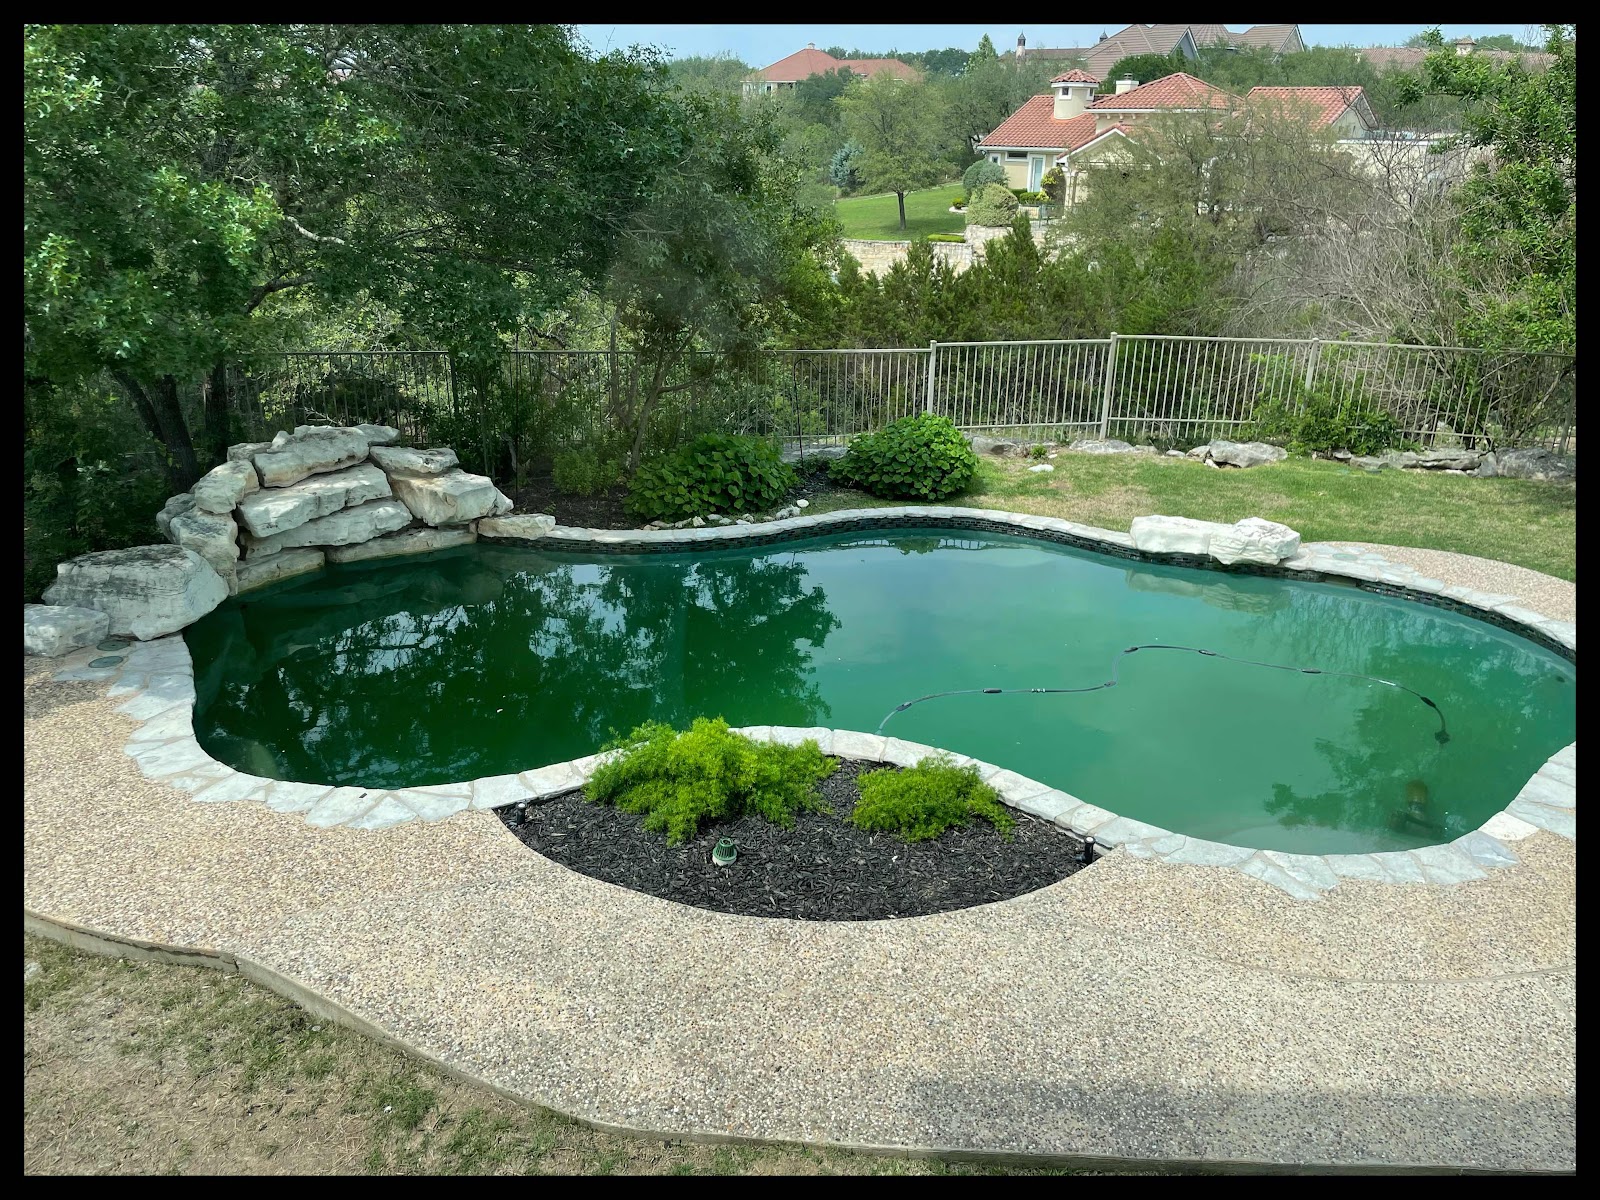
I mean...Mama was one VERY unhappy lady when things got this bad.

Just look at all the sediment and CRUD that was just stewing in there. It looked like we’d never re-plastered it to begin with! I was pretty rage-prone.
This was about the time when the hubby kindly passed the baton to me, so that I could express my disappointment to our vendor directly and get him to MOVE THINGS ALONG with the special tool they’d apparently ordered to solve our problems. We played a little good cop/bad cop and finally got the ball rolling with a permanent solution.
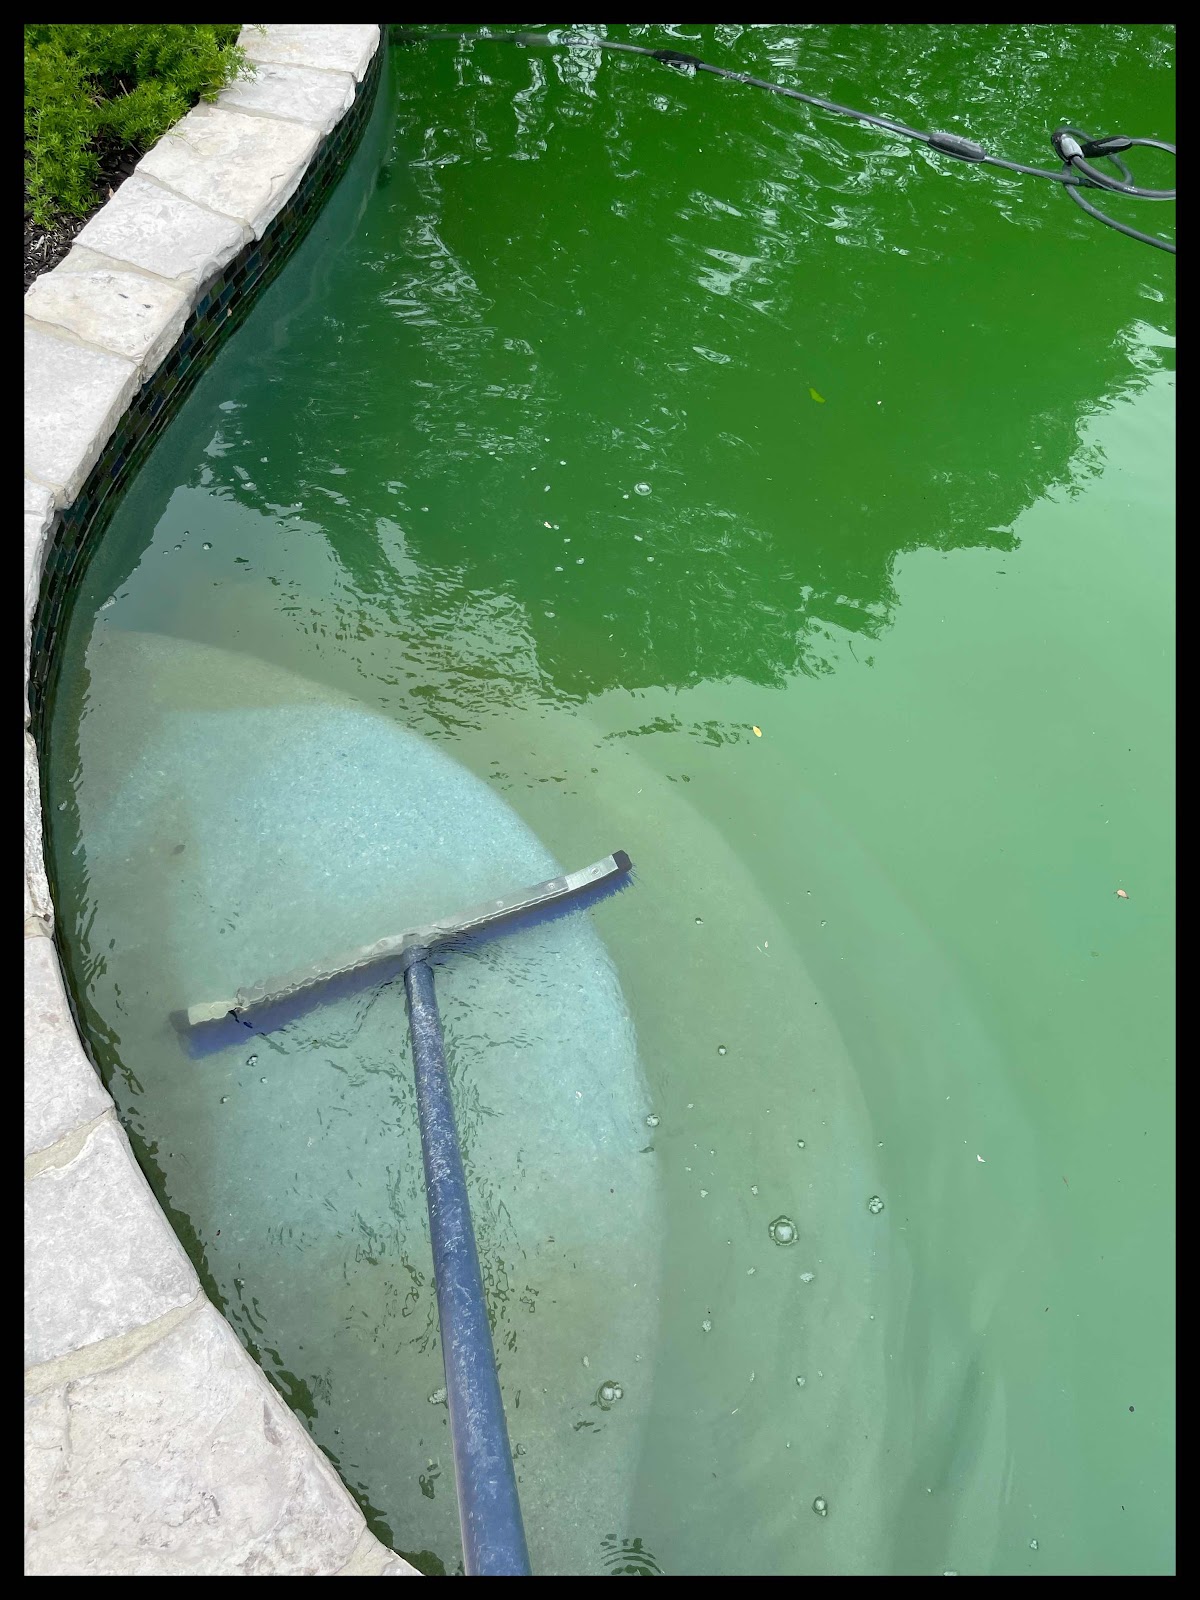
In the end, the whole, dang pool had to be drained again...

And I was just despondent over the poor appearance of our newly-restored freaking pool!

Here’s a shot of the bleaching issue around the jets that was one of the biggest problems that caused this spiral:


So.
I mean...Mama was one VERY unhappy lady when things got this bad.
Just look at all the sediment and CRUD that was just stewing in there. It looked like we’d never re-plastered it to begin with! I was pretty rage-prone.
This was about the time when the hubby kindly passed the baton to me, so that I could express my disappointment to our vendor directly and get him to MOVE THINGS ALONG with the special tool they’d apparently ordered to solve our problems. We played a little good cop/bad cop and finally got the ball rolling with a permanent solution.
In the end, the whole, dang pool had to be drained again...
And I was just despondent over the poor appearance of our newly-restored freaking pool!
Here’s a shot of the bleaching issue around the jets that was one of the biggest problems that caused this spiral:
So.
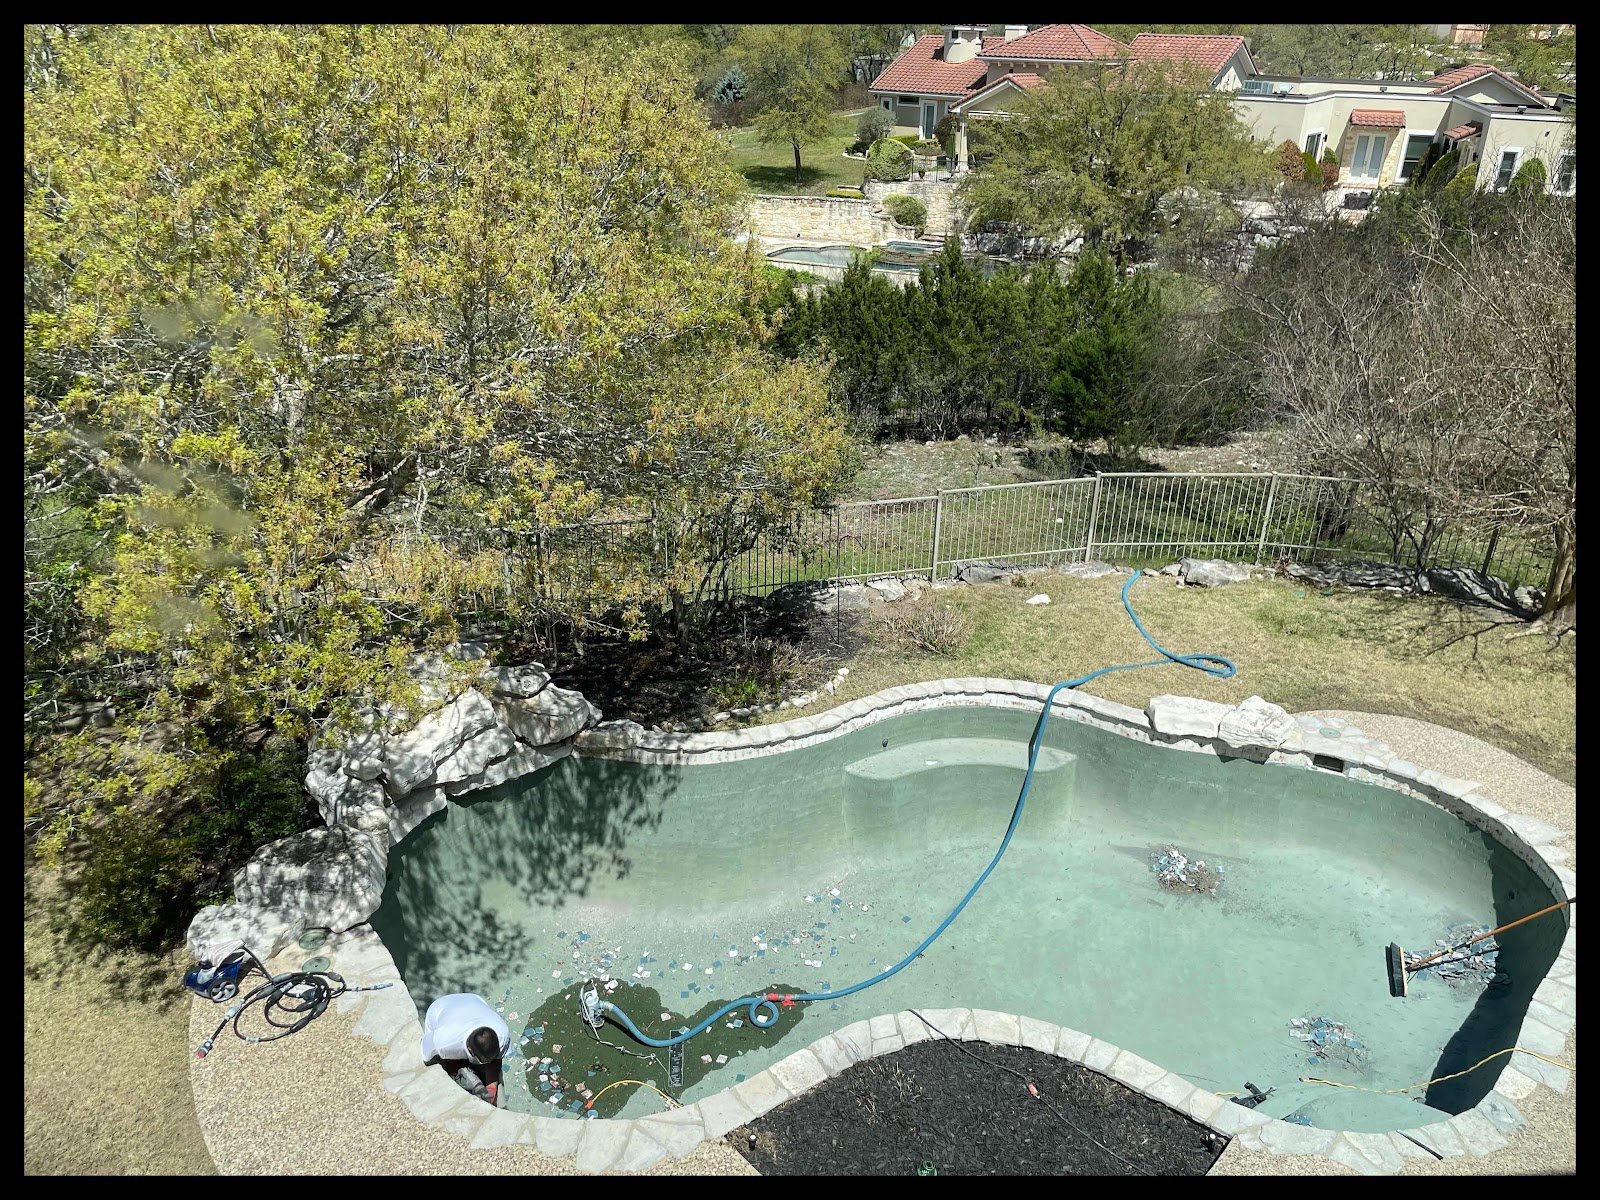
They drained the pool.
They used this special tool (the one that had been back-ordered) and had to replace each jet and sand down the quartz/plaster around each one.
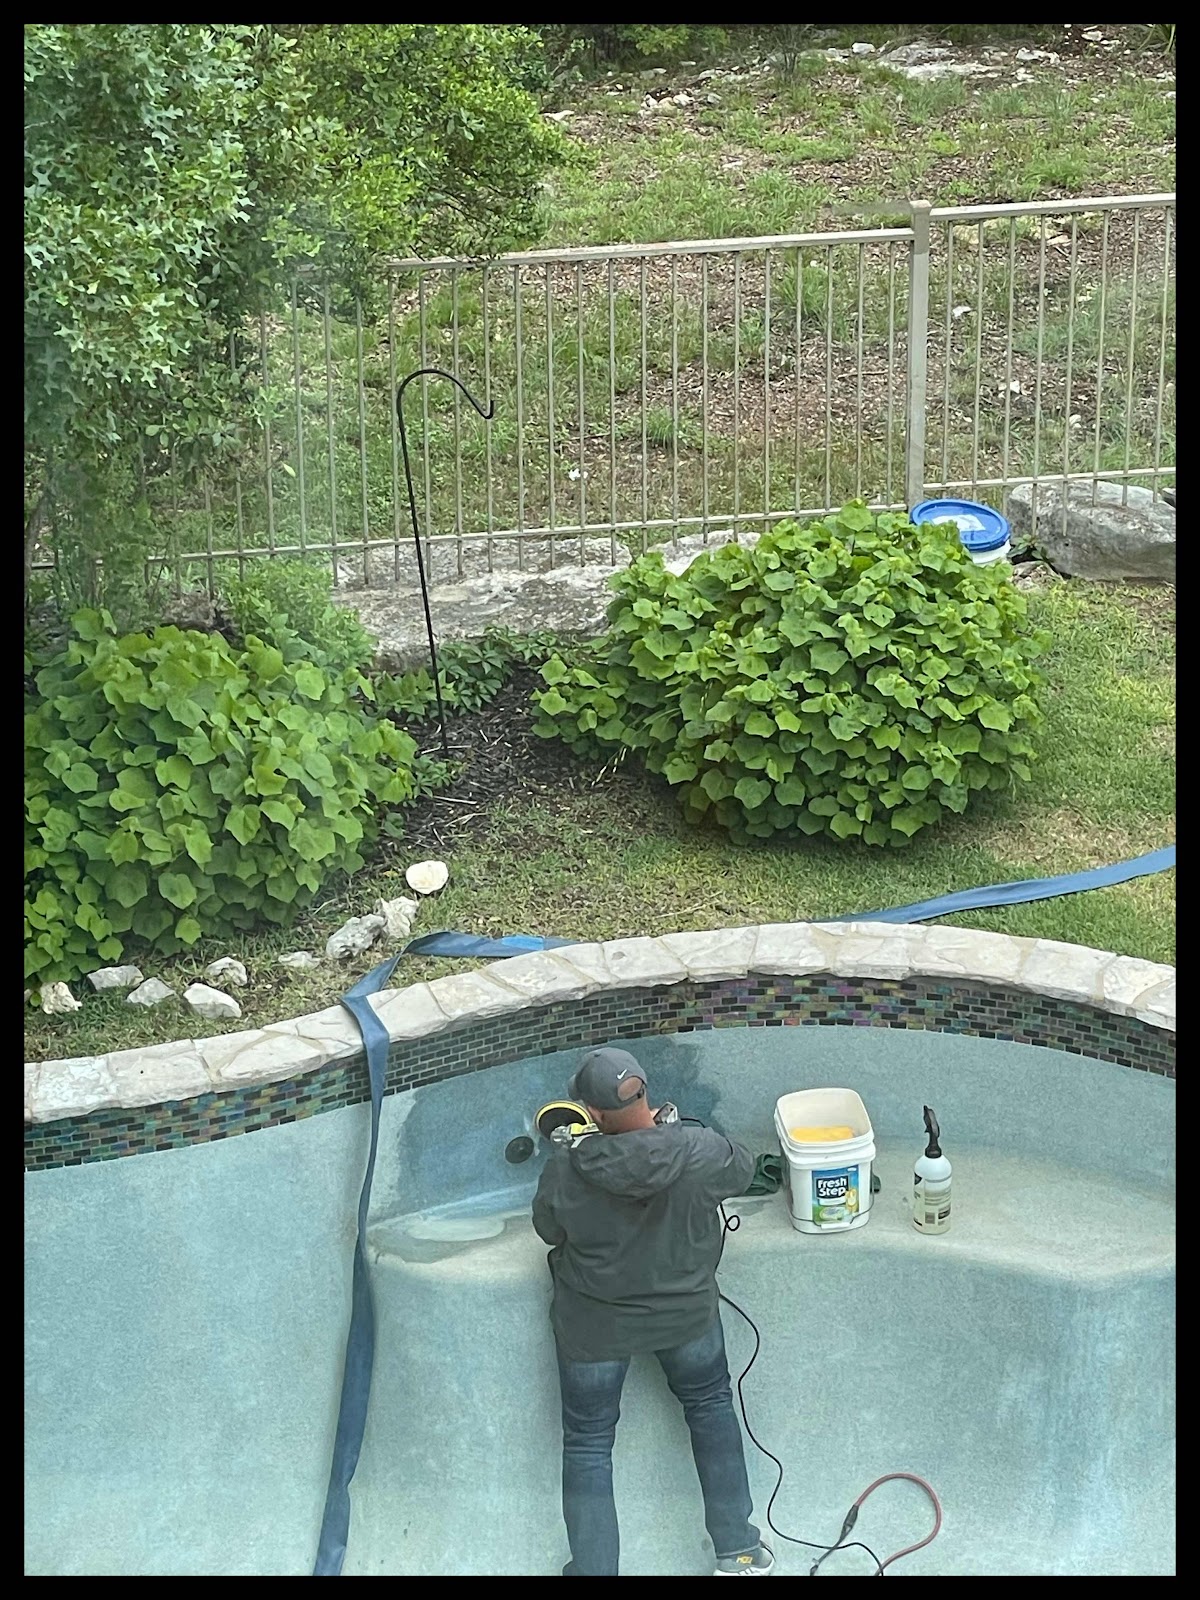
Then they had to give the entire pool an acid bath to remove the algae buildup, and to reveal the true plaster color once again.
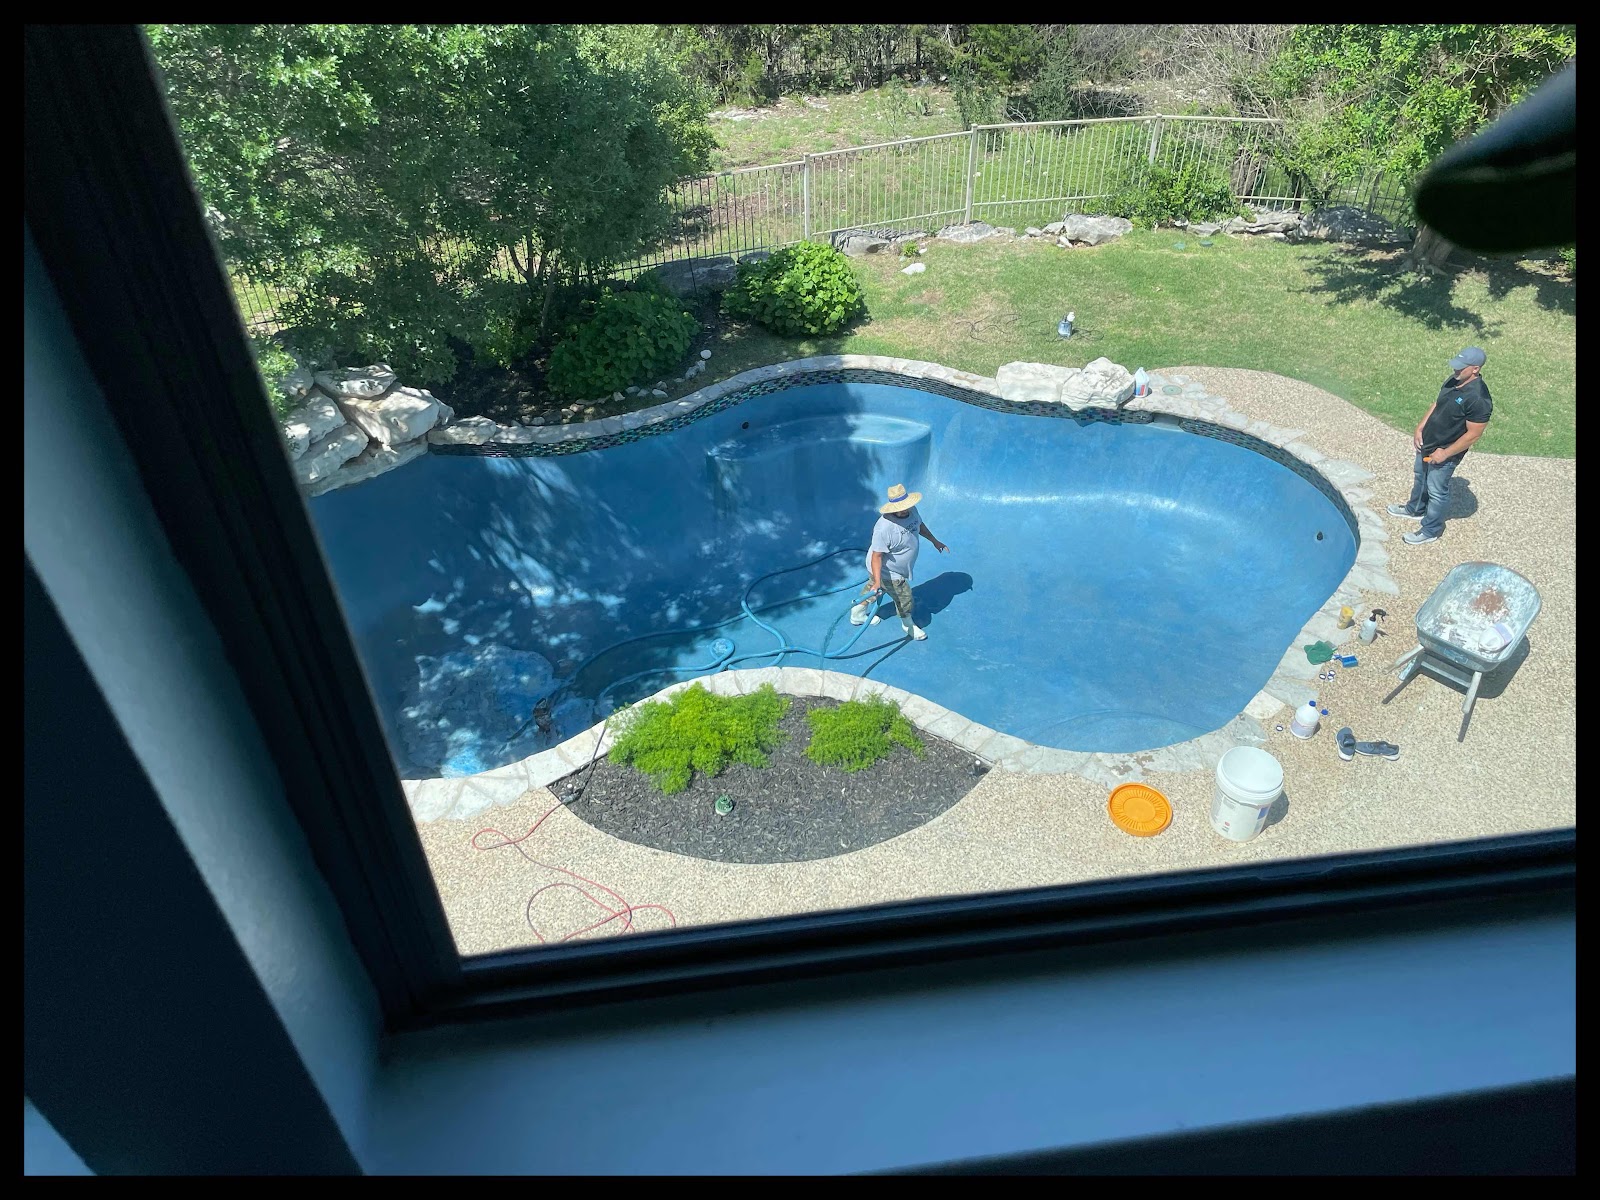
But by that evening, we had high hopes we’d be filling it up for the FINAL time, to officially complete this process—about 10 weeks after it began! Oye.

Thank heavens the bleaching around the jets was corrected. Pollen stains were corrected. And the algae was washed away.

Within 24 hours, the pool was filled, all was beautiful again, and we pushed HARD to have the necessary chemical treatments within 24 hours to keep us from going to the bad, green place again (again). And we breathed a deep sigh of relief to be done, DONE with this whole process.


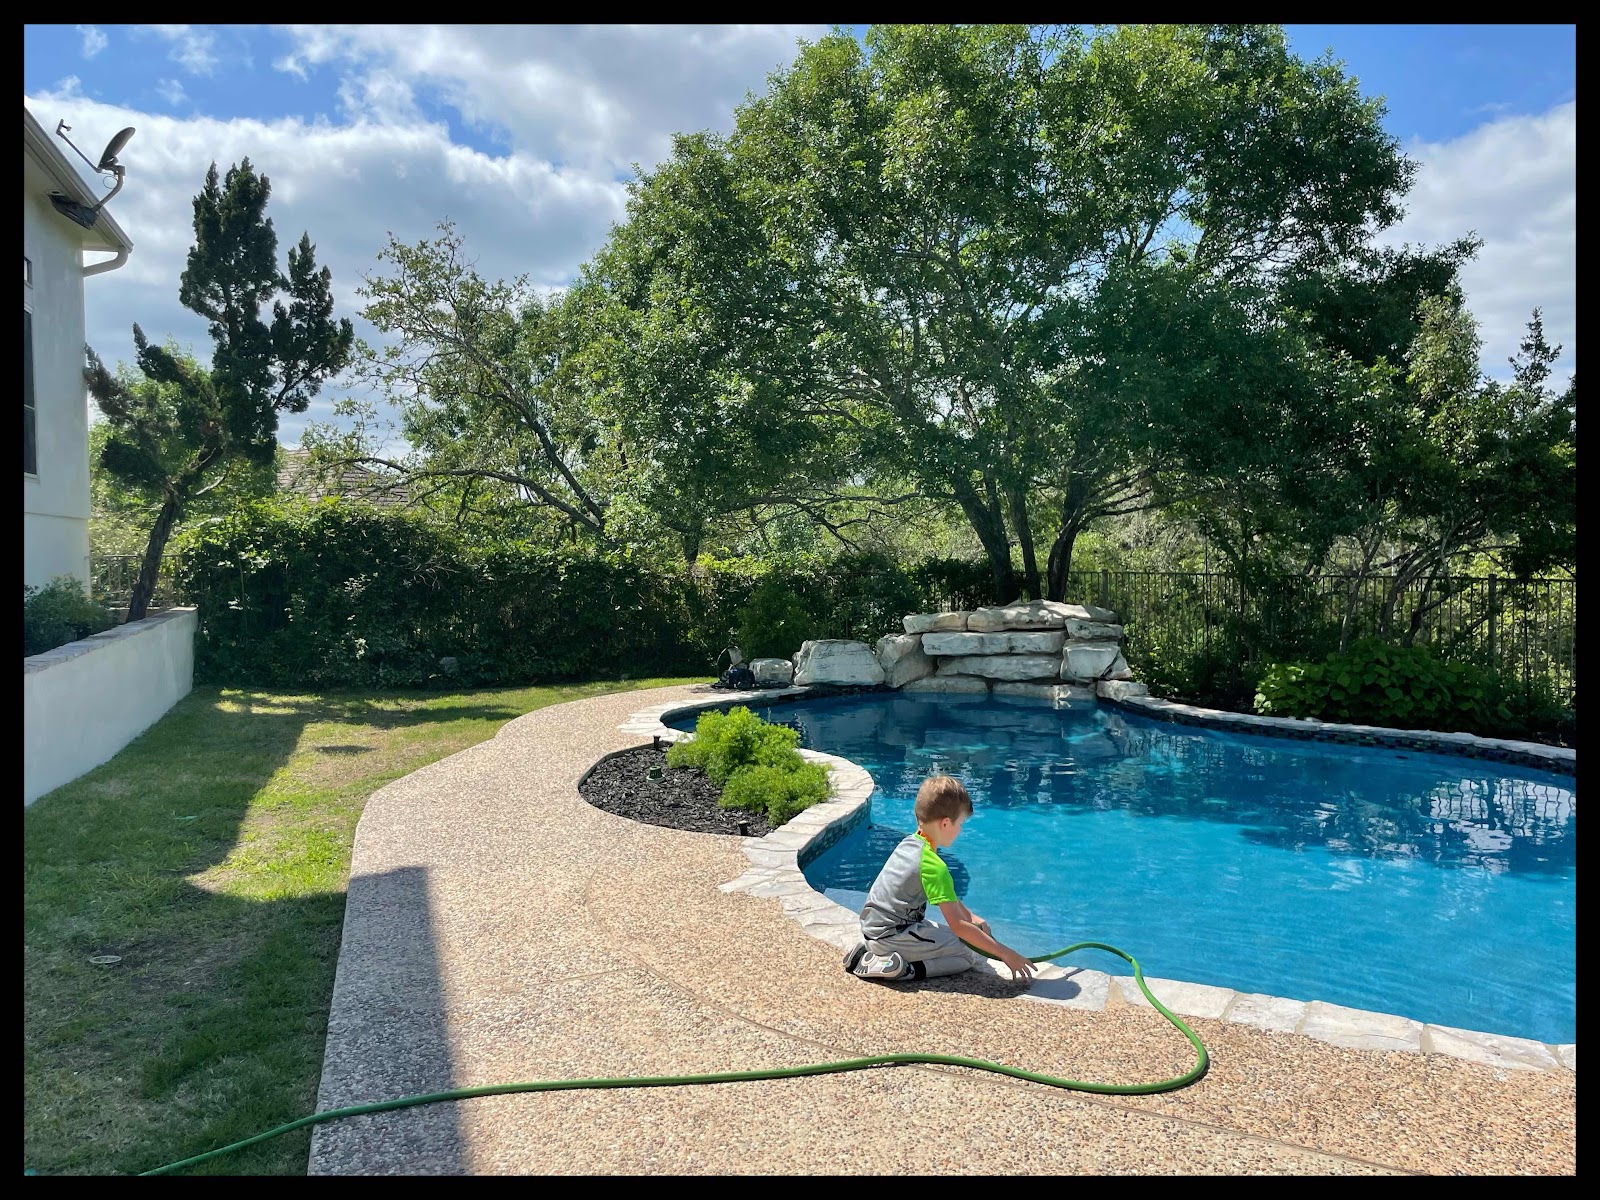
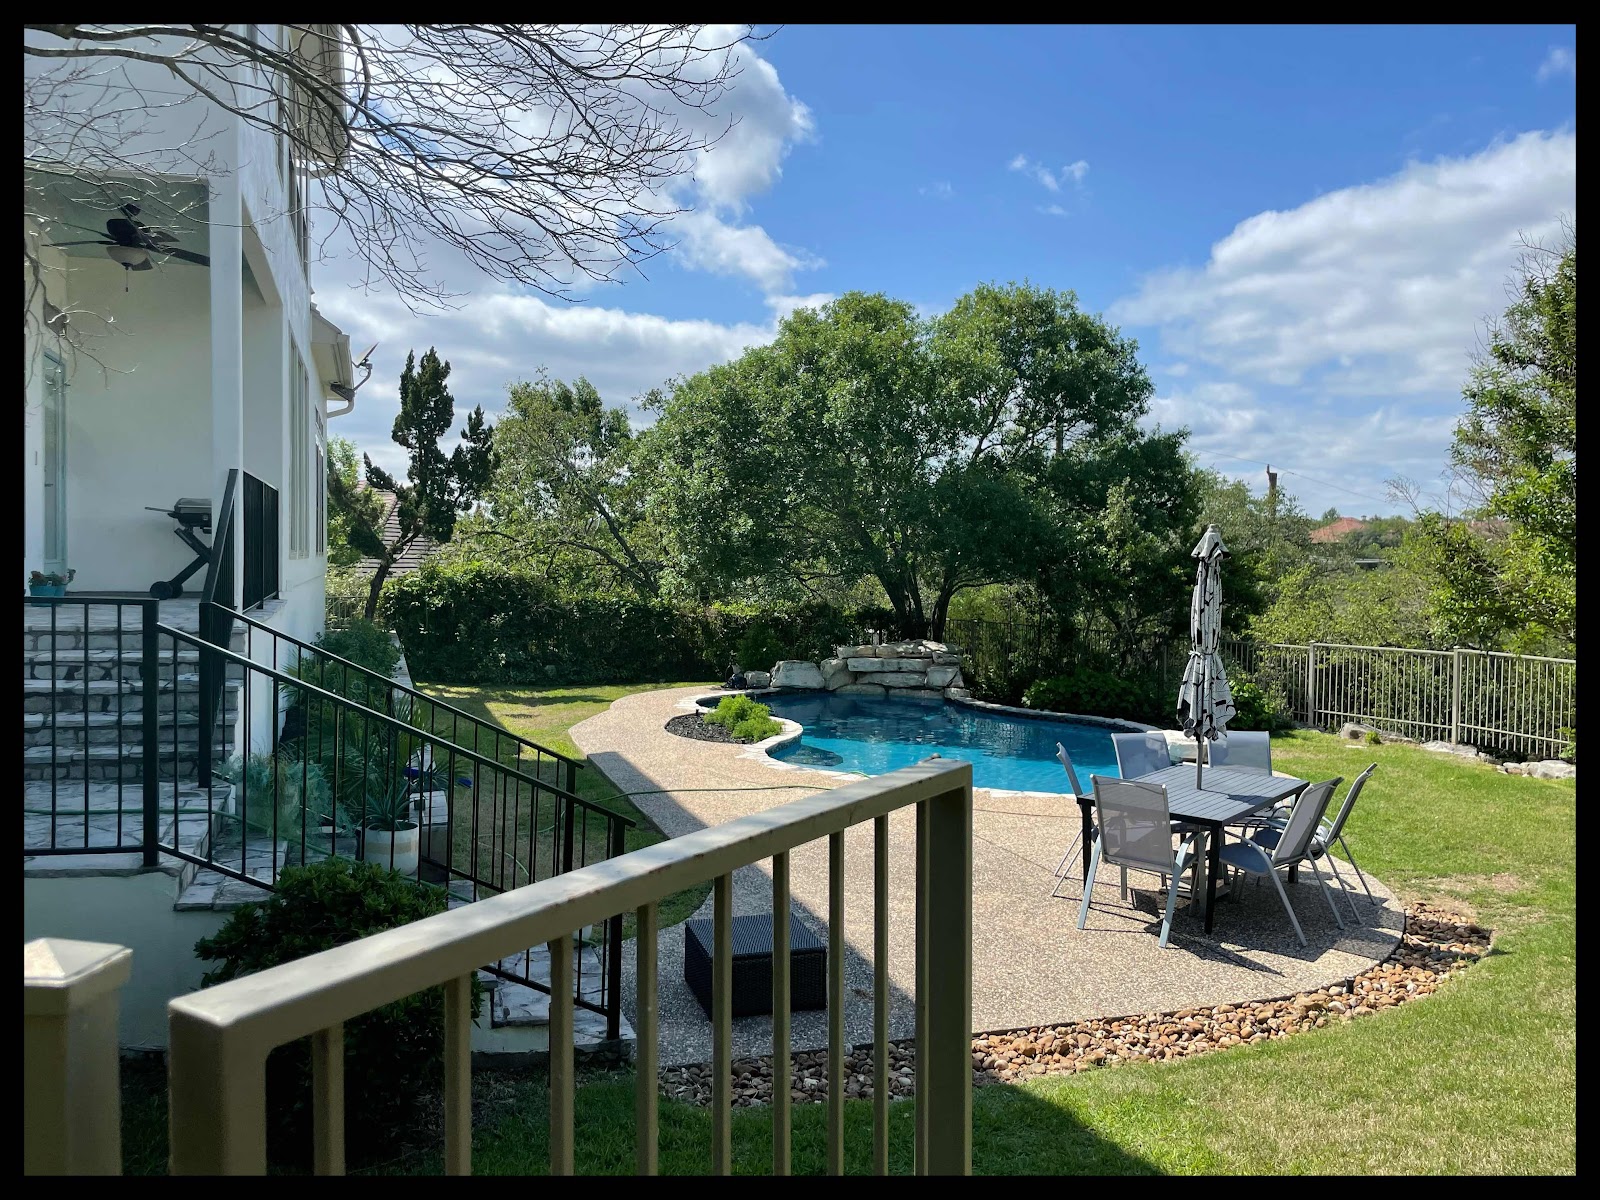
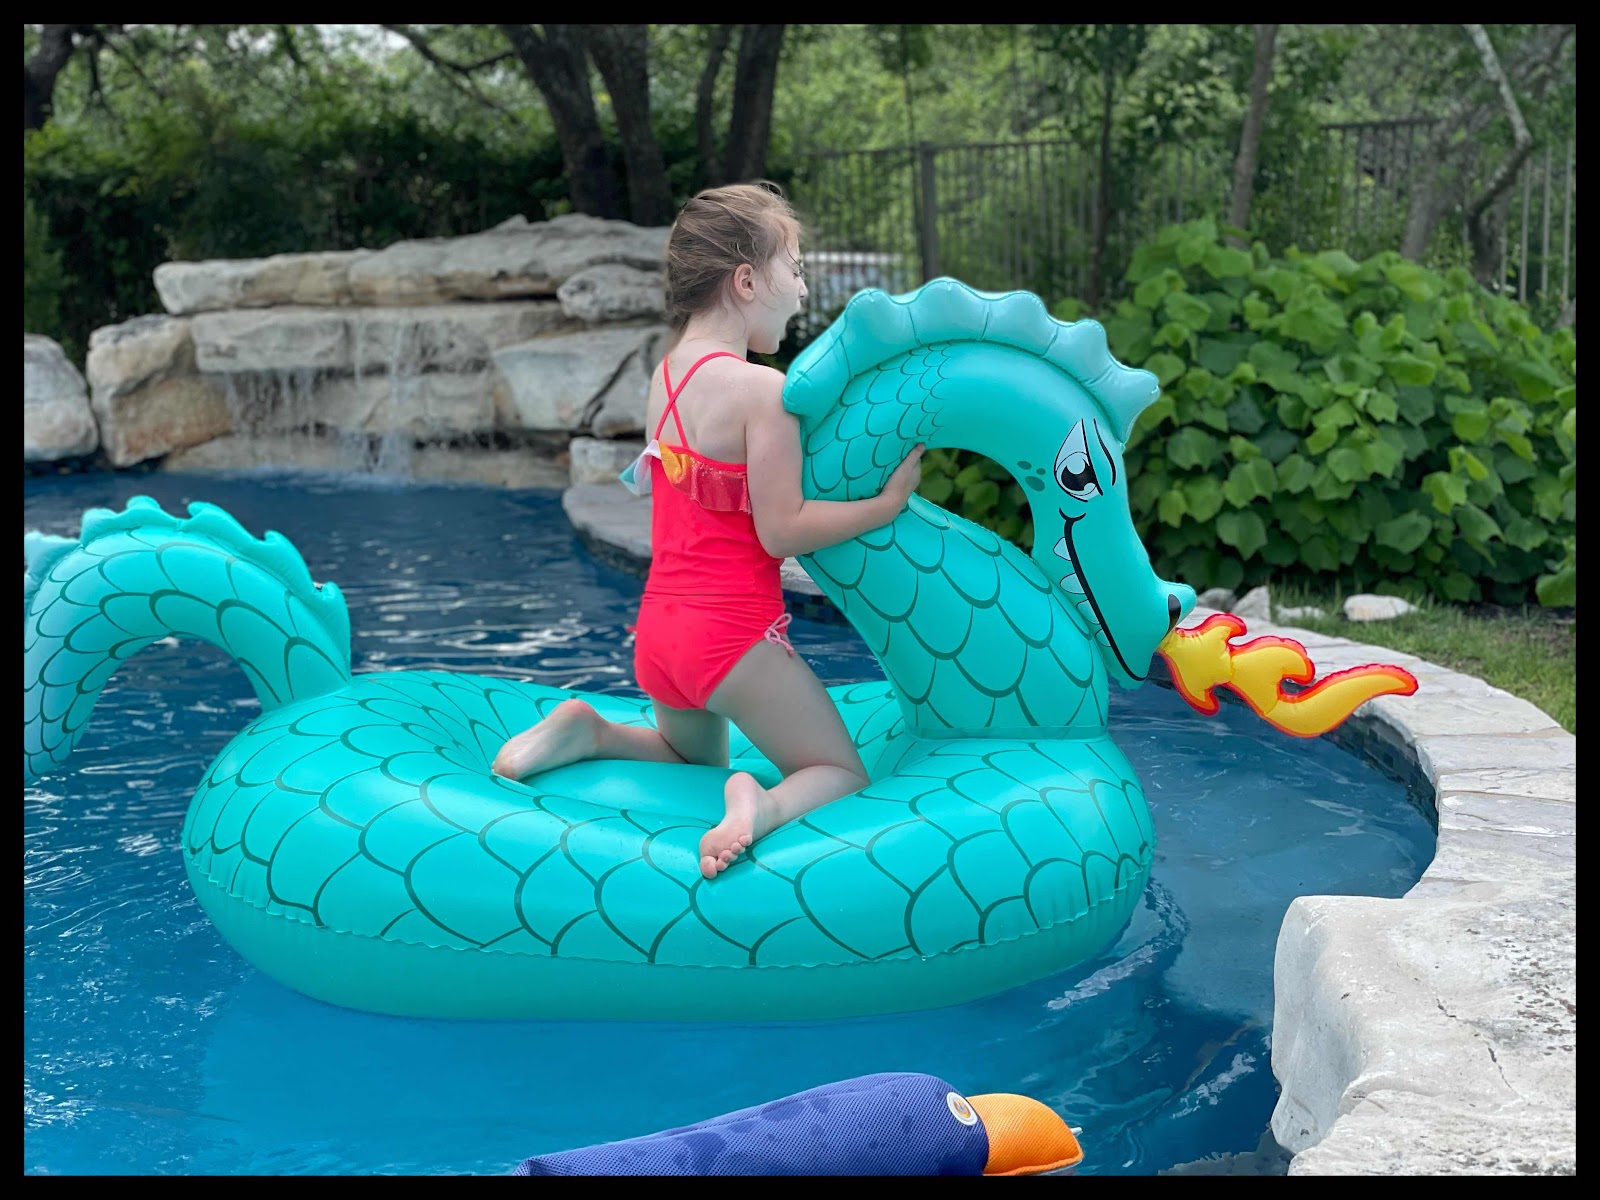
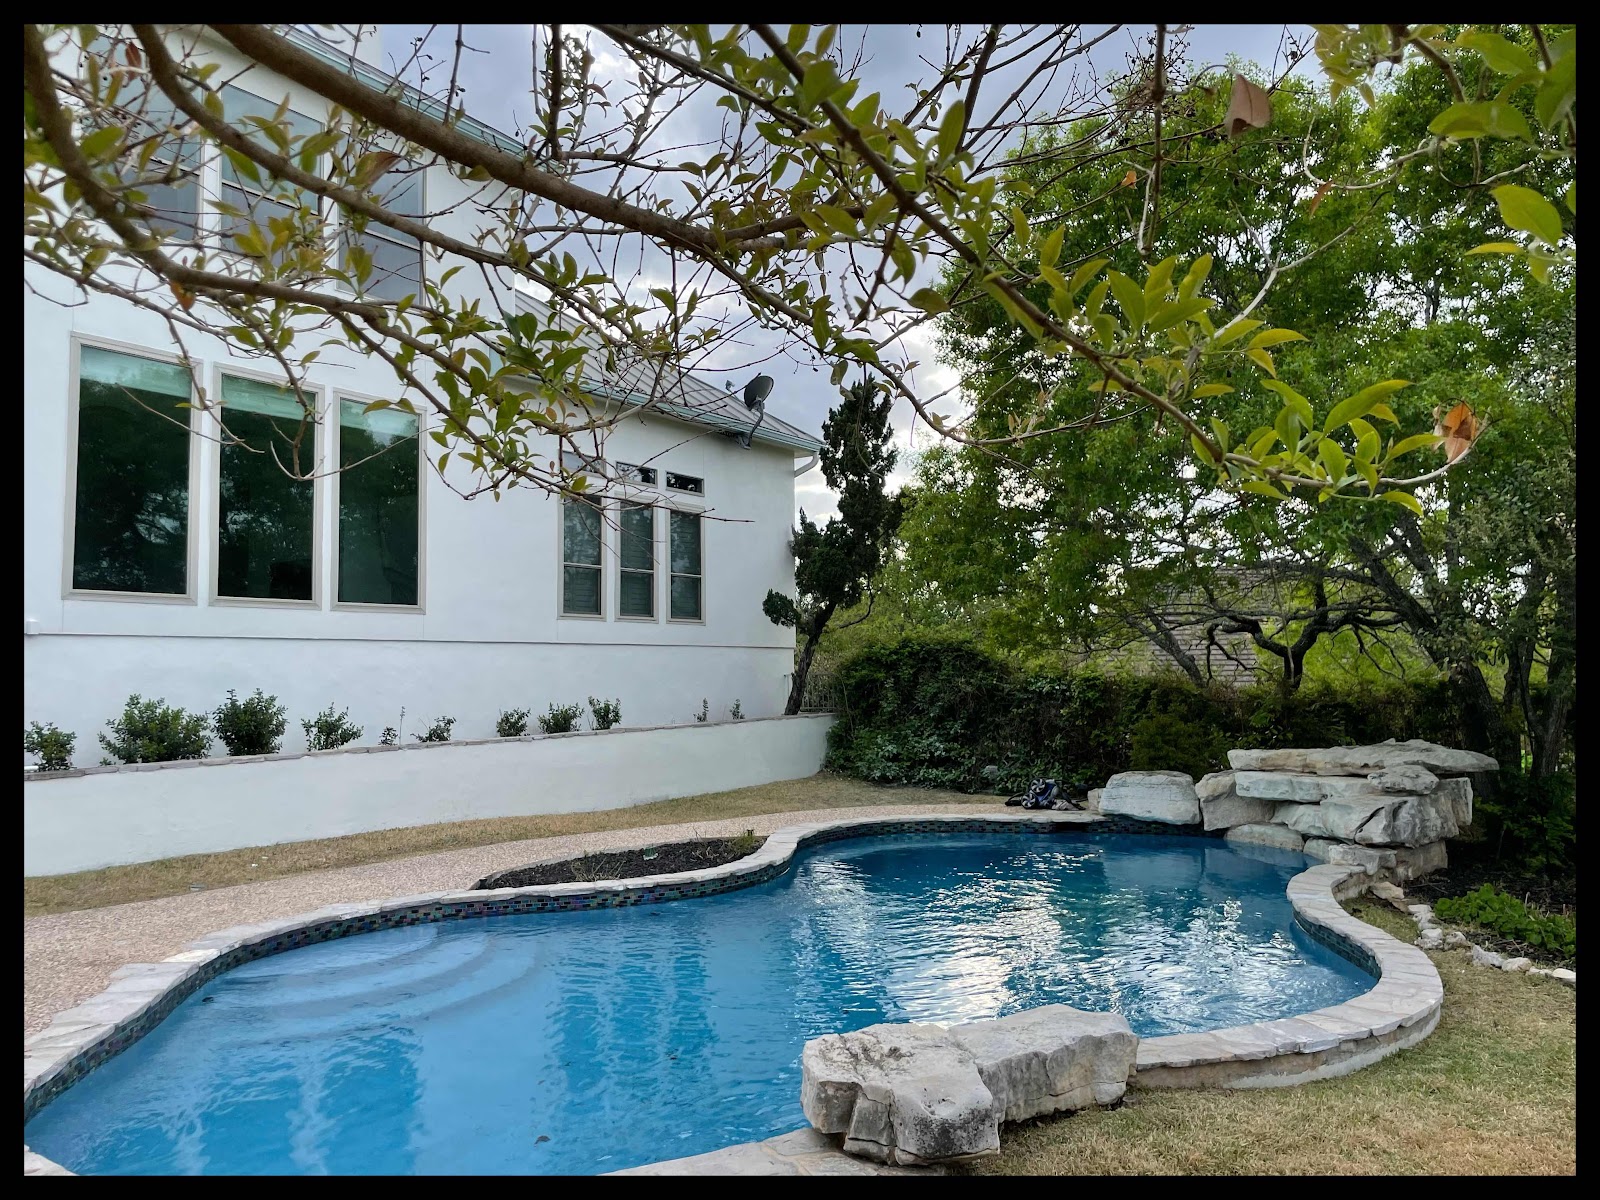
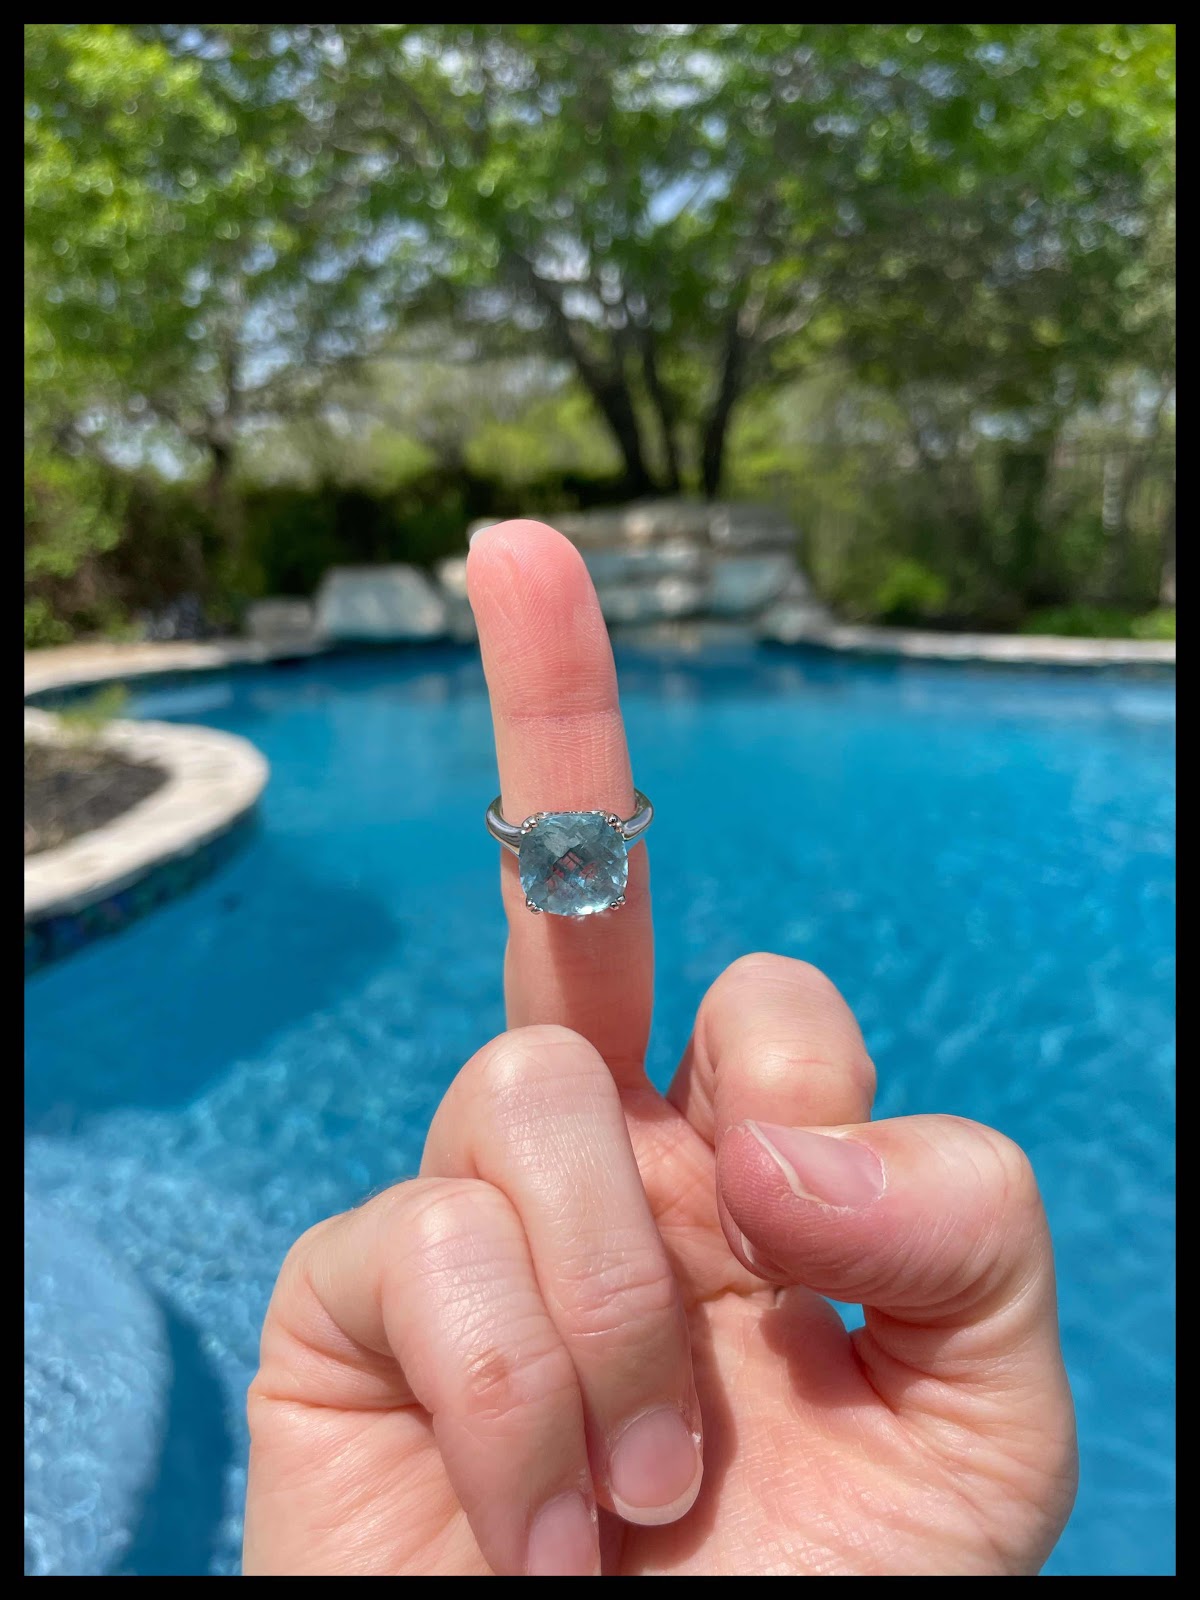
Despite the slightly arduous process of completing this pool restoration, it’s been so lovely to have a normal, BLUE colored pool, now.
For the first couple of weeks, it was a constant delight to walk downstairs and get a blast of that aquamarine color through the windows. And, honestly, as silly as it sounds, I’ve been incorporating more blue in certain items (like our rug) that we had to replace from the flooding, to mirror what’s now in the backyard.

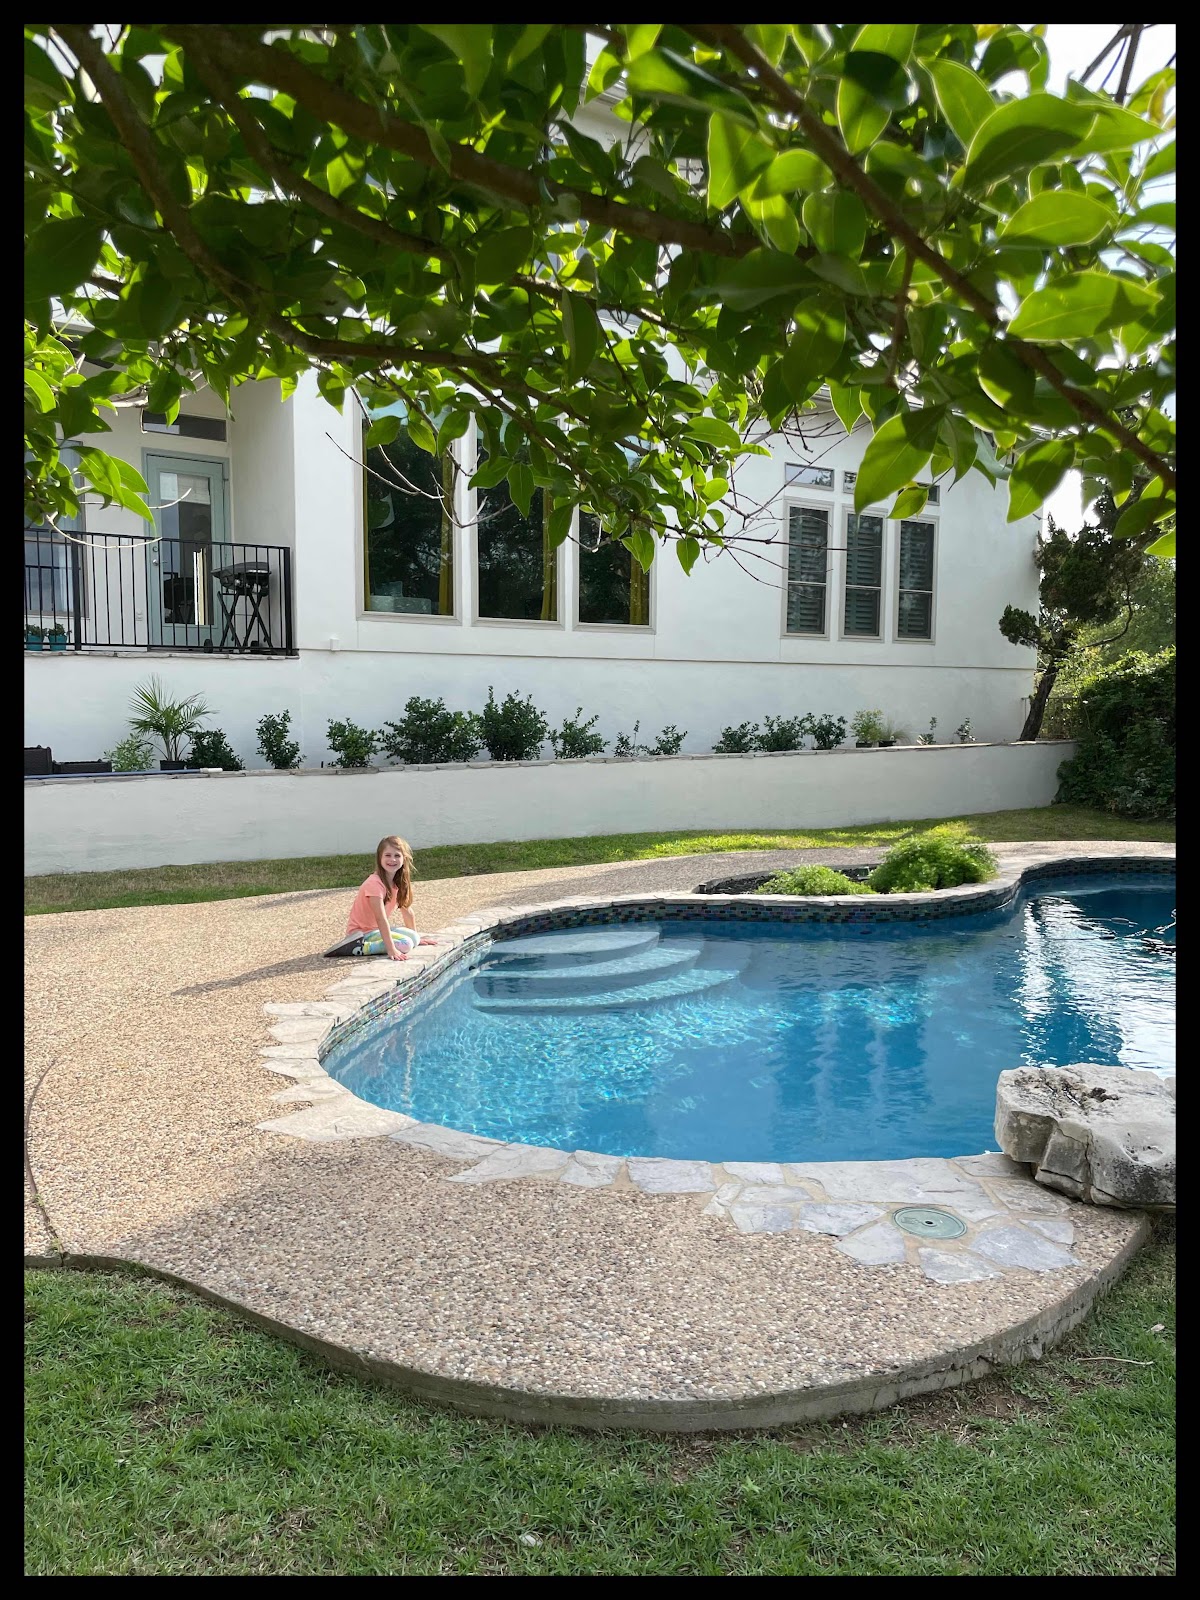
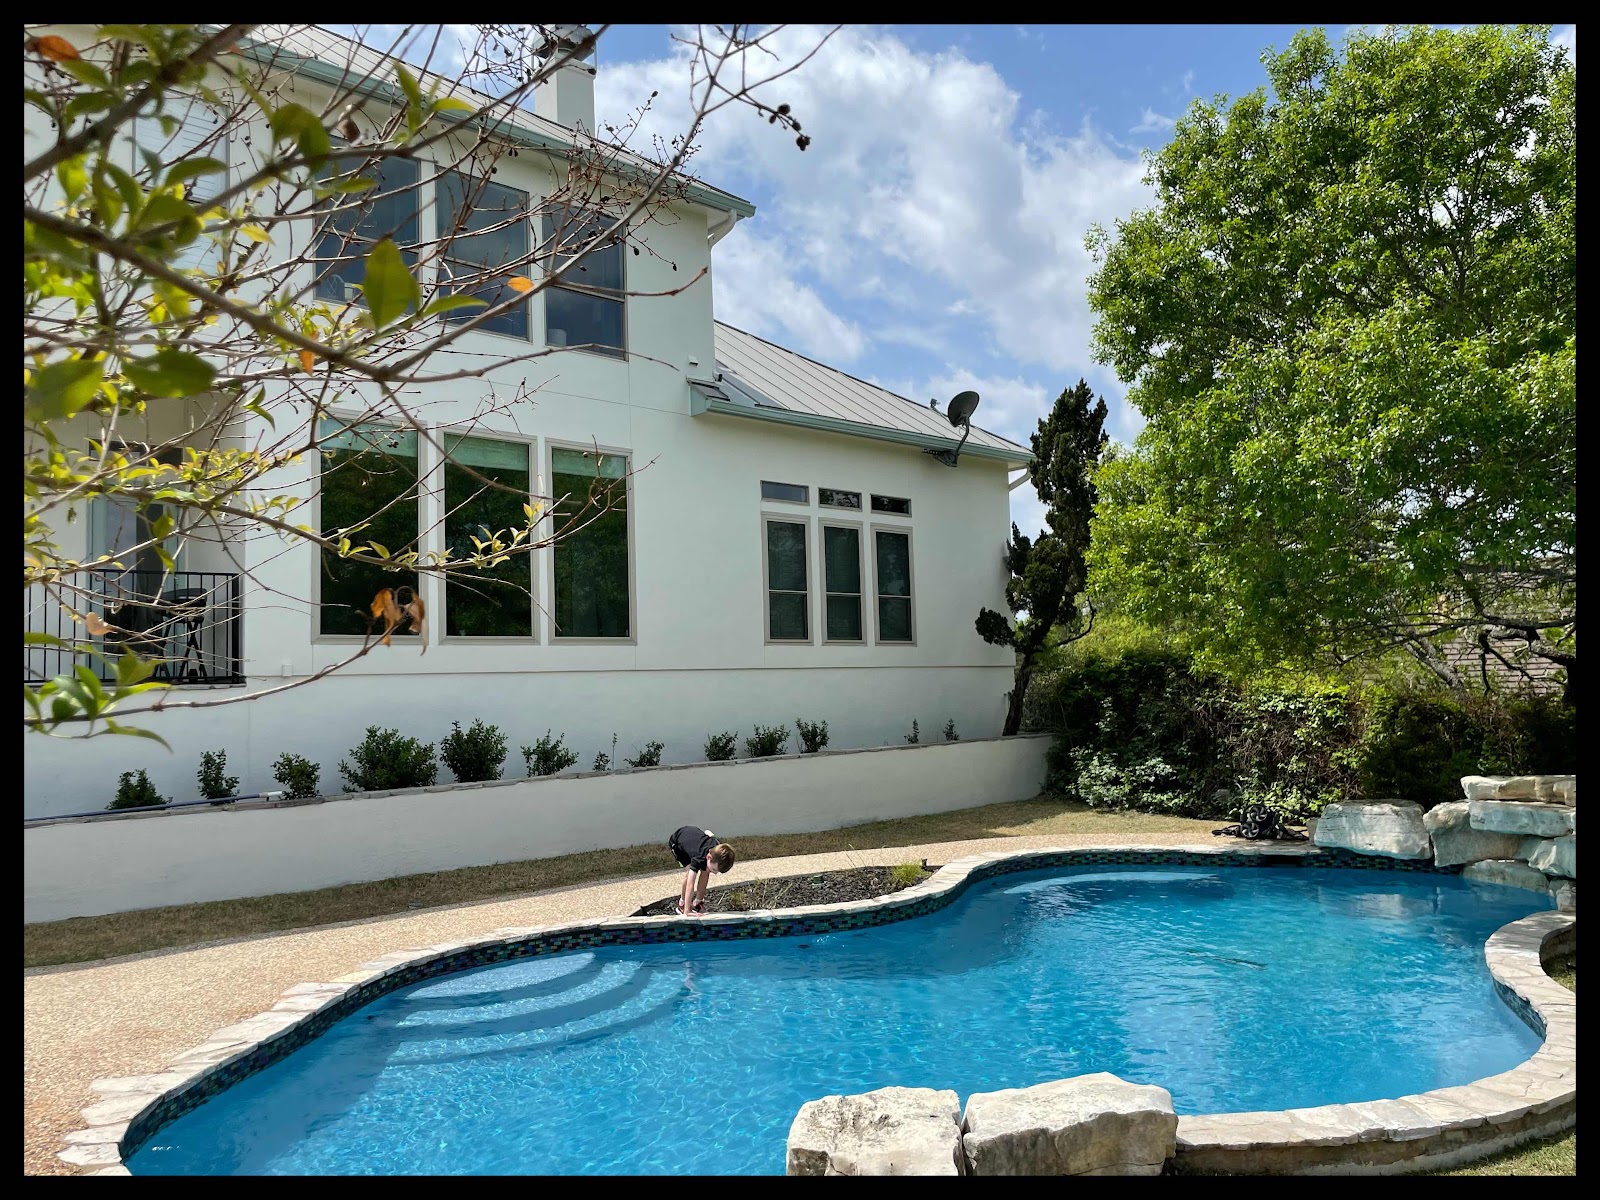
Needless to say, the kiddos were PUMPED to have the pool restored, chemically balanced, and ready for SWIMMING. Though we held them off until Memorial Day, which is when we typically kick off the splashing fun. :)


So.
Needless to say, the kiddos were PUMPED to have the pool restored, chemically balanced, and ready for SWIMMING. Though we held them off until Memorial Day, which is when we typically kick off the splashing fun. :)
So.
My best advice to anyone who is facing a pool re-plastering:
Be prepared to babysit your refreshed pool for a concentrated period of time after the plastering.
Though it may seem a bit obsessive, brushing down the new plaster twice a day (at least) in the week following the process will potentially save you a LOT of headaches with possible staining when the plaster is still quite susceptible.
But really...my best, BEST advice is to pray you never have to pay for this process, ha. ;)
Though if you do...ENJOY the heck out of it when it’s complete!

Happy Tuesday, peeps!
Over and out.
No comments:
Post a Comment