The following project required a lot o’ work for yeah, sure, a lot o’ impact, but I think we could have cut some corners and if we ever attempt it again, we’ll definite ease the process a bit.
Now.
With that disclaimer outta the way, I give you…
Nail Polish Pumpkins!
Super cool, huh? With endless possibilities.
Alas. We made it a bit hard on ourselves (albeit, thanks to the instructions we were following), and definitely identified some shortcuts.
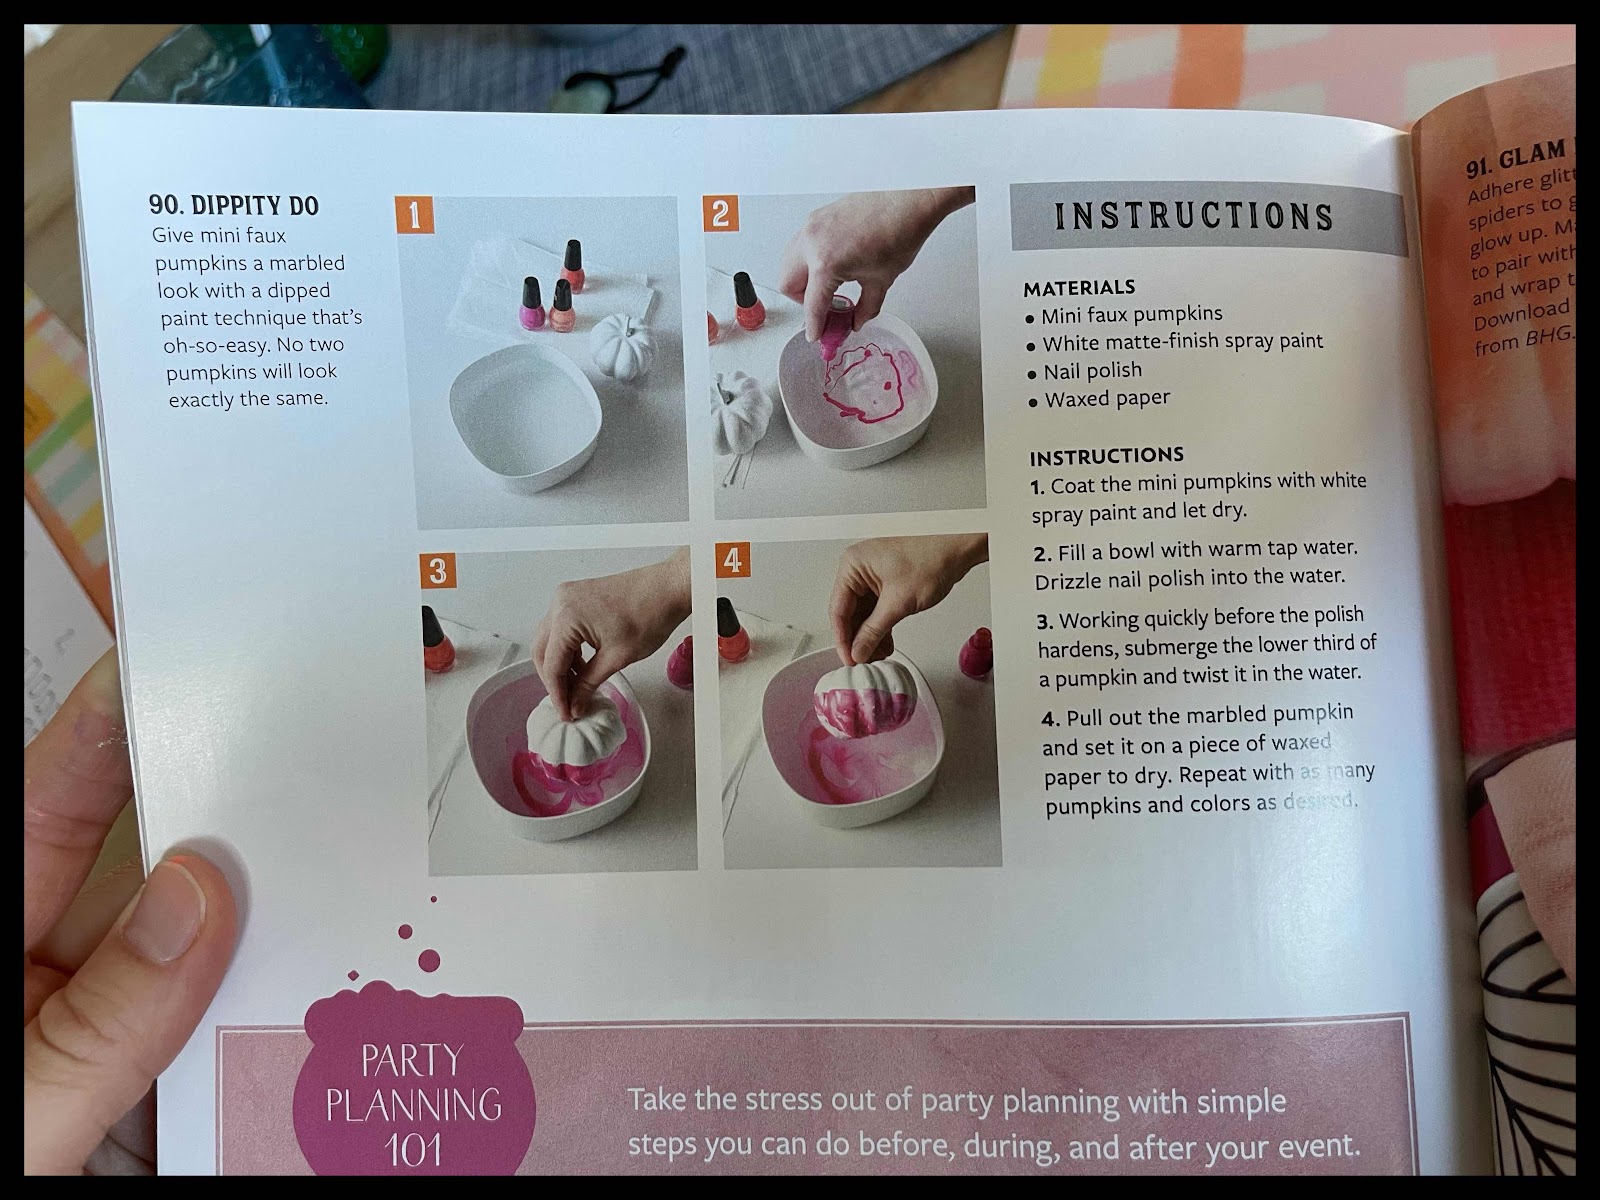
First problem step: the magazine instructions said to spray paint the pumpkins white. But believe it or not, I was having a really hard time tracking down some white spray paint (and online ordering was even going to take a while for delivery), so we decided to paint with acrylic instead.
First problem step: the magazine instructions said to spray paint the pumpkins white. But believe it or not, I was having a really hard time tracking down some white spray paint (and online ordering was even going to take a while for delivery), so we decided to paint with acrylic instead.
Which was fun for the kiddos, but messy, and without the ability for full coverage on the first go-‘round.
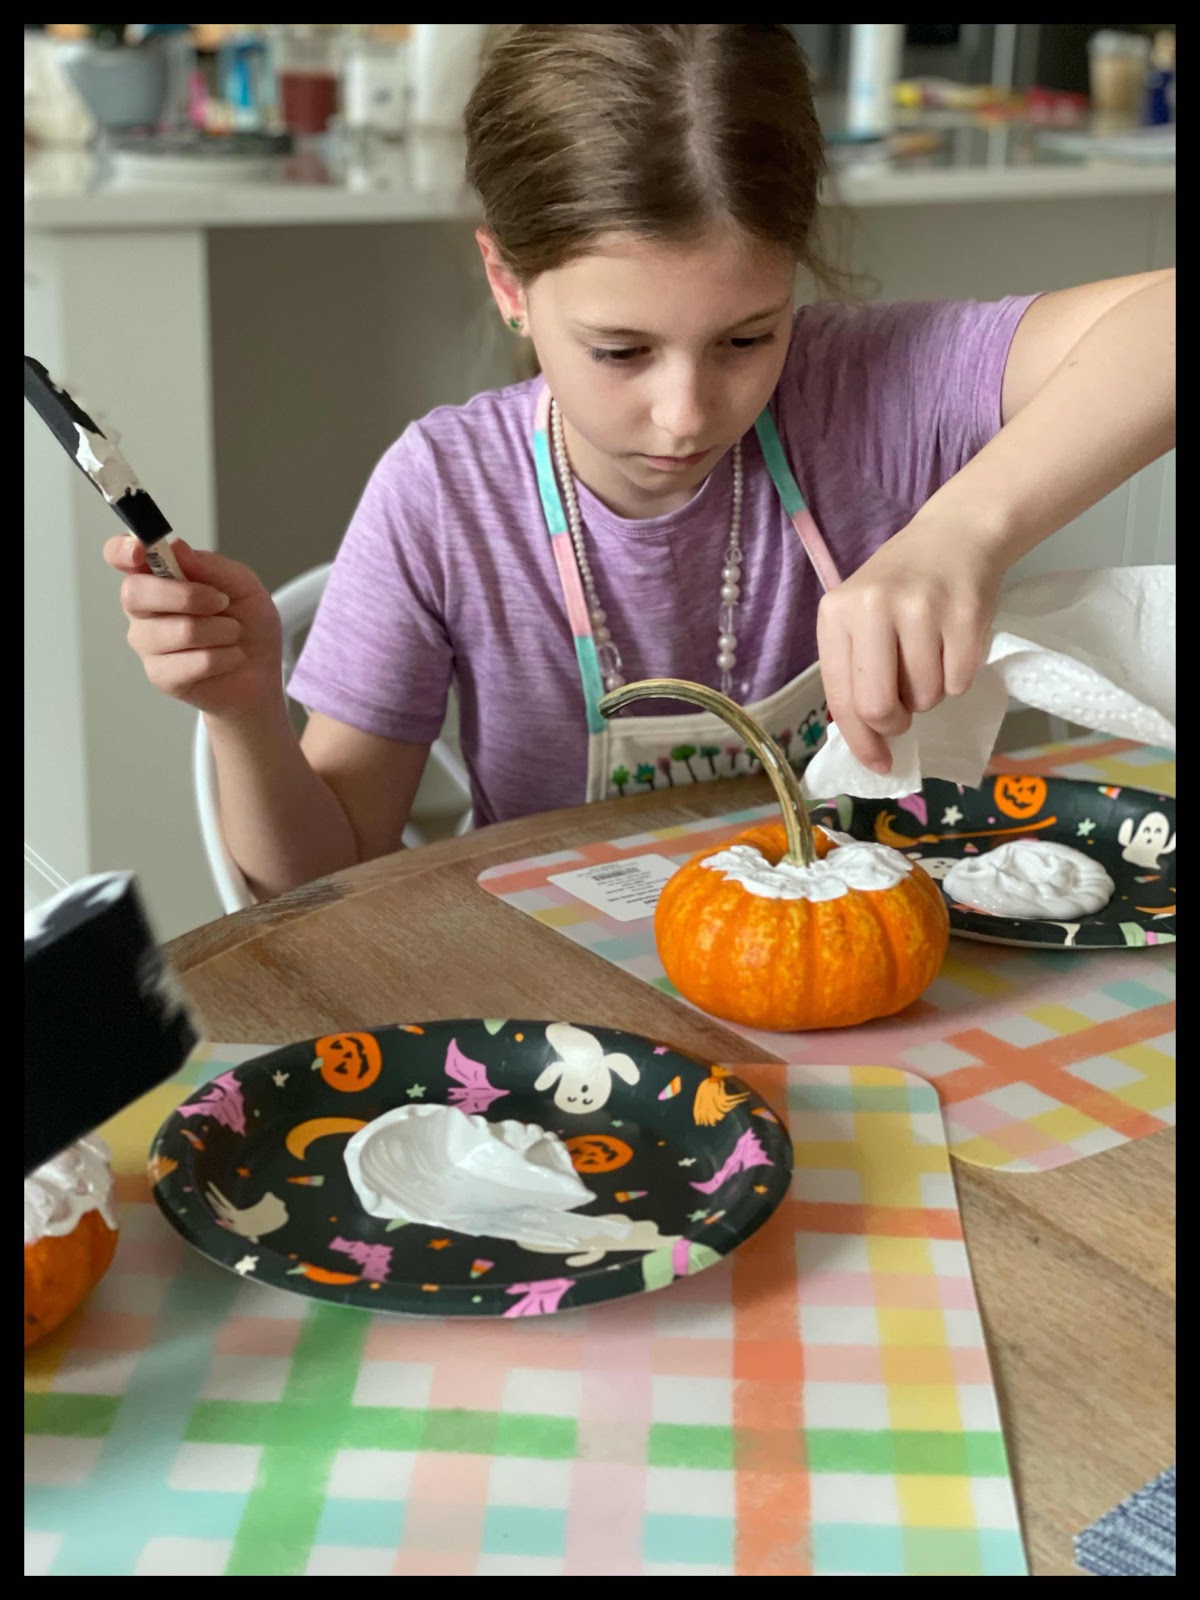
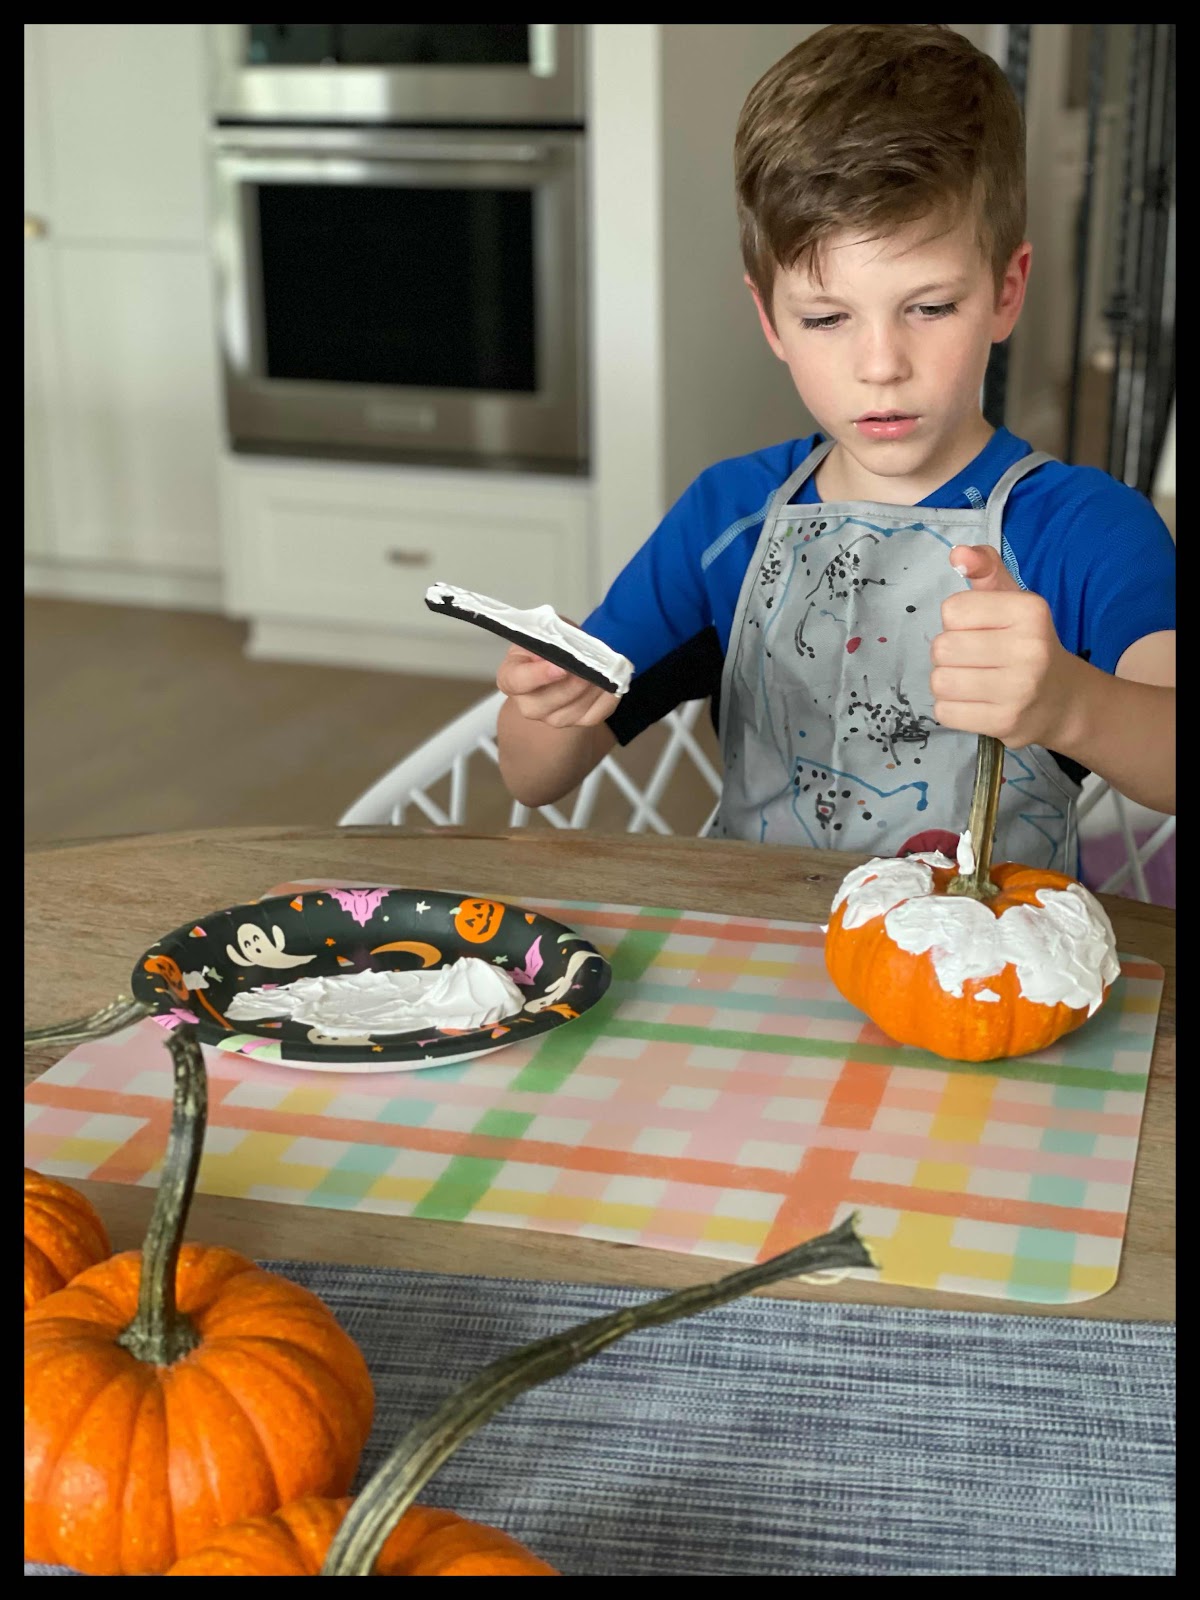
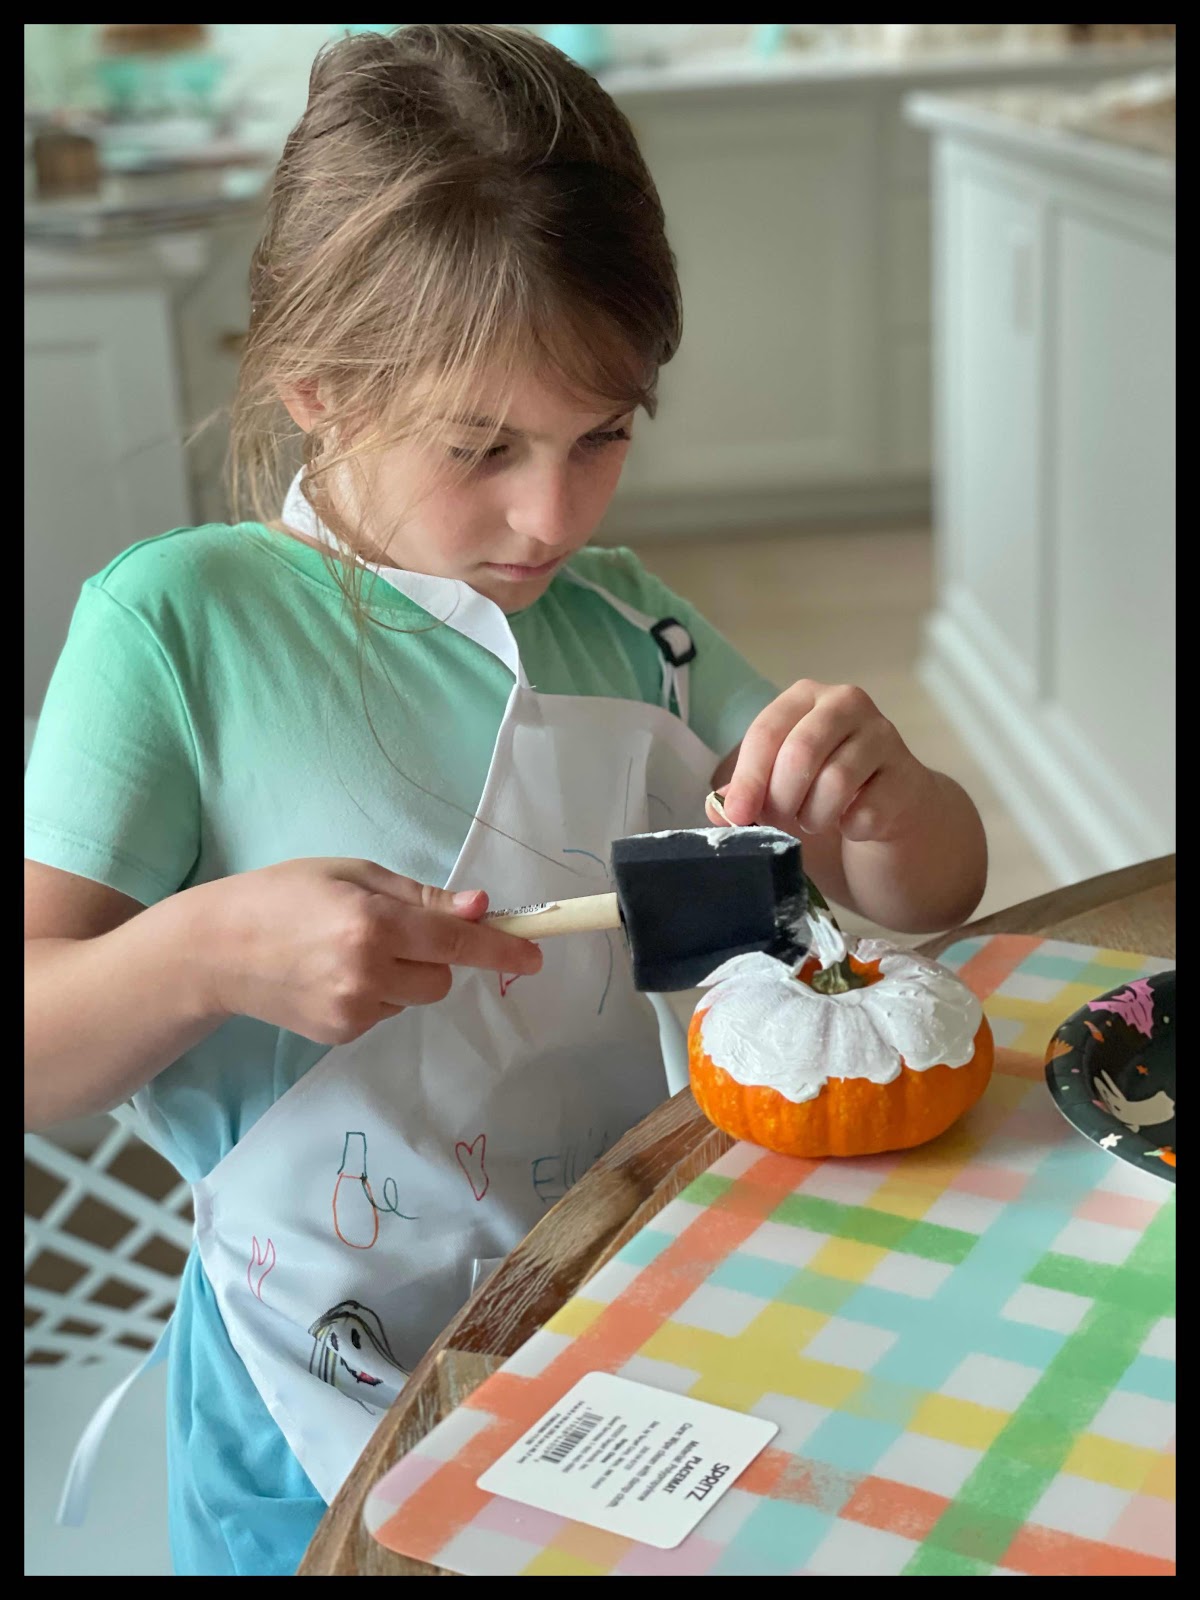
So. After they painted a coat on each pumpkin last week, I spent a bit of time a few days later adding another coat and allowing for drying time.
So. After they painted a coat on each pumpkin last week, I spent a bit of time a few days later adding another coat and allowing for drying time.
Spray paint definitely would have been quicker (although, yes, also a bit messy with kiddos).

Fast forward a few days and I procured some fun, vibrant nail polish colors…

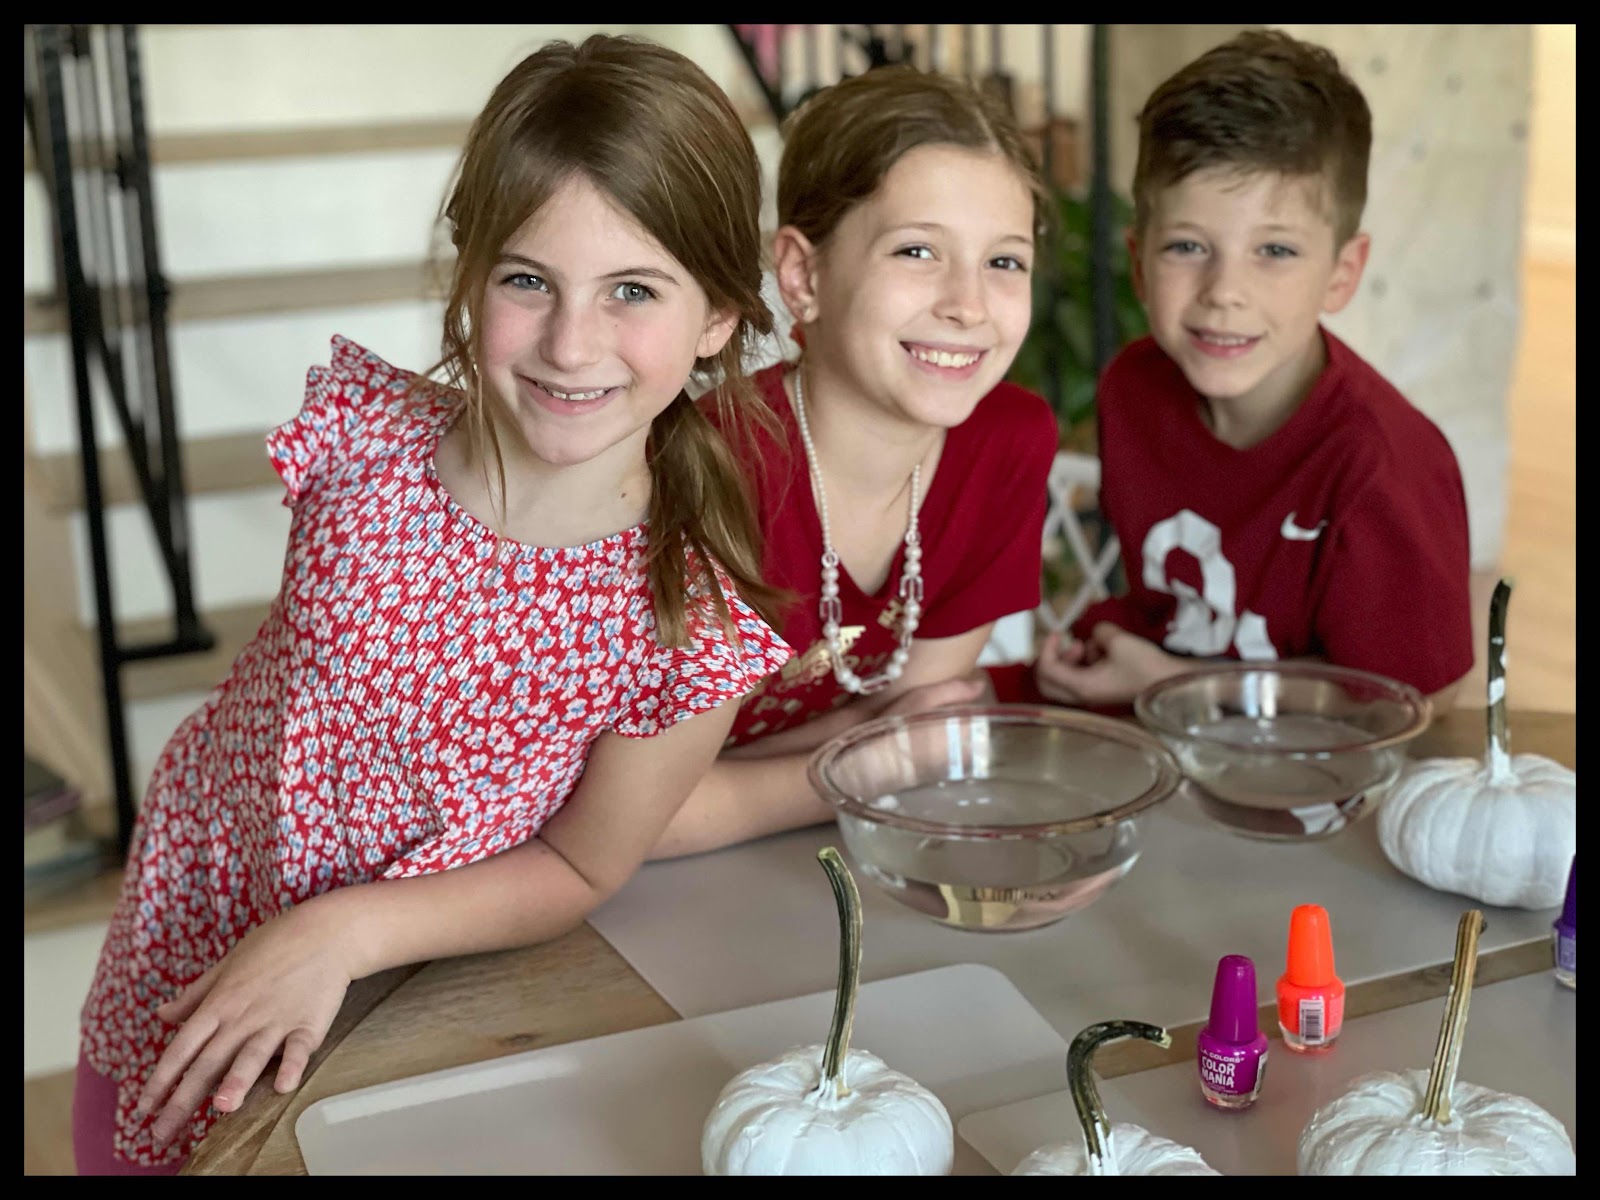
Made the kiddos pose adorably (in their Red Ribbon Week red) before we dove in…
Now.
Fast forward a few days and I procured some fun, vibrant nail polish colors…
Made the kiddos pose adorably (in their Red Ribbon Week red) before we dove in…
Now.
The instructions said to put warm water in a bowl, and then pour nail polish in the water, then dip and swirl your pumpkin, stat, before the nail polish solidified.

Hmmm.
Hmmm.
Lots o’ problems, here.
The nail polish definitely solidified soooo quickly it was hard to get any actually on the pumpkin. And even when we did, the coverage wasn’t all that…attractive. Booooo.

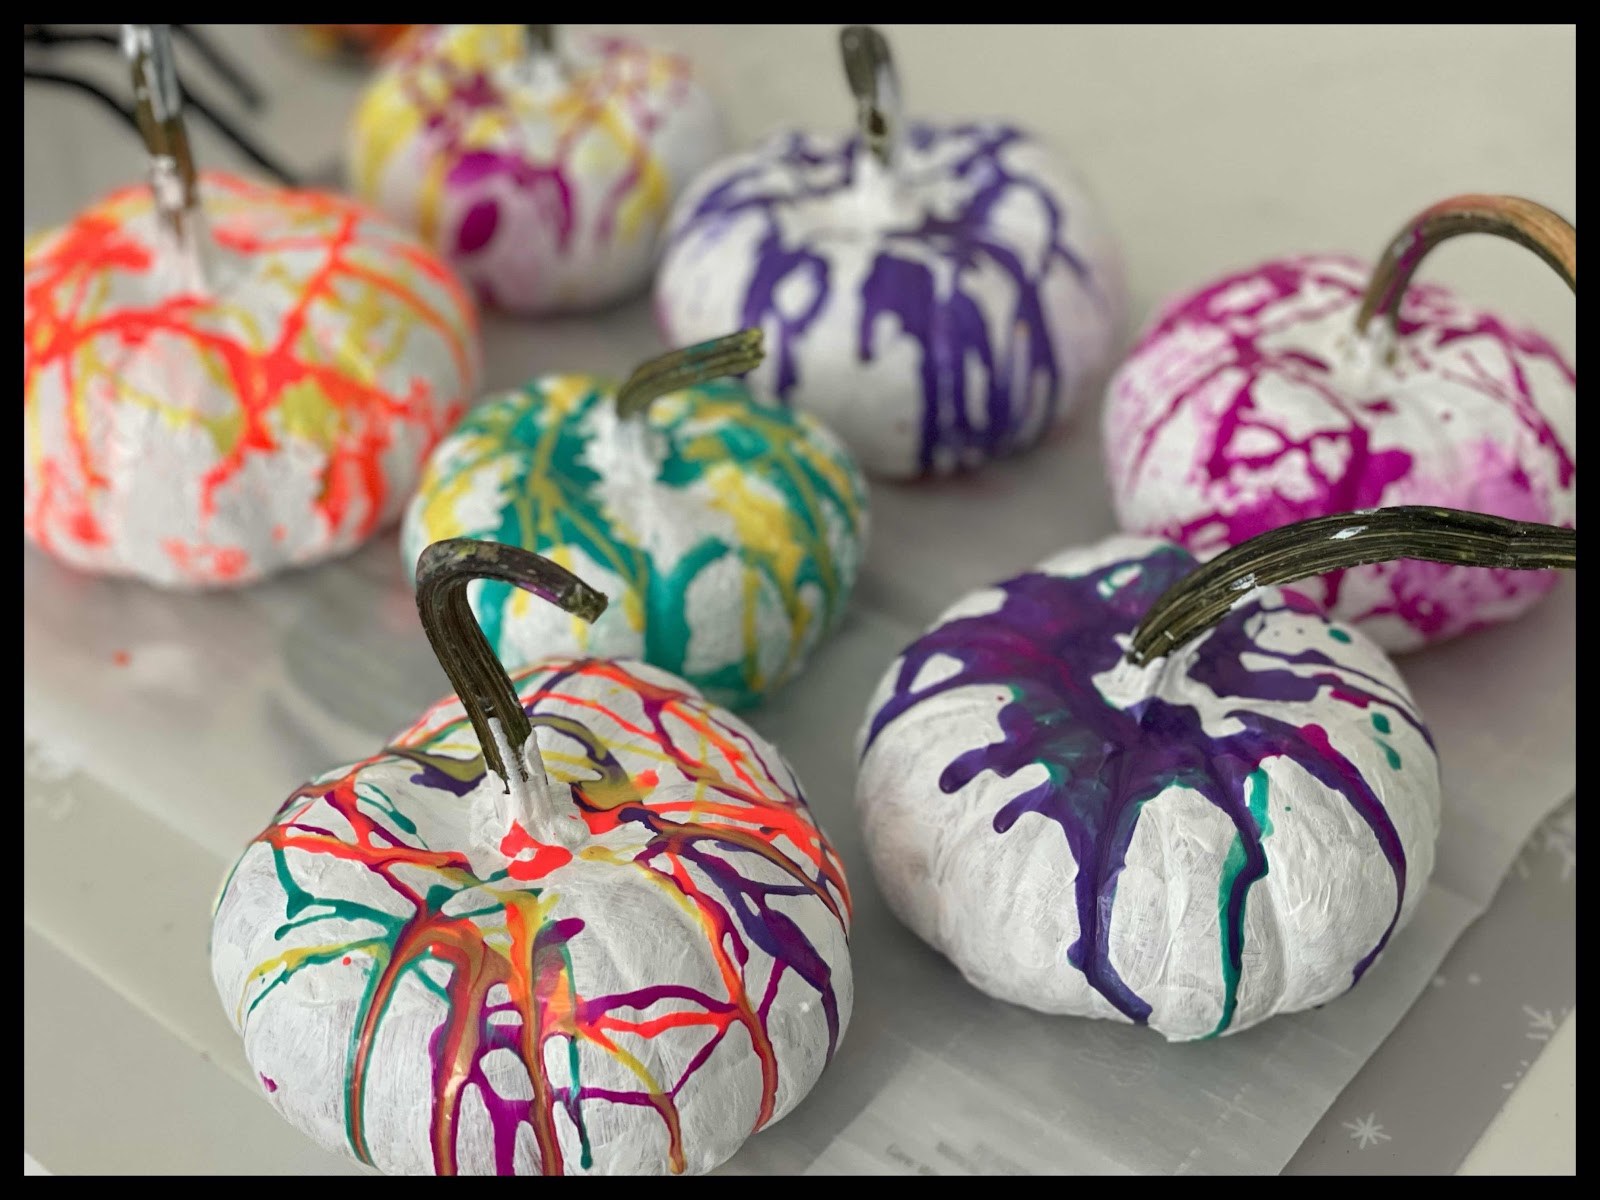
So…considering all these complications, we just threw it all out the window and started artfully pouring the nail polish on top of the pumpkins. :)

And this ridiculously easy tactic gave us coolio results.


Moral of the story:
So…considering all these complications, we just threw it all out the window and started artfully pouring the nail polish on top of the pumpkins. :)
And this ridiculously easy tactic gave us coolio results.
Moral of the story:
Next time, we might just buy white pumpkins.
Or actually find some spray paint.
Or put nail polish on orange pumpkins.
And we definitely won’t bother with water at all.
And the whole thing might take us three minutes.
Ha.
Lessons learned, peeps.
Pumpkin lessons learned.

HAPPY FREAKING MONDAY!
HAPPY FREAKING MONDAY!
Over and out.
No comments:
Post a Comment