Lest I neglect to state the obvious: we’re making up for lost time during the hectic school year and knocking out a ton o’ summer projects/crafts/experiments in these first days of summer.
Some have been disasters (more on that in another post) but most have been wonderful…including our DIY Mosaic Glue Sun Catchers!
Now. I’m just gonna say it: we’ve done oodles and gobs of different sun catchers on our crafting time. It’s a time-honored classic. And perhaps a bit been there, done that.
However.
This was the first time we made our very own “frames” out of a mixture of glue and black paint, and the process was both tedious and satisfying!
We started by drawing a simple outlined pattern on a piece of paper, and then glued it to the back of a piece of transparency paper (the only thing I needed to buy for this project).
Then we filled these little bottles (with wonderful, tiny spouts; excellent for the necessary precision work!) and started tracing the pattern as best we could. And, boy, was it tricky! A steady handed was needed, for sure.

Then, once the outline was complete, we made random “mosaic” sections inside the pattern for the future coloring.


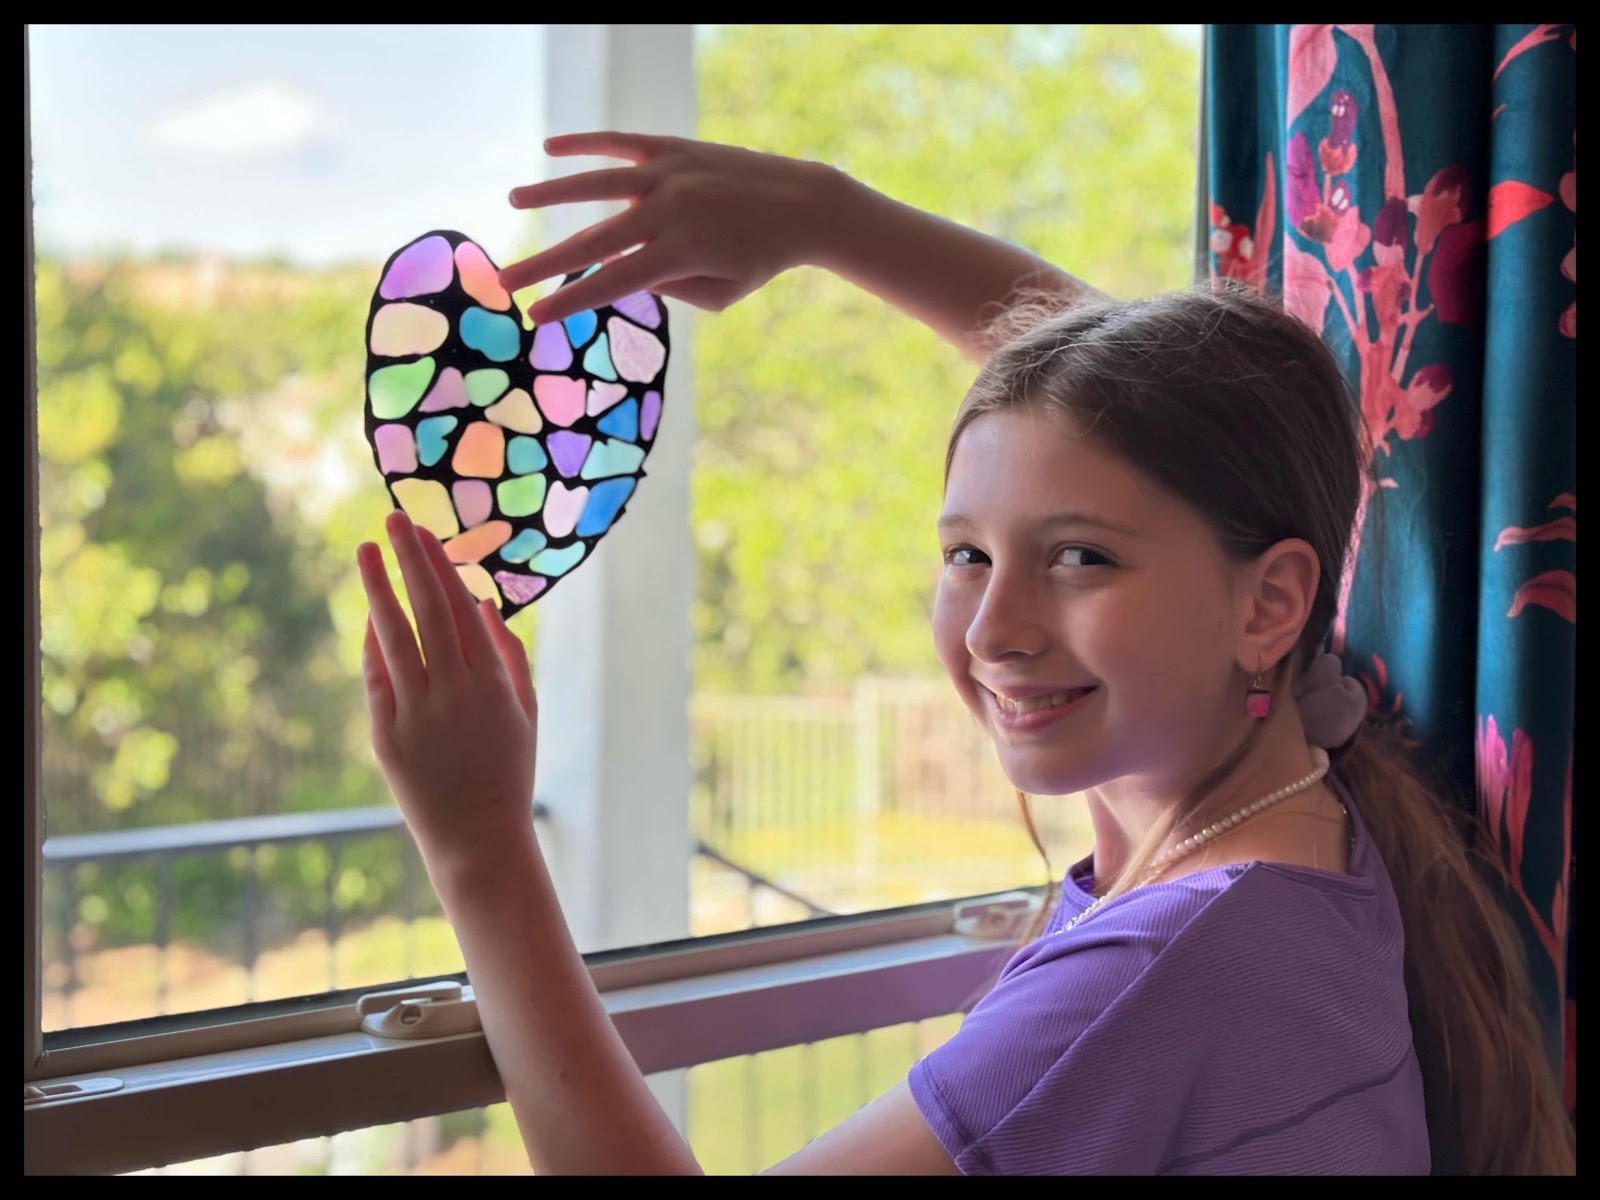
I loved how this one turned out—wobbly sections and all! The imperfections made it perfect. :)

Chicklet saw how difficult it was and made me do her first one, but then she got brave and completed her awesomesauce turtle. Woohoo!
Then, once the outline was complete, we made random “mosaic” sections inside the pattern for the future coloring.
I loved how this one turned out—wobbly sections and all! The imperfections made it perfect. :)
Chicklet saw how difficult it was and made me do her first one, but then she got brave and completed her awesomesauce turtle. Woohoo!


And then Little Man…oye. My boy really struggles with perfectionist tendencies with our crafts, at times, and he got a bit down and out when his first couple of designs didn’t work out (they were too complicated to trace without errors and lots of bleeding lines).
But he took a few breaks to regroup and game plan, and eventually, he came back at it (maybe for a fourth try?) with a really coolio sun design.

I was beyond proud of him for working so hard to keep at it.
You can even see his tiny smile in this next pic as he realized it just might work…

The concentration tongue!

And when he completed his sun, he took a giant breath and said to himself, “whew, I didn’t give up,” and it just slayed me. He was so proud, and so was I!
I was beyond proud of him for working so hard to keep at it.
You can even see his tiny smile in this next pic as he realized it just might work…
The concentration tongue!
And when he completed his sun, he took a giant breath and said to himself, “whew, I didn’t give up,” and it just slayed me. He was so proud, and so was I!
Now.
We had to set our designs out overnight to dry; hence the reason we tackled them yesterday, despite a really busy day.


But they were looking so cool as they were drying.
Then, today, we took some time to color them in, remove the guideline paper from the back, and cut out the shapes.
But they were looking so cool as they were drying.
Then, today, we took some time to color them in, remove the guideline paper from the back, and cut out the shapes.


Look how fun!

Random FIY: in the online tutorial I found for this project, it said to use permanent markers, but those were sort of a fail for us! They just wouldn’t color in correctly; it was so weird. So we reverted back to our tried and true Crayola washables and they worked like a charm. :)
Random FIY: in the online tutorial I found for this project, it said to use permanent markers, but those were sort of a fail for us! They just wouldn’t color in correctly; it was so weird. So we reverted back to our tried and true Crayola washables and they worked like a charm. :)
Of course, Little Man continued his precision theme on this one and decided to utilize a pointillism method. I die.

I mean, look at that painstaking detail:

In the end, these were such a happy, temporary summer addition to the upstairs windows, and another great project to keep us occupied.

I can definitely see us tackling another round of these in the future—maybe for different holidays when we can draw out some really fun shapes.


I mean, look at that painstaking detail:
In the end, these were such a happy, temporary summer addition to the upstairs windows, and another great project to keep us occupied.
I can definitely see us tackling another round of these in the future—maybe for different holidays when we can draw out some really fun shapes.
Okay…I might have time for one more post later tonight, but if not…more mañana!
Happy Saturday, peeps!
Over and out.
No comments:
Post a Comment