Yesterday we tackled a two-thumbs-up, will-definitely-repeat, super-coolio pumpkin project that was a major hit with my crazies.
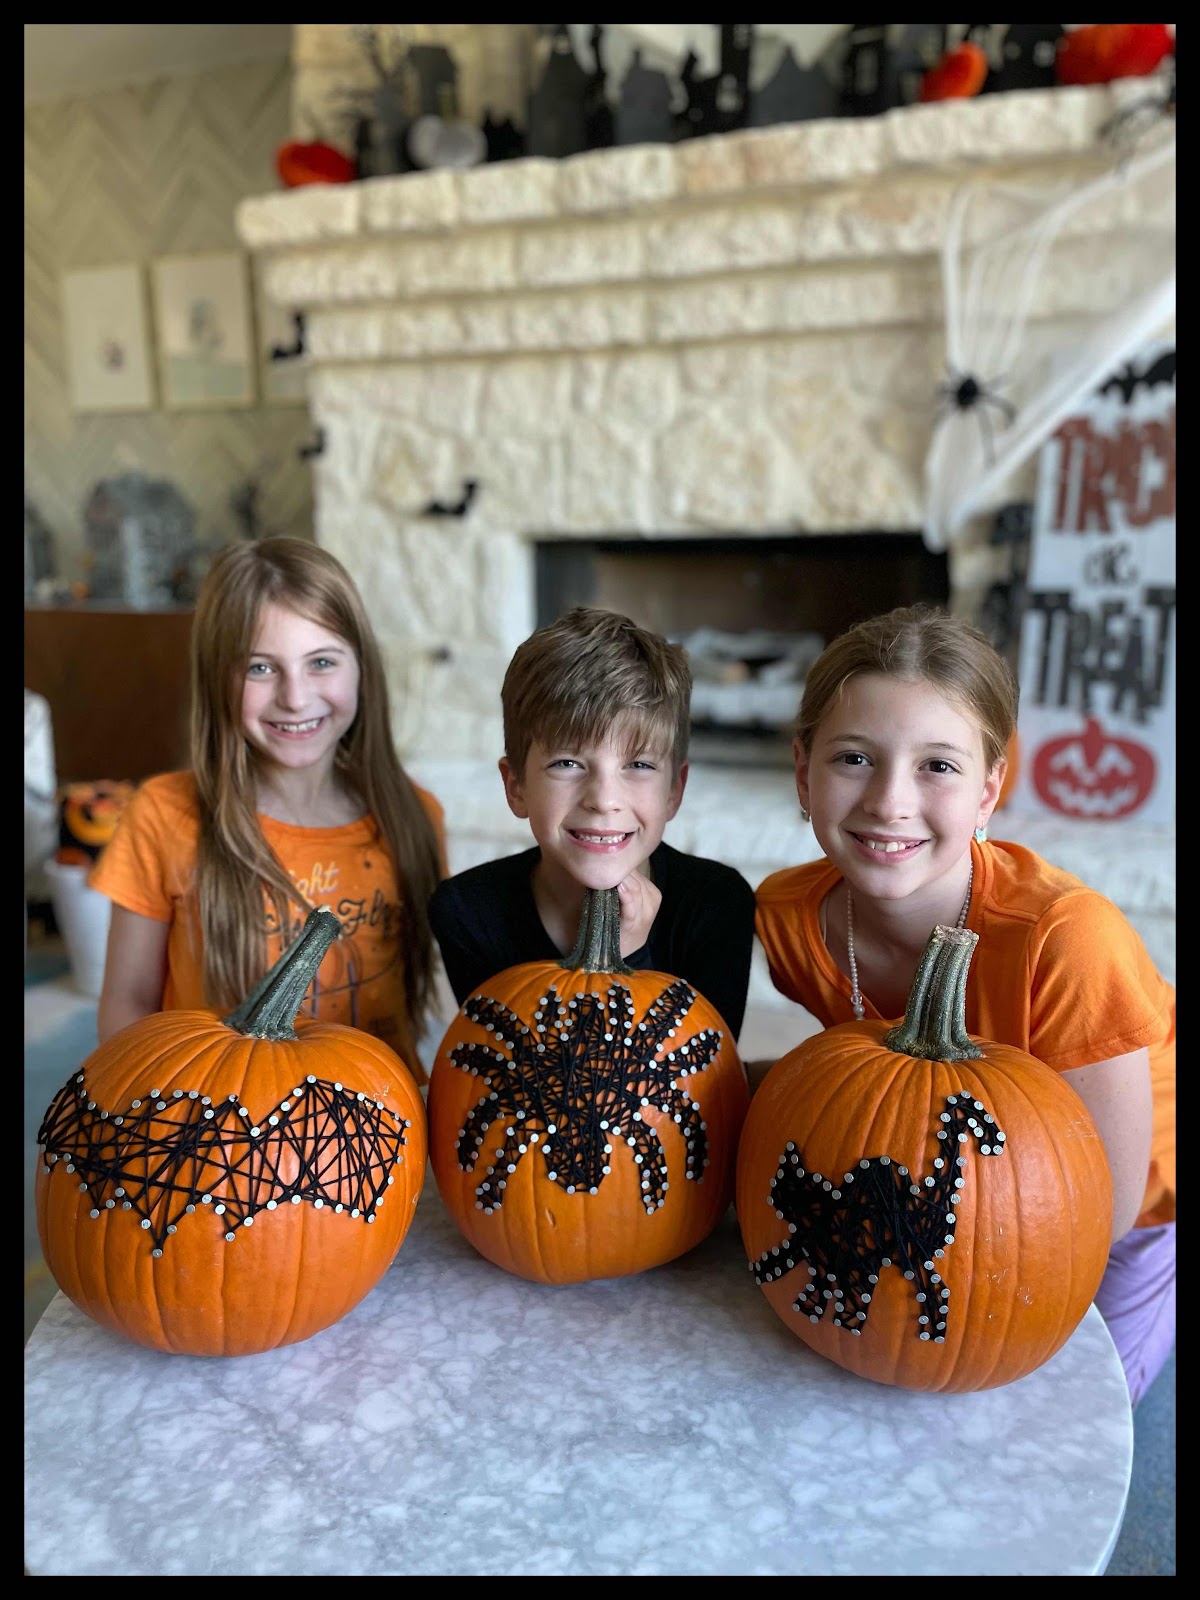
String Art Pumpkins! Woohoo!
Now.
To rewind.
I came across this idea a couple years ago in a crafting magazine and I thought it would be a fantastic bit of fun. Especially as an alternative to traditional pumpkin carving, which is so dang difficult—for adults, let alone kids!
But at the time of my discovery, I knew we were a couple years from being able to handle nails and hammers without incident, so I just tucked the idea away in the back of m’brain and waited patiently…
Until yesterday!
It was another early release school day for the kiddos, and I’ll be honest and admit that I find these odd half-days to be really disruptive.
In fact, I’ve found that the only way for me adjust my attitude and not bemoan the wonky schedule of kiddos home from school at lunch is to plan something fun or moderately time consuming that we couldn’t otherwise accomplish on a traditional day.
Basically, turn the annoyance into something special. Voila! Grumpiness solved. ;)
That said, I knew I needed to tackle a prototype without the kiddos underfoot so this wouldn’t end up a disaster, so I spent an oddly satisfying 40 minutes yesterday morning, at 7:30 a.m., testing out this technique. Ha. And lemme tell ya—it was totally worth it!
First up: the supplies.
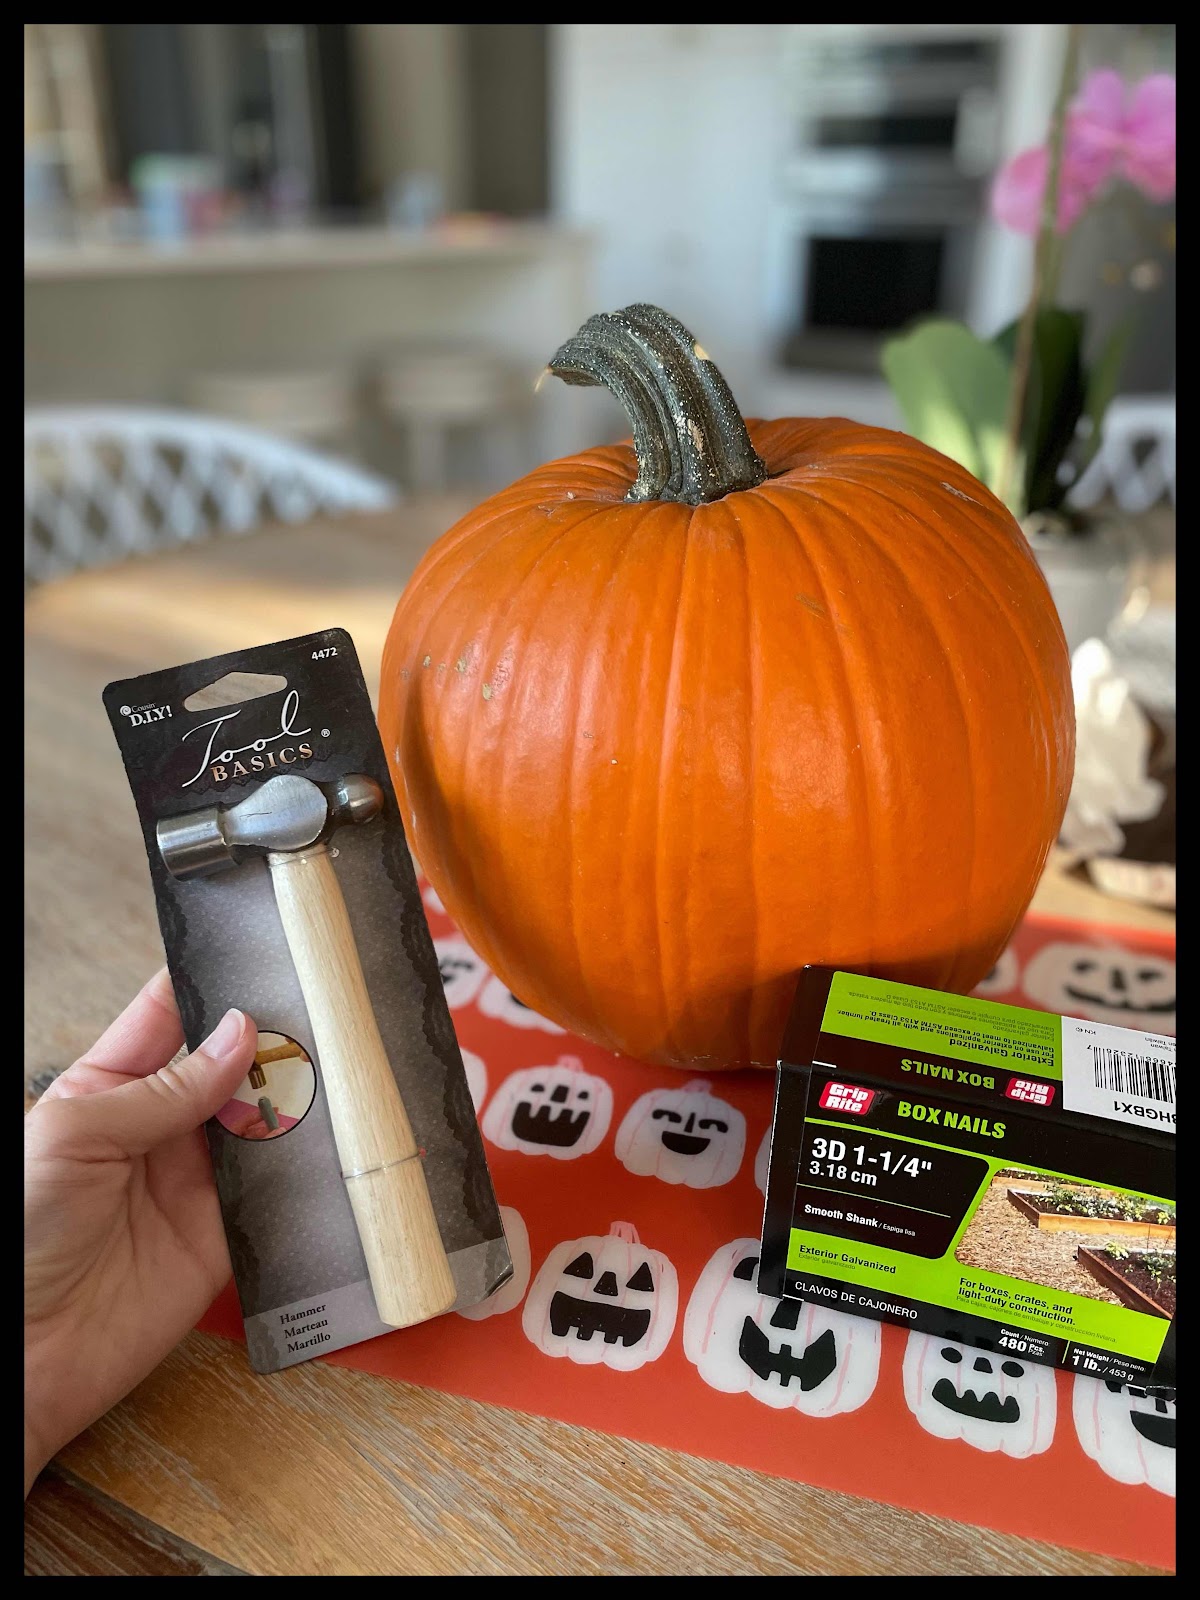
I purchased some decent-sized, wider (for greater design space) pumpkins the other day, along with nails and string.
Then after a great deal of thought, instead of arming the kiddos with traditional hammers (the horror), I ordered these smaller, tamer jewelry-making hammers off of Amazon, and they were perfect.
No sharp, nail-removal end, less heft (in case of accidental finger smashing), and just smaller to manage for kiddo hands. A definite win, and worth the forethought.
Next up: design logistics.
I wanted to start simple with something that would be a likely success, so I found this example online and decided it was my winner.

I spent a few minutes outlining dots with permanent marker on my pumpkin (fun fact: permanent marker wipes off of pumpkins with a bit of rubbing alcohol in case of dot errors).
I spent a few minutes outlining dots with permanent marker on my pumpkin (fun fact: permanent marker wipes off of pumpkins with a bit of rubbing alcohol in case of dot errors).
It was definitely the way to go—especially for the kiddos—to have the dot guides beforehand. This would probably be a nightmare freehand—unless you’re just an artistic genius, ha.
After some deliberation, I decided on 1 1/4 inch nails so the kiddos would have a bit of room to hold and steady them without smooshing their fingers. Also a wise choice. And a decent nail head size was helpful for the eventual string.
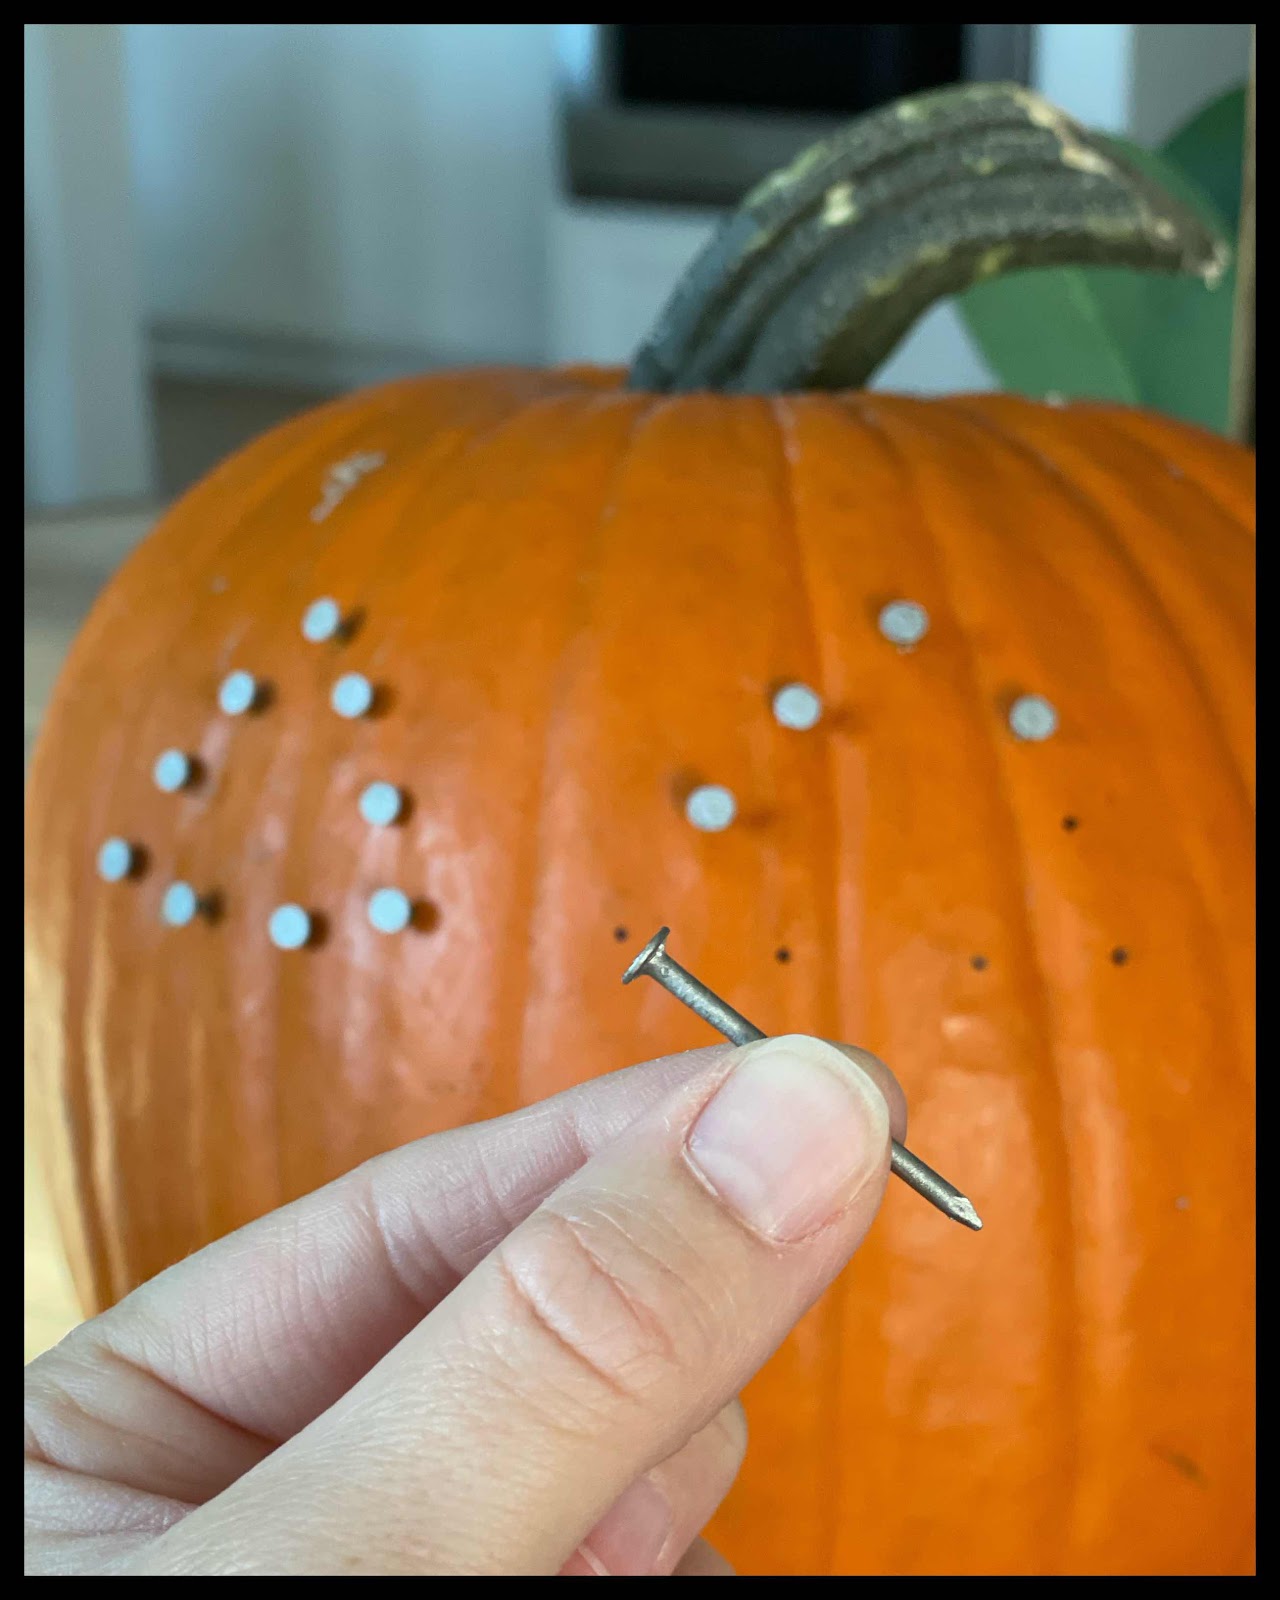
It was insanely satisfying to nail according to the dots. Then more artistic, free-flowing to wind the string every which way my heart desired—and secure the end with a teeny tiny dot of superglue for good measure.
It was insanely satisfying to nail according to the dots. Then more artistic, free-flowing to wind the string every which way my heart desired—and secure the end with a teeny tiny dot of superglue for good measure.
Just look how great it turned out! I was so pleased with the finished product!

And then I was even more pumped to try it out with the kiddos later that afternoon.
And then I was even more pumped to try it out with the kiddos later that afternoon.
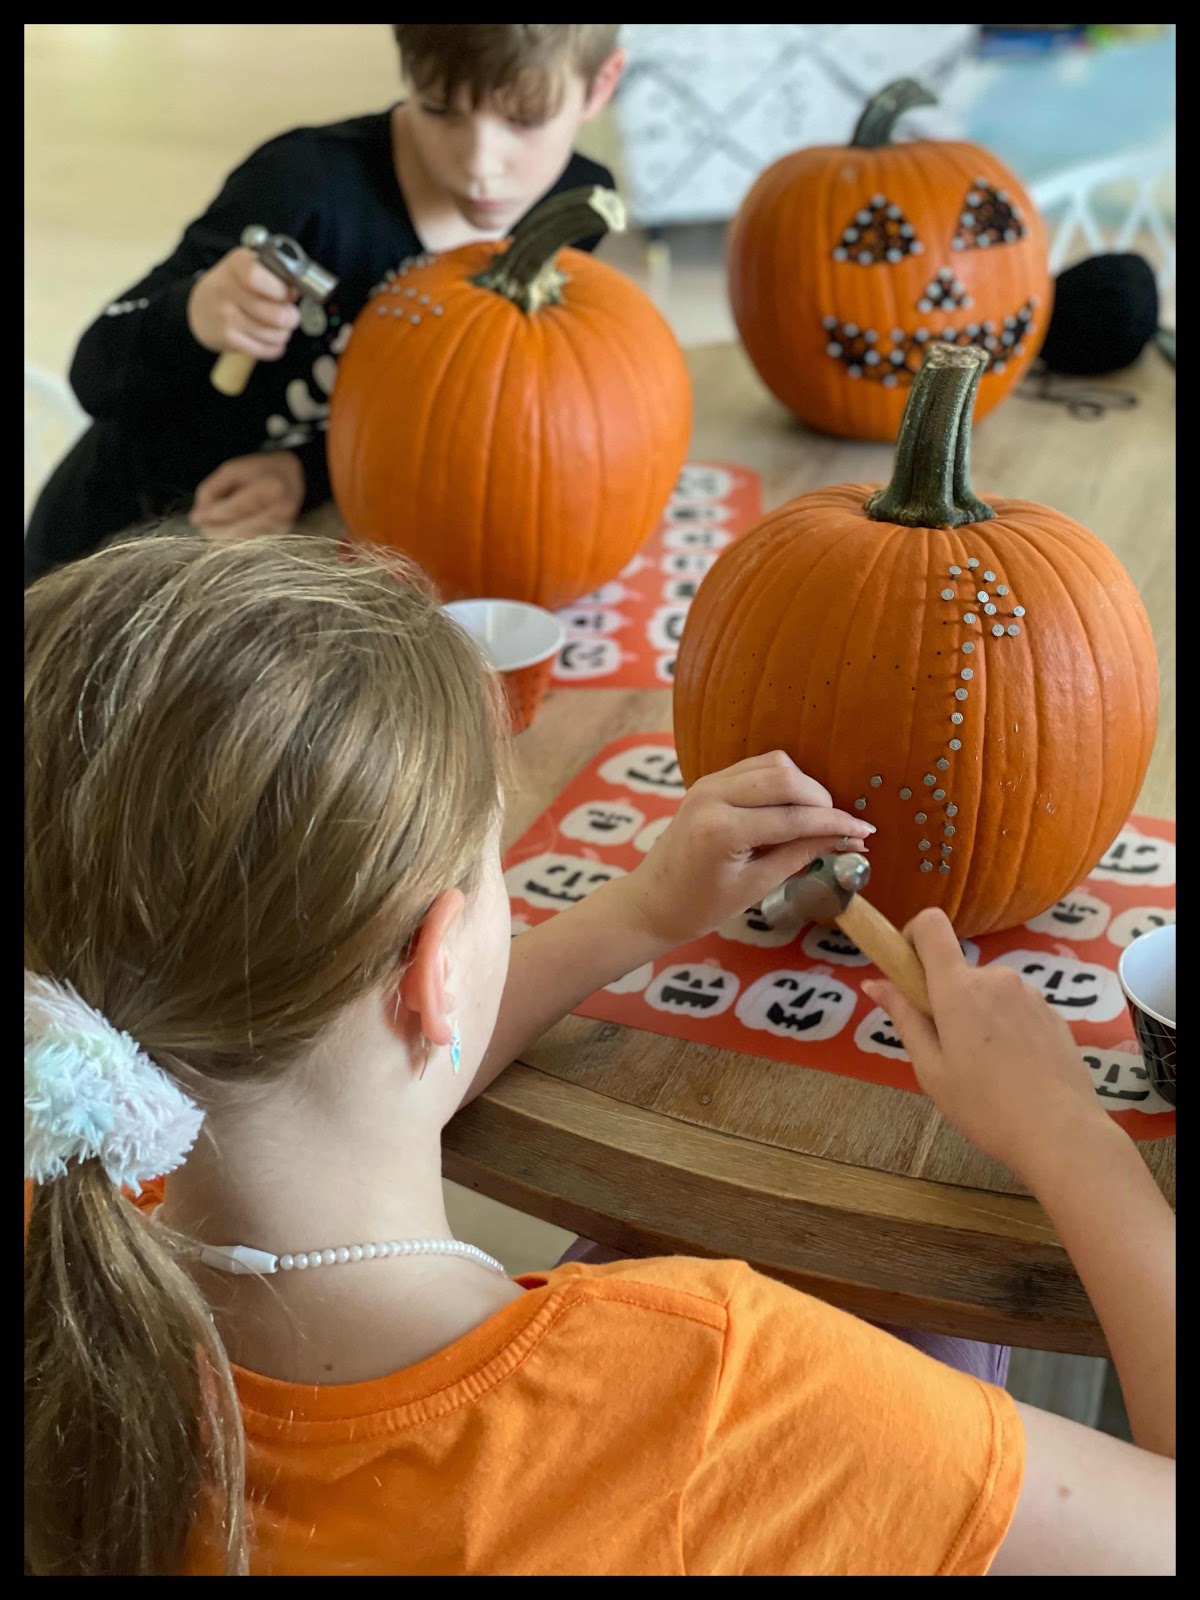
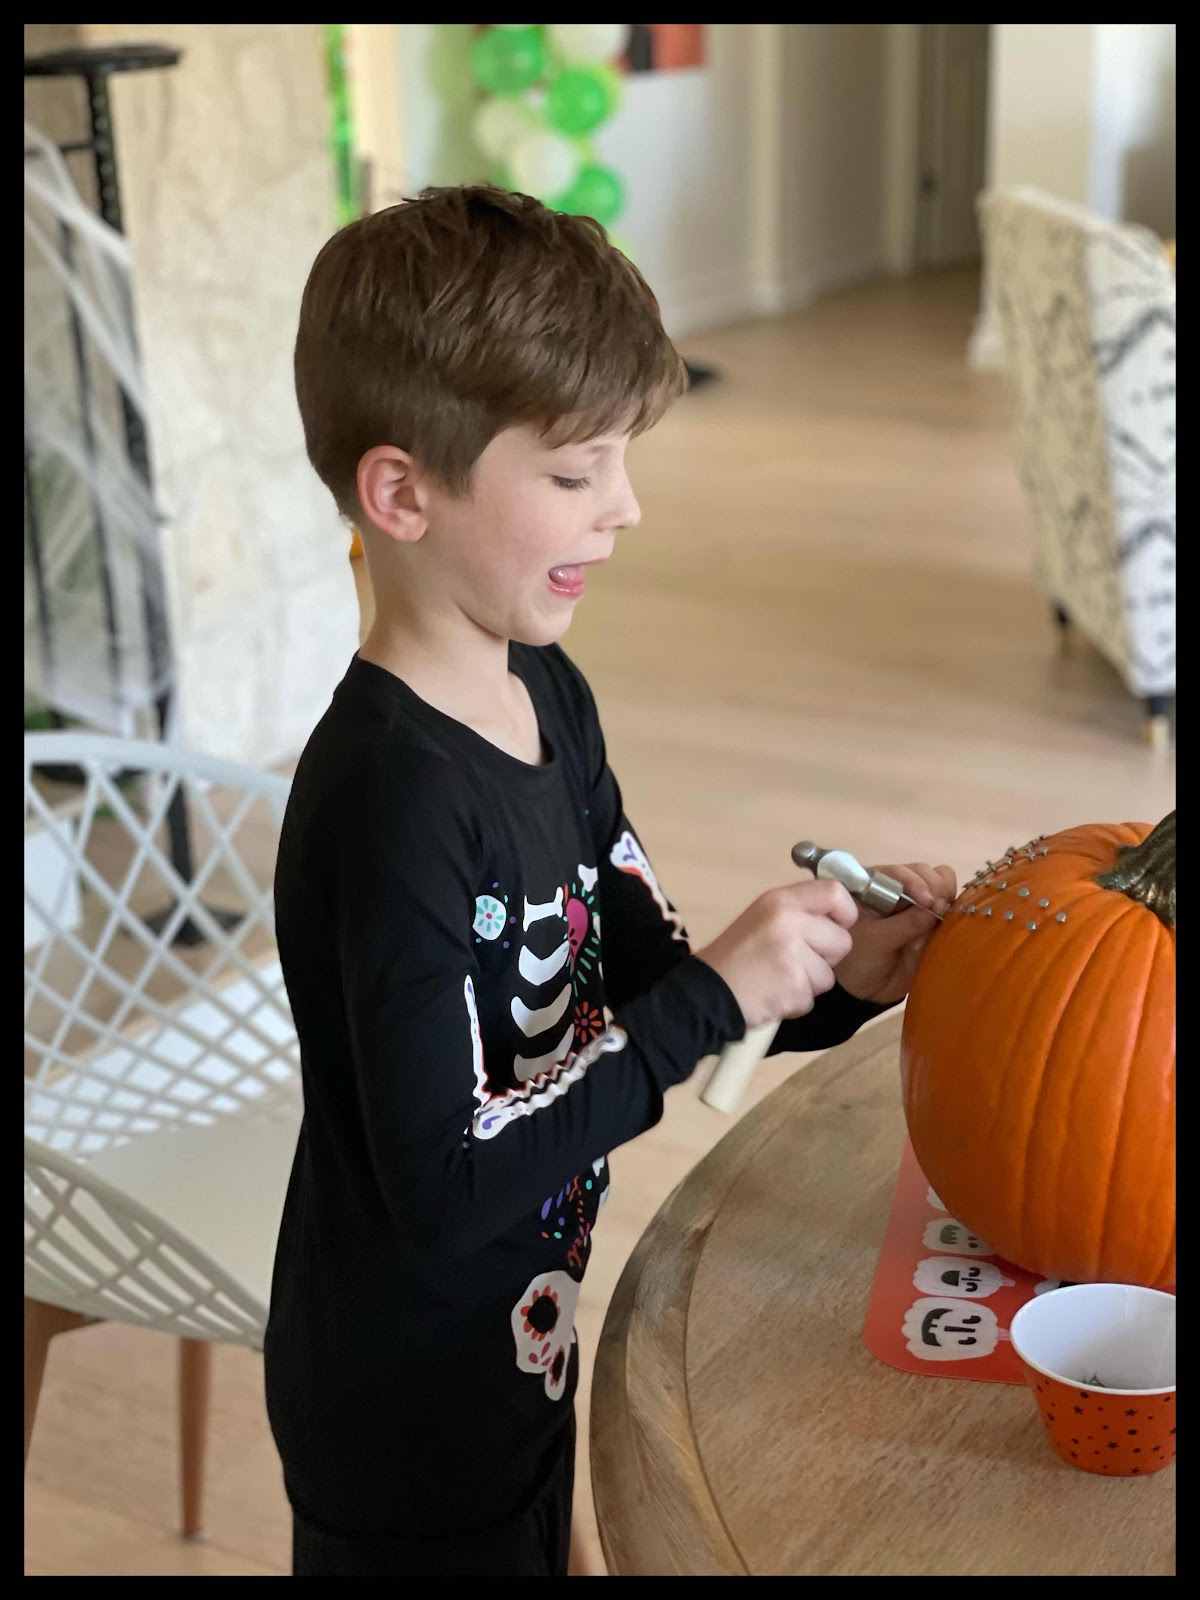
Real shocker: as soon as my crazies heard the word “hammer,” they were hardcore pumped for this project, ha.
In fact, Little Man wouldn’t stop lurking in my vicinity as I was trying to prep everything. He was very keen to get his hands on that tool! Ha.
But first, he had to be patient while they each selected a design from a few ideas I’d found online. And then practice even more patience while I took a few minutes to outline their dots.
But, man, was the waiting worth it!
They were downright GIDDY when they began!

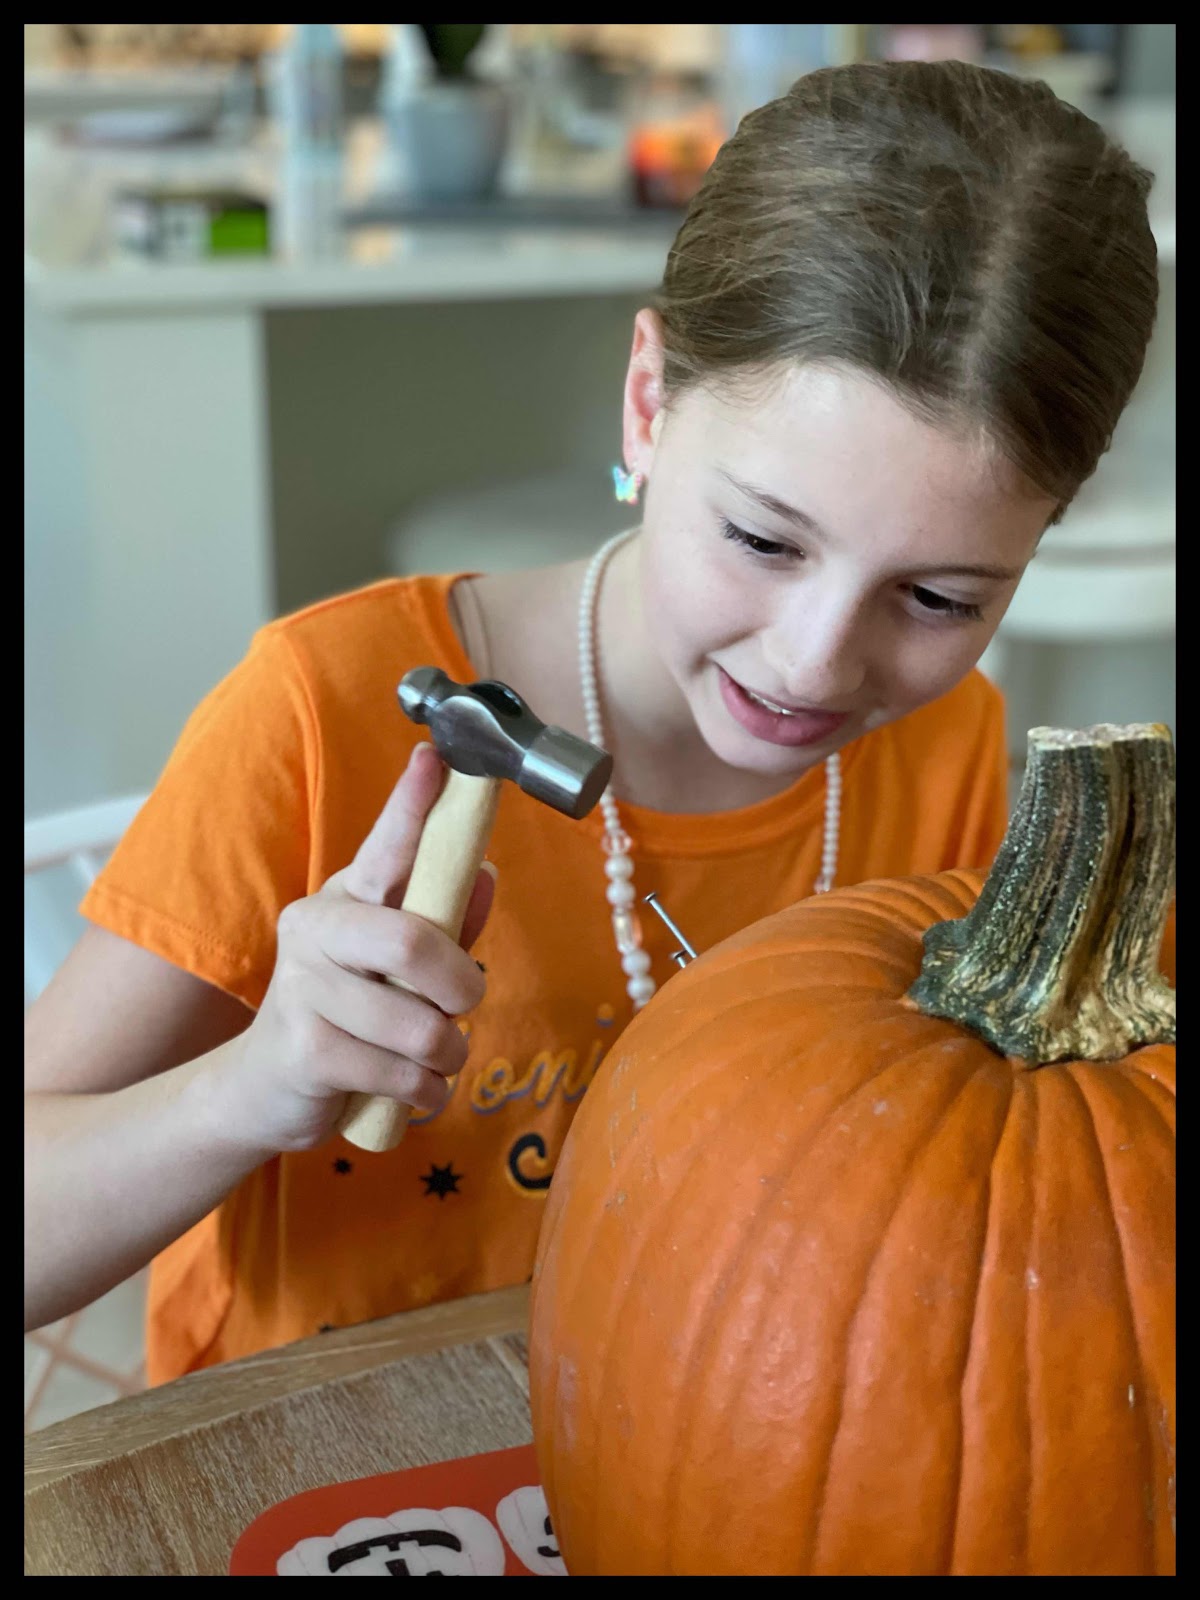


Smiles for miles, I tell ya.
Smiles for miles, I tell ya.
And a lot of focus, too. They were intent on their task—even when the nailing portion required time and patience.


I’m not gonna lie: I was mildly worried the more complicated designs they’d chosen (at least in comparison to my jack o’ lantern face) might end in disaster. So I was saying some prayers as they spent so much time nailing according to their outlines!


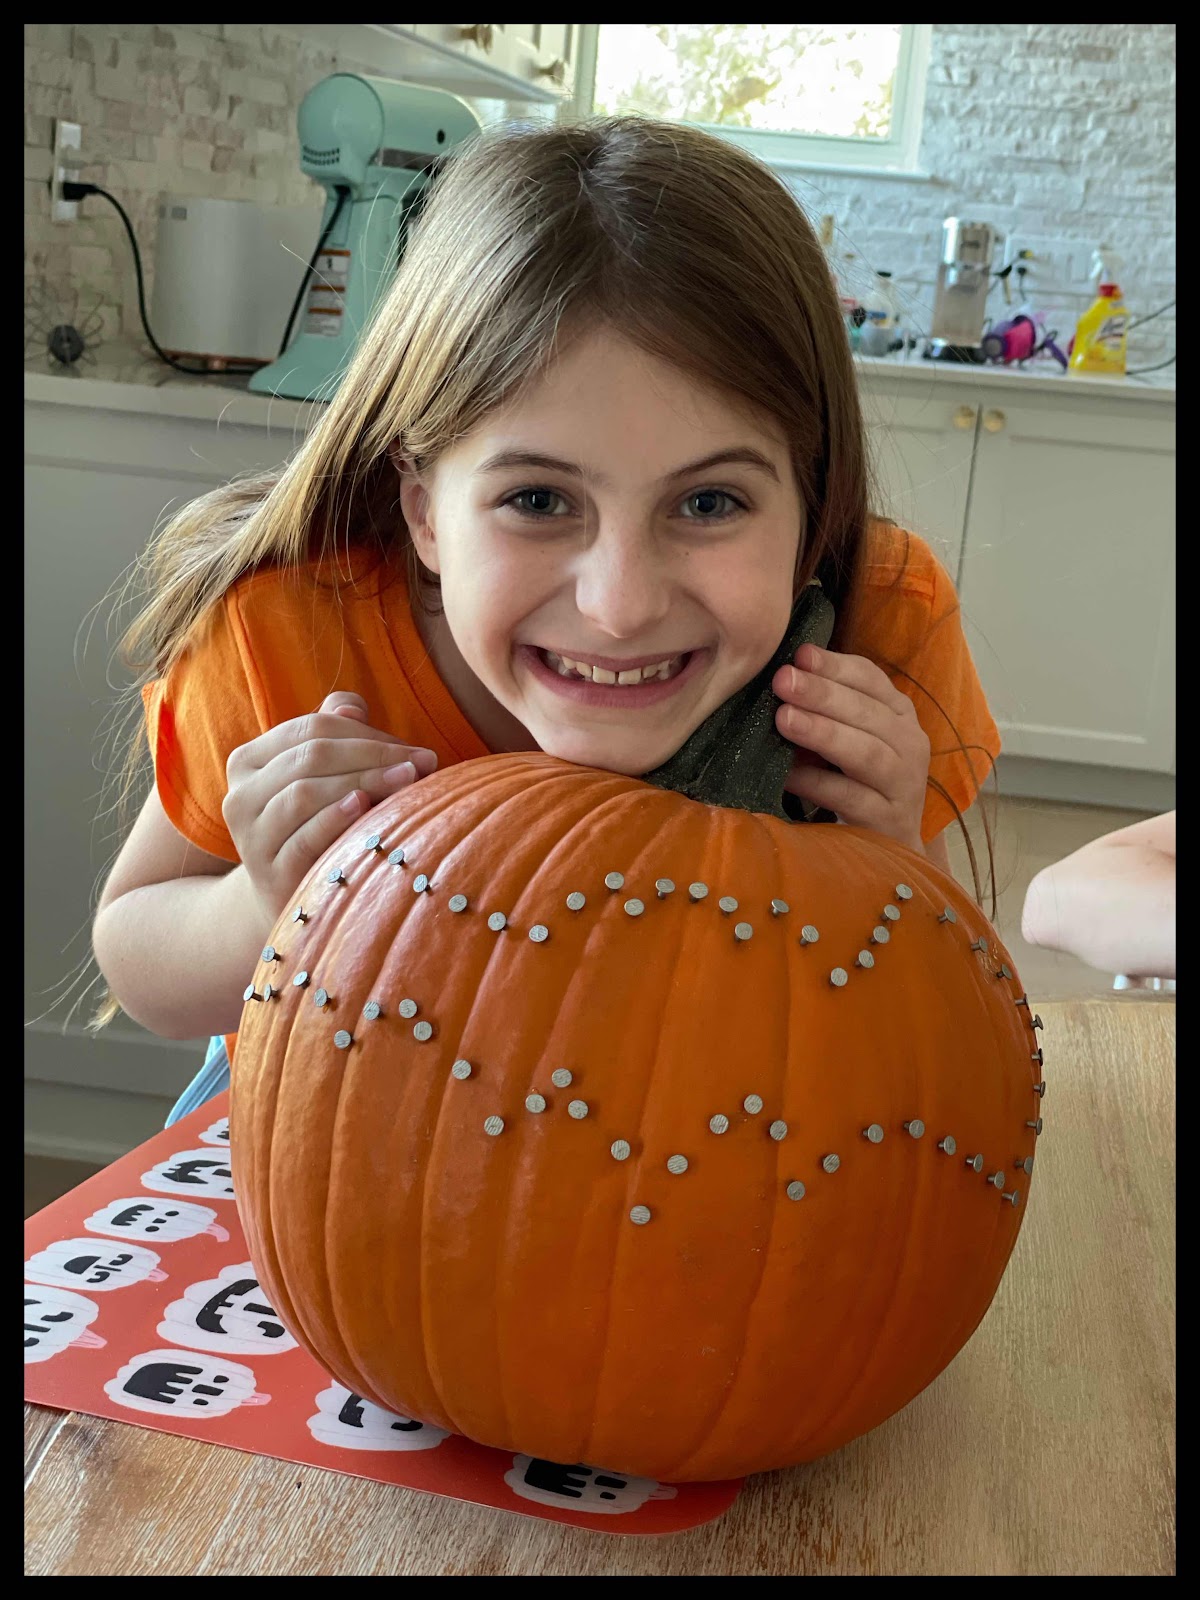
It was actually fortunate that their chosen designs varied in complexity. For instance, Chicklet’s bat required less nails, so she finished first and was ready to move on to the string portion before Chica and Little Man.
Having them naturally staggered allowed me to help them one-on-one without any stress or hovering siblings!
With each kiddos, I helped them string the initial outline to get it totally set in place. Then they had more free reign to wander and weave with the string while I just made sure they didn’t accidentally string something outside their design lines.

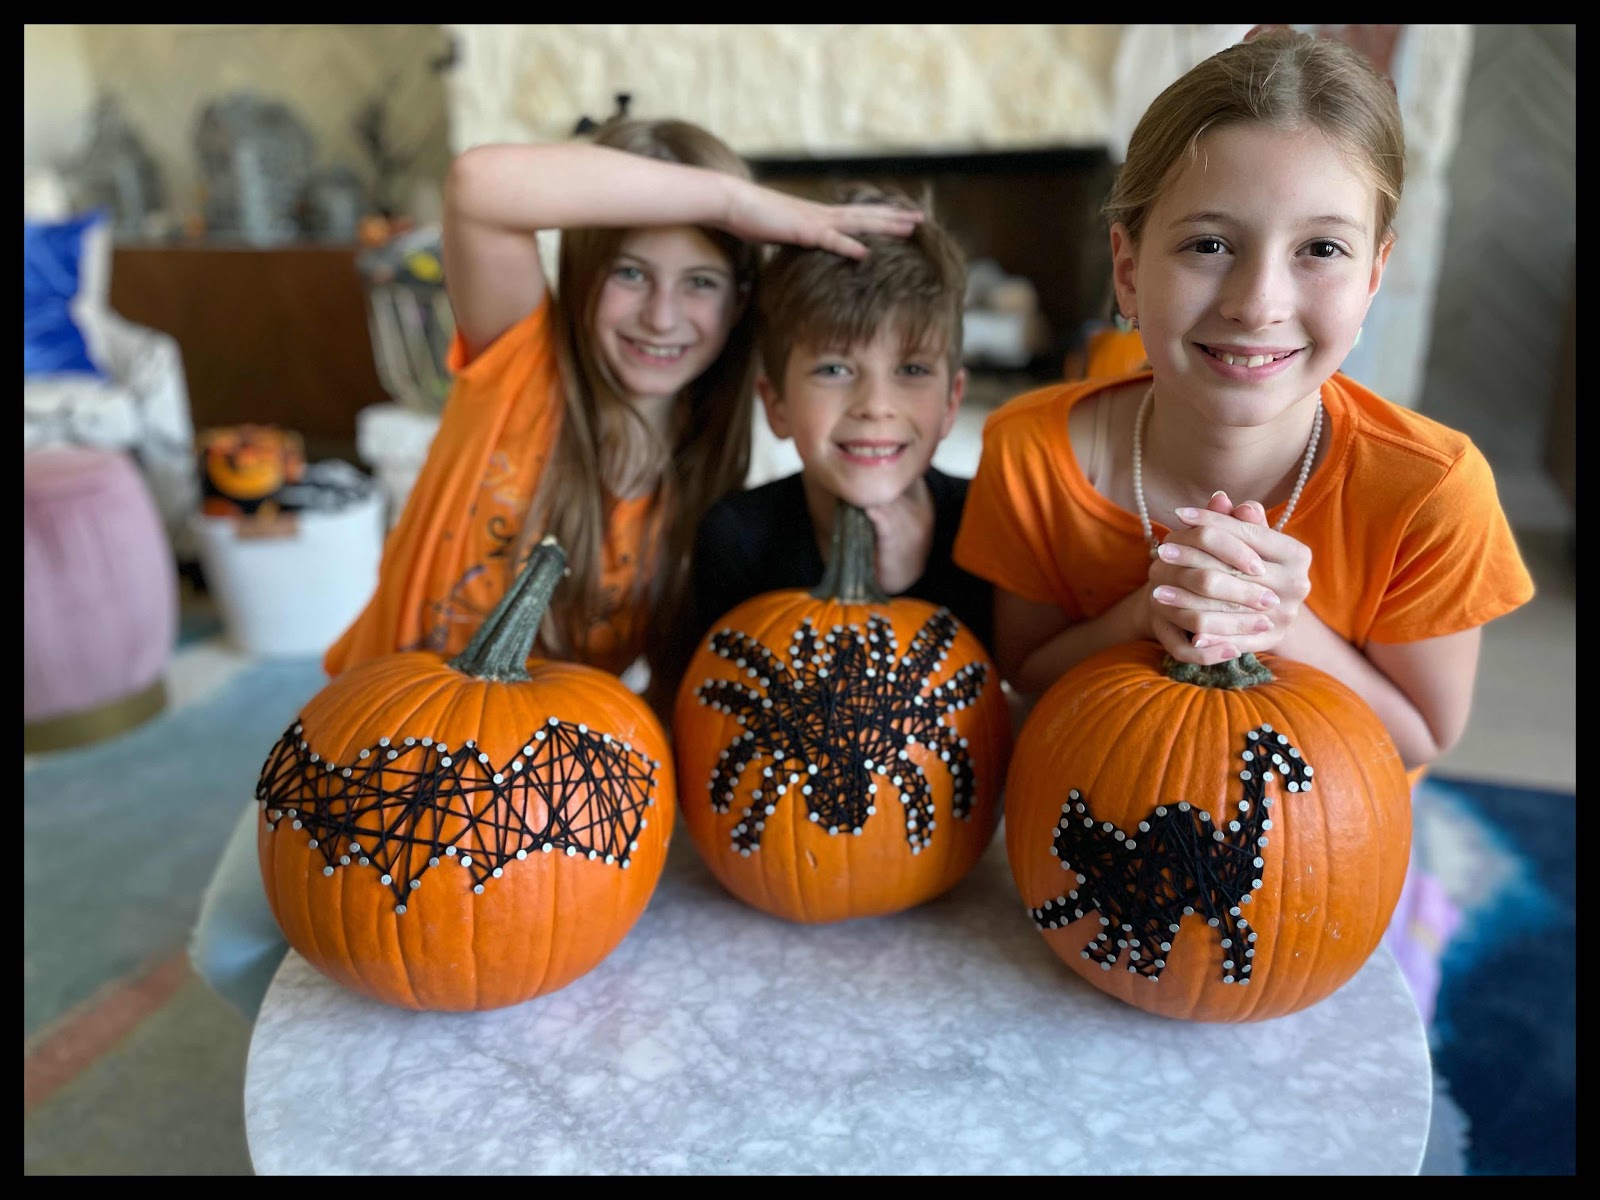
Chicklet wanted to keep hers purposefully open without much solid black to her pattern, and I think it reflects her free spirit perfectly. :)

Shockingly, after she was done, she offered to help Little Man with his nails (his design had the most, by far), and greater shock still: he let her help!!
I only had a small moment of worry that perhaps my twins/not twins shouldn’t be sitting next to one another while armed. ;) Luckily, they behaved!

Much like Chicklet, Chica had a strong vision for her string portion: she wanted lots of solid black, since, obviously, it was a black cat.

Love, love, love it.

And holy moly, Little Man’s complicated Everest of a design was the ultimate victory by the time it was done! He needed the most string help, but the direction he gave me (“fling it like Spider-Man”) was hysterical.

I seriously LURV how these turned out. 10 out of 10, for sure.
Much like Chicklet, Chica had a strong vision for her string portion: she wanted lots of solid black, since, obviously, it was a black cat.
Love, love, love it.
And holy moly, Little Man’s complicated Everest of a design was the ultimate victory by the time it was done! He needed the most string help, but the direction he gave me (“fling it like Spider-Man”) was hysterical.
I seriously LURV how these turned out. 10 out of 10, for sure.


You know, I’ve been making a conscious effort to track down some more involved or challenging projects for the kiddos as they age and become more capable, and it wonderful to see the fruits of that labor in action.
And what a solid, happy way to spend an early release school day! A win for all. :)

So…in summary: major fun and victory with this one, and I have no doubt we’ll come back to it, time and time again!
So…in summary: major fun and victory with this one, and I have no doubt we’ll come back to it, time and time again!
Happy Hump Day, peeps!
Over and out.
No comments:
Post a Comment